Cresting Crescendo: The Tongariro Alpine Crossing on New Zealand’s North Island

The Tongariro Alpine Crossing isn’t for the faint-hearted. The Tongariro Alpine Crossing is located in the Tongariro National Park – New Zealand’s oldest national park and a dual UNESCO World Heritage Site.
It’s a full-day hike over 19.4km which takes approximately 7-8 hours if you keep up a good pace, and it may or may not involve severe weather even in spring and summer. Be prepared with extra layers of clothes, rain gear, food, water and legs in reasonably good knick.
I used to make fun of hikers (or as they say in NZ, ‘trampers’) who used poles, but somewhere in the middle of the Alpine Crossing I begged for a single pole and loved every sturdy second of it. But the Crossing was glorious— from the bubbling Soda Springs to the mineral-blue lakes—it was a smorgasbord of 360-degree views, barren volcanic landscapes, smoking vents and the lapping waves of Lake Taupo in the distance. If you’re ever on the North Island make sure you visit.

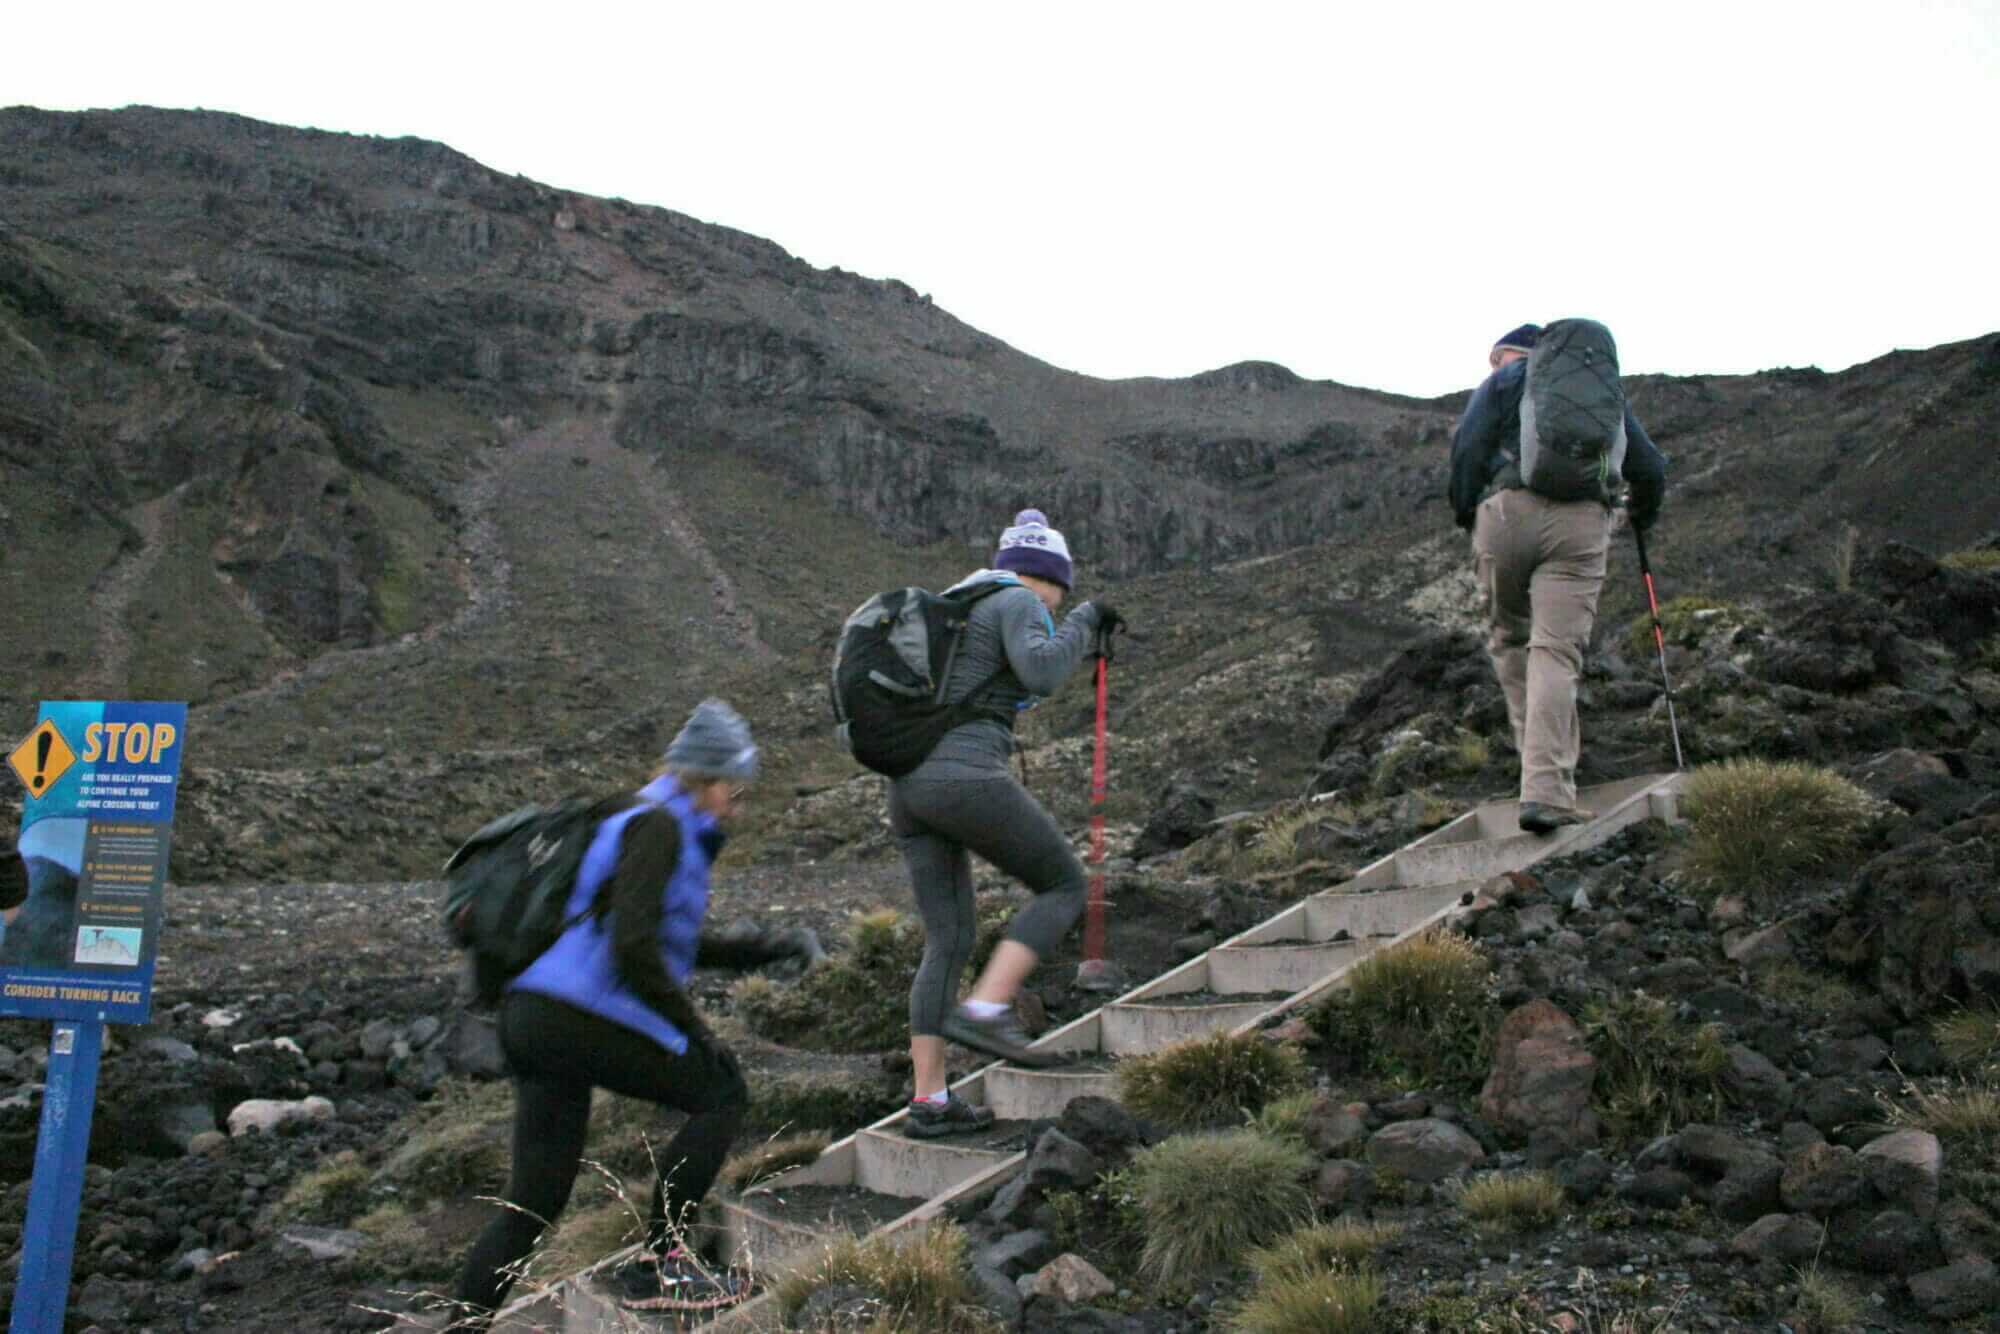
Mangatepopo Road End To Soda Springs
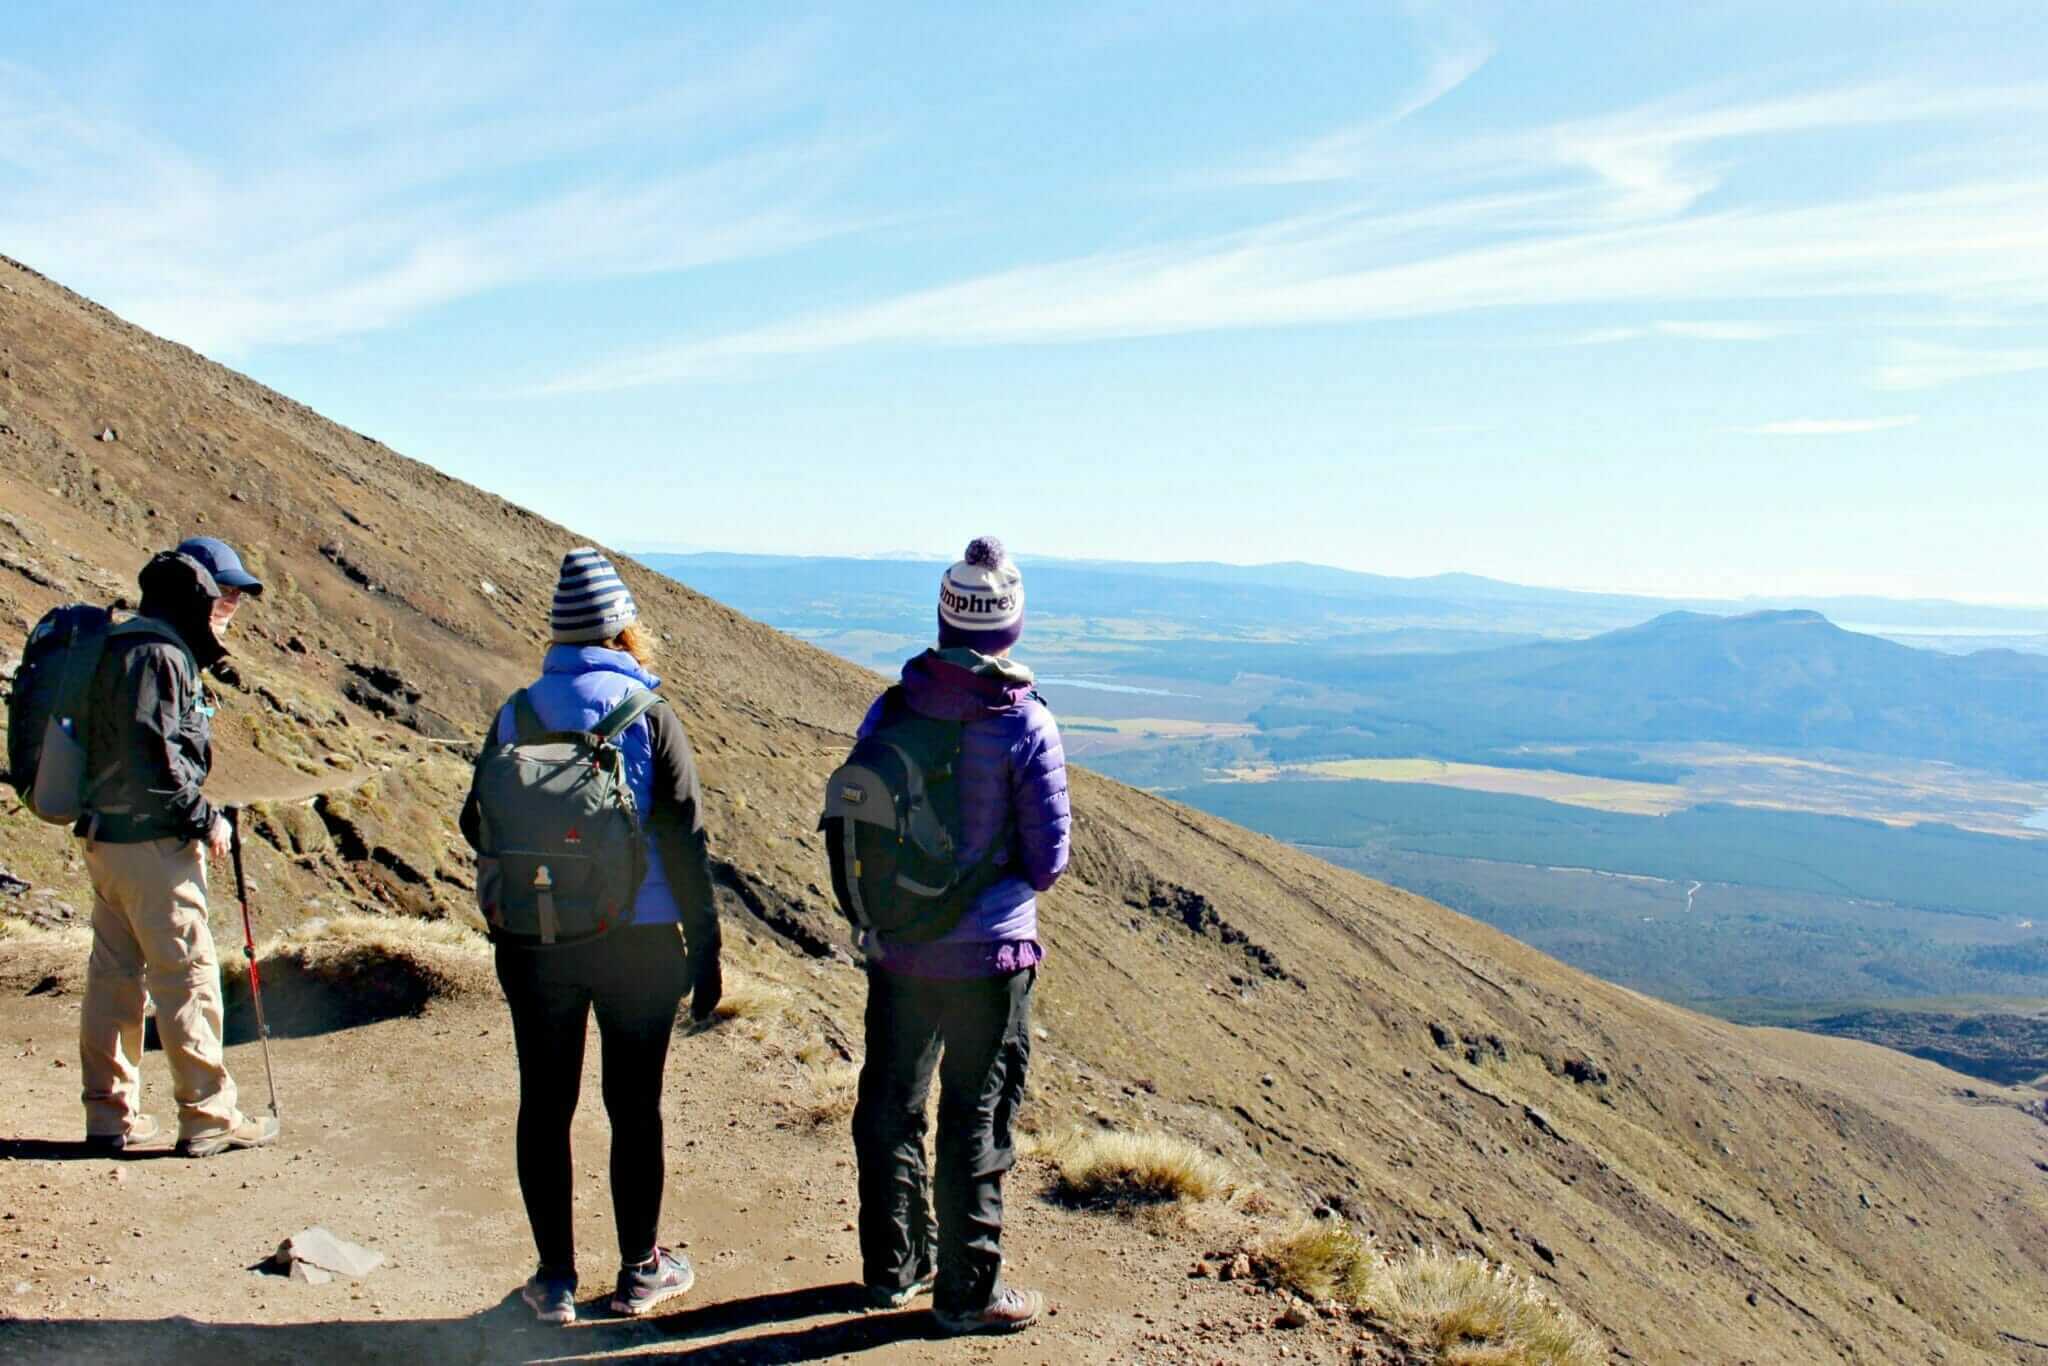
We woke up at 4 am, threw on our layers, laced up boots and packed water bottles and food into our sacks. Even in April, it was cold. We wore hats, gloves and two layers of pants and warm, winter jackets. We stayed nearby at the Chateau and by 6 am the shuttle bus dropped us off at the beginning of the track on Mongatepopo Road.
It was still dark and we hiked over a crunchy dirt path using the light from our headlamps. After a little while, we could hear rushing water all around us (the soda springs) as we traversed bridges and began to subtly ascend. To our surprise, when the sun rose over the horizon, we could see we were in a valley with water snaking all around and under us, racing down towards the lower elevations.
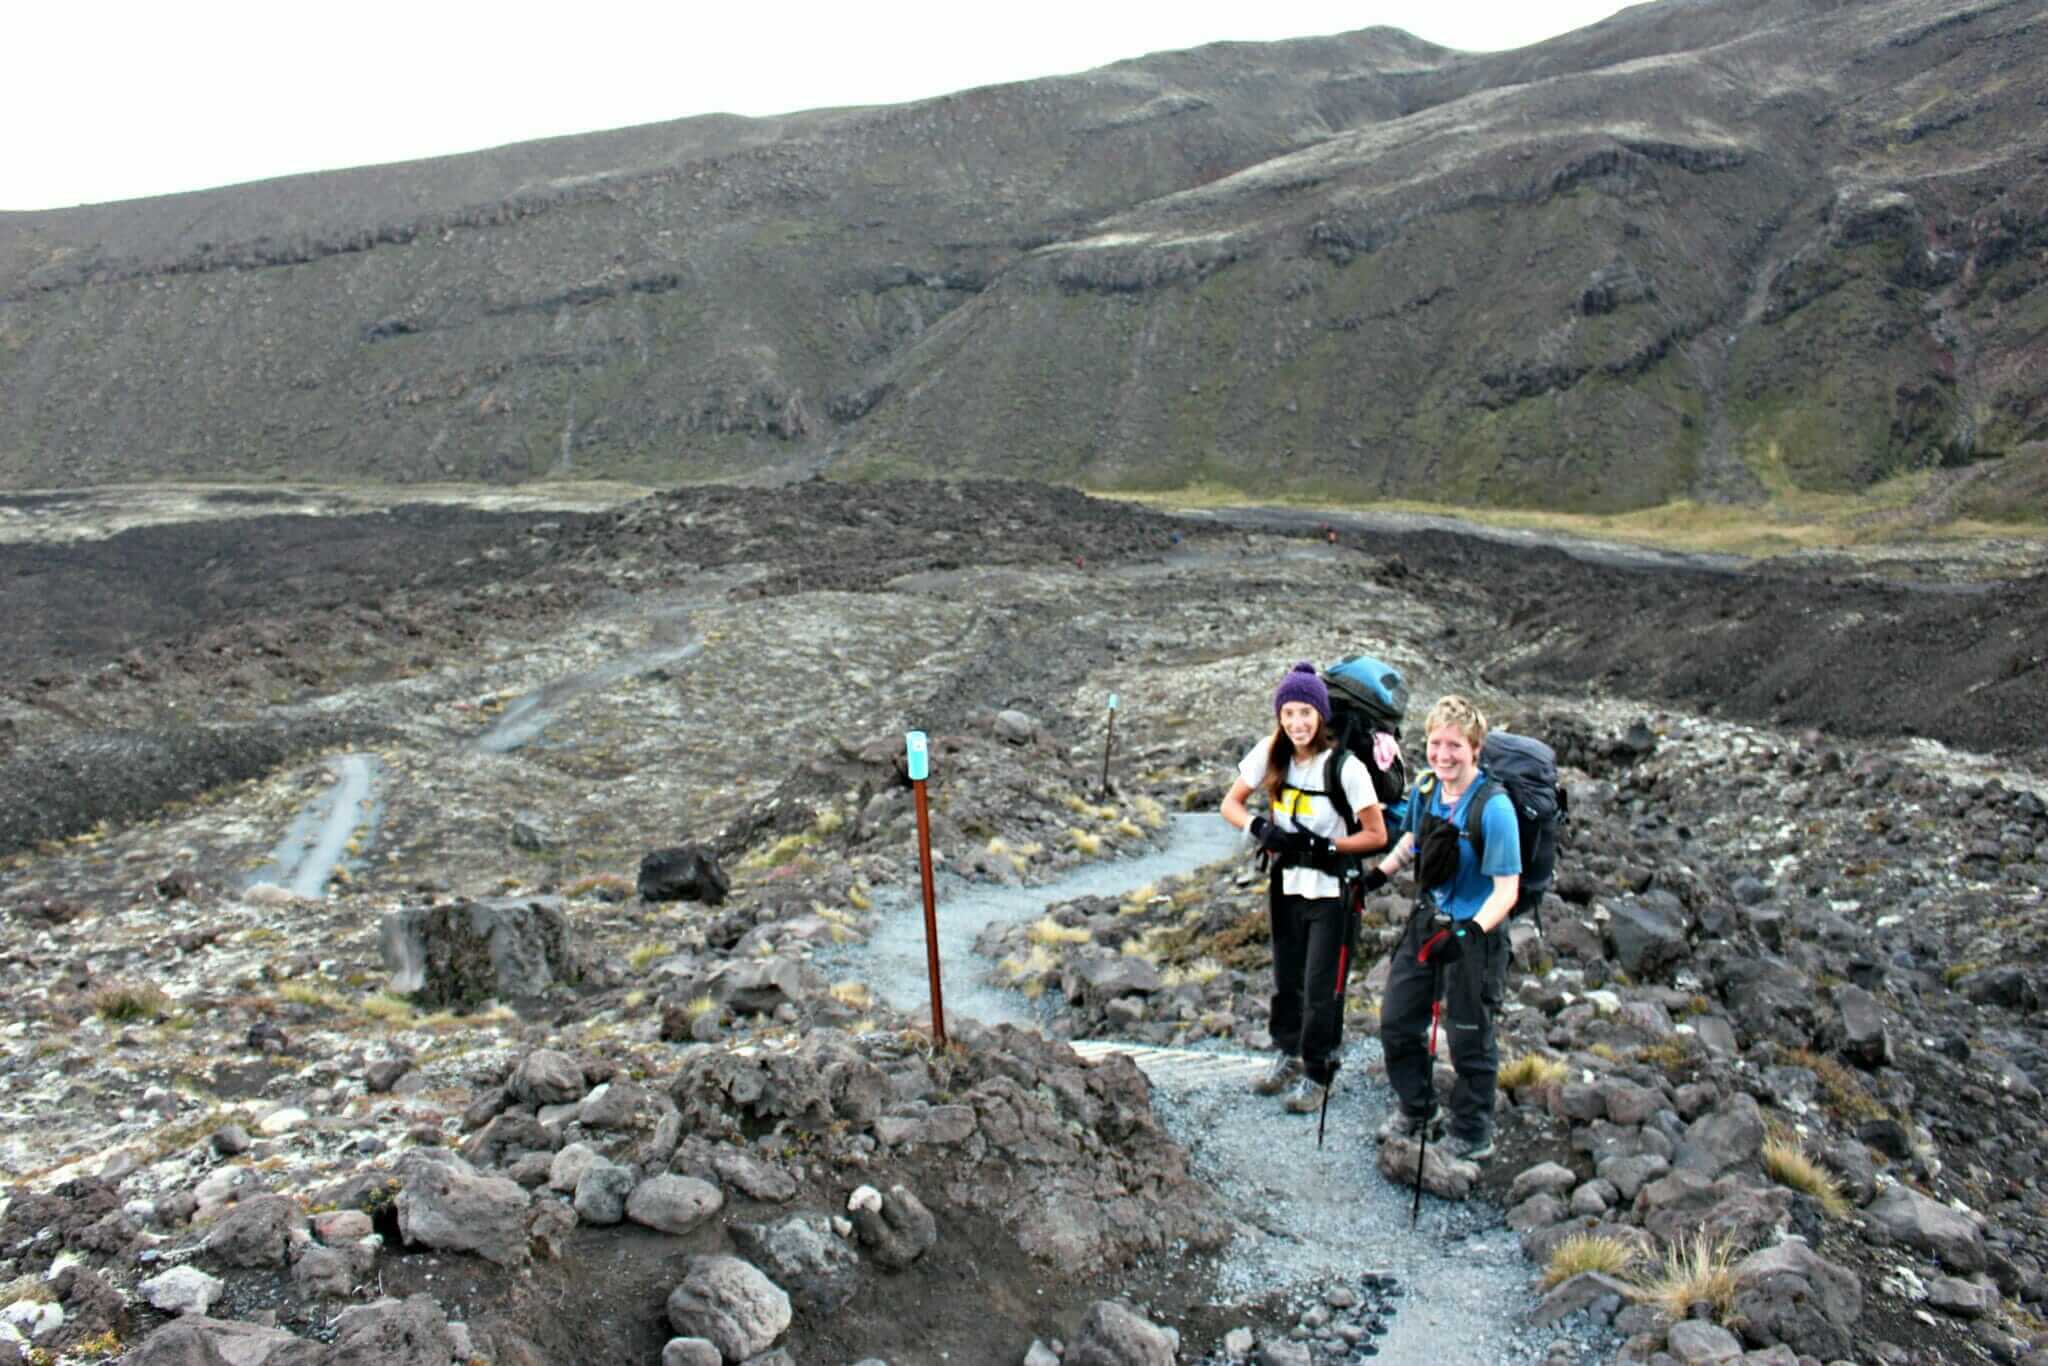
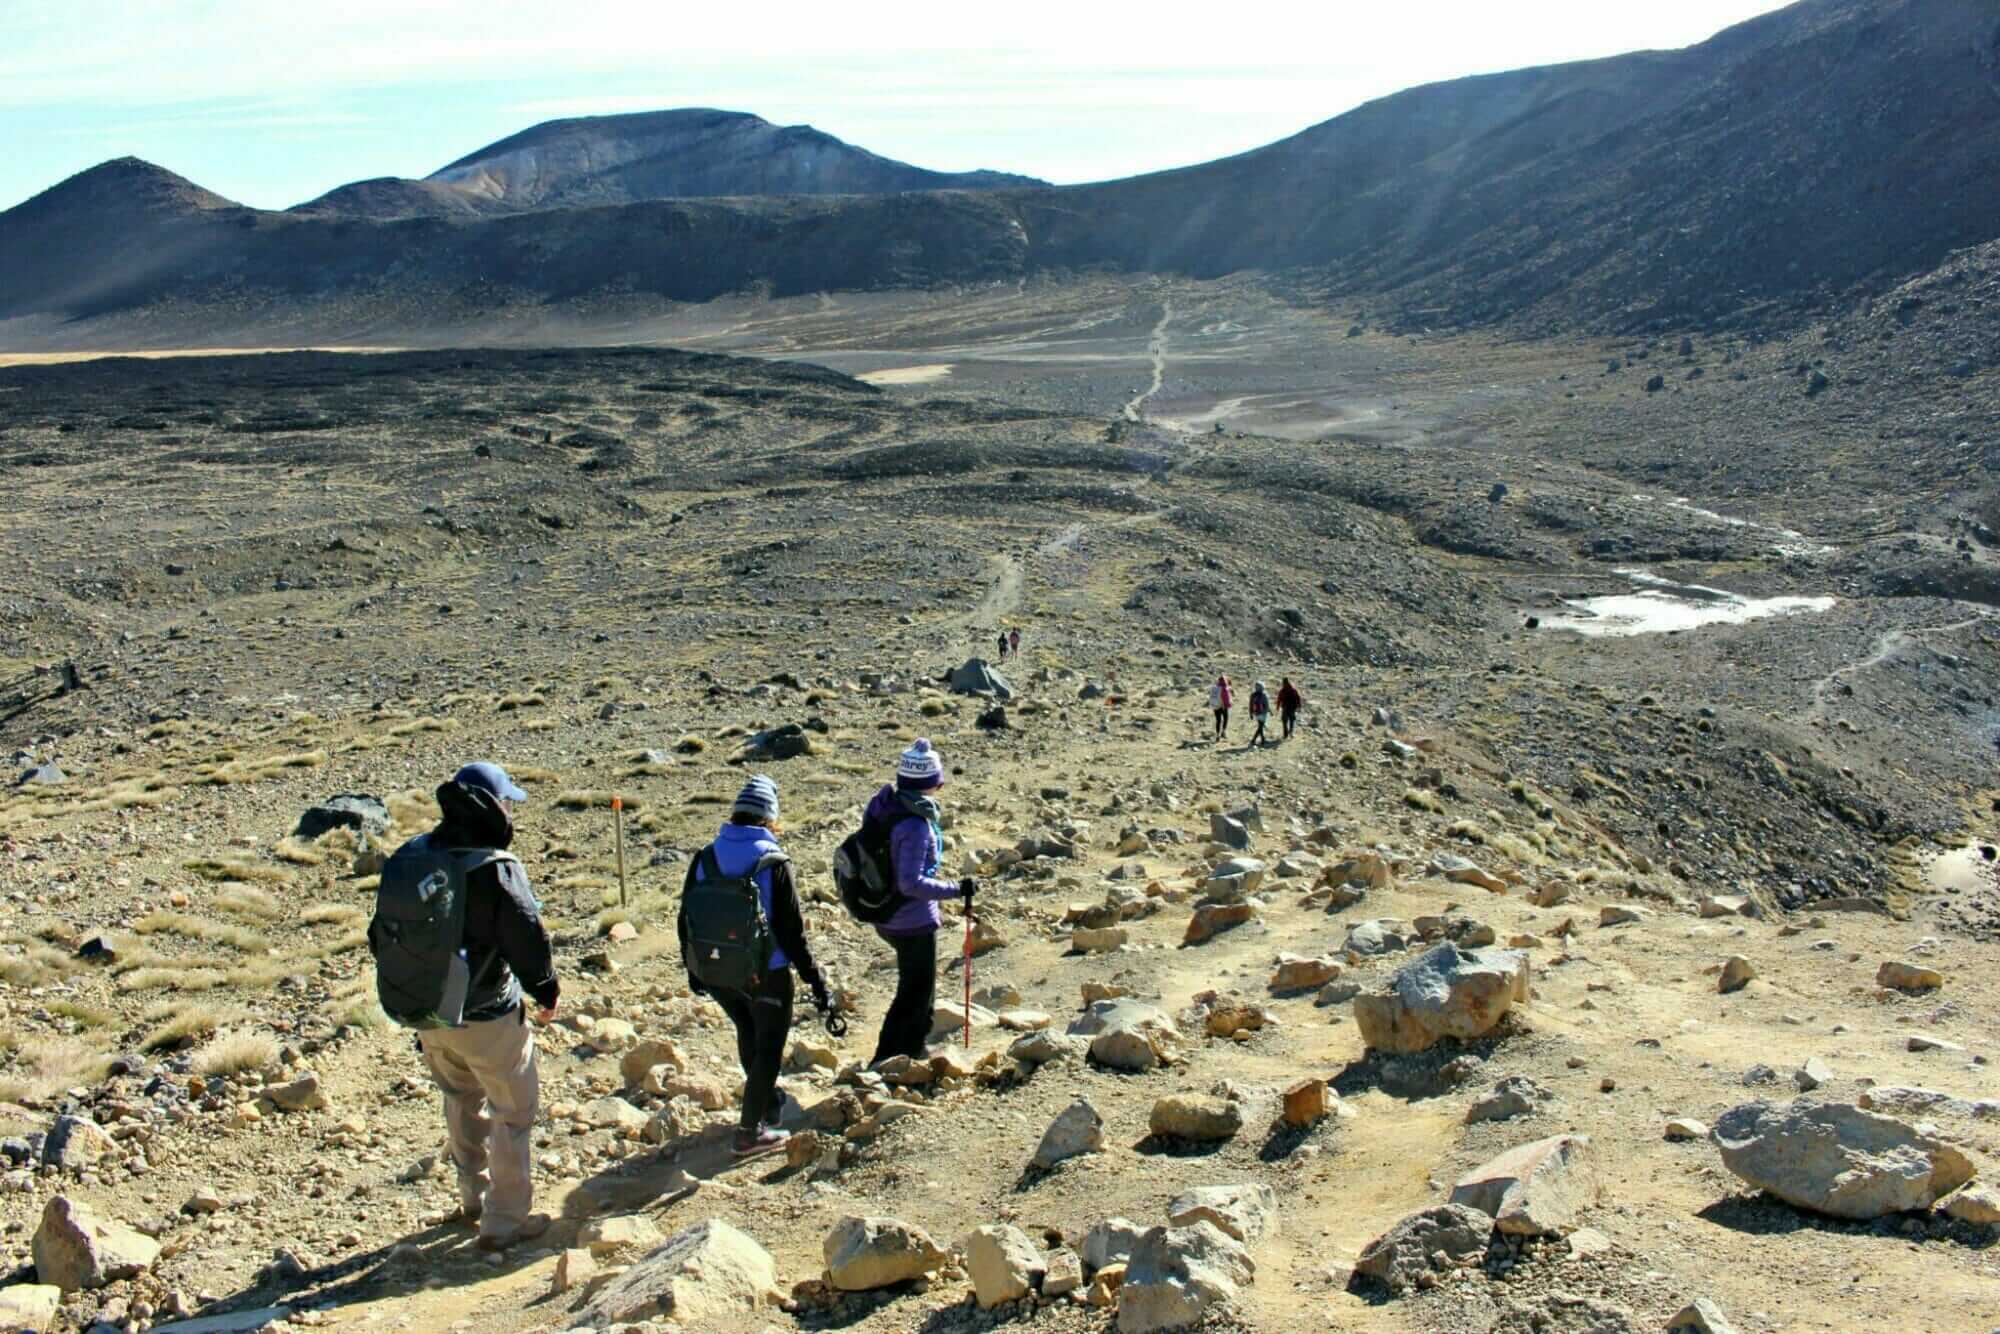
The main track, however, continued up the valley, following the Mangatepopo stream and around the edge of an old lava flow. As the altitude increased, plants disappeared and in their place, black rubble, sand and large boulders took their place.
Soda Springs To South Crater
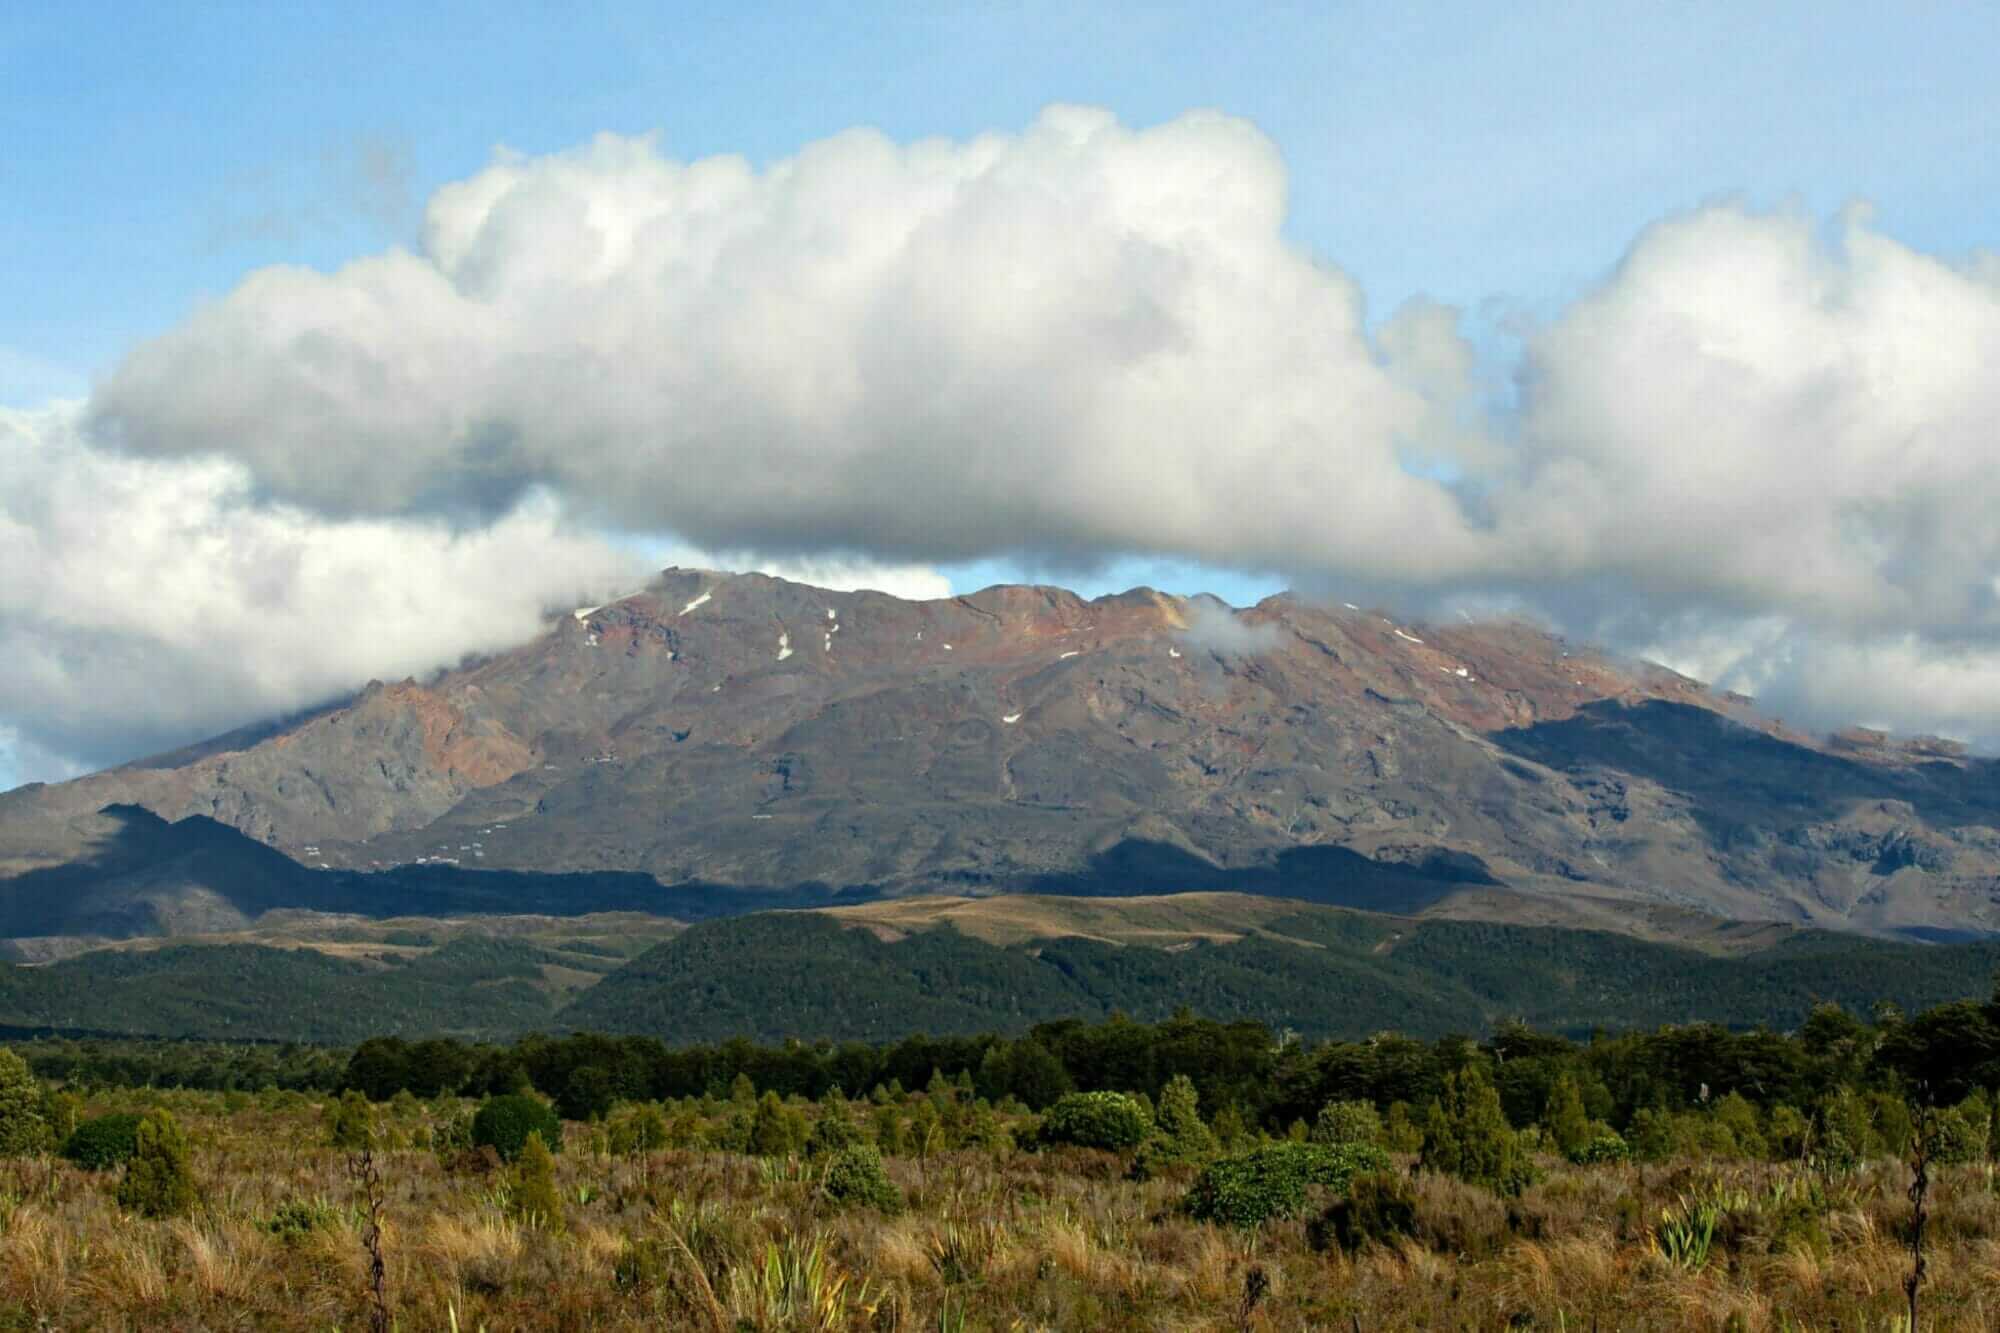
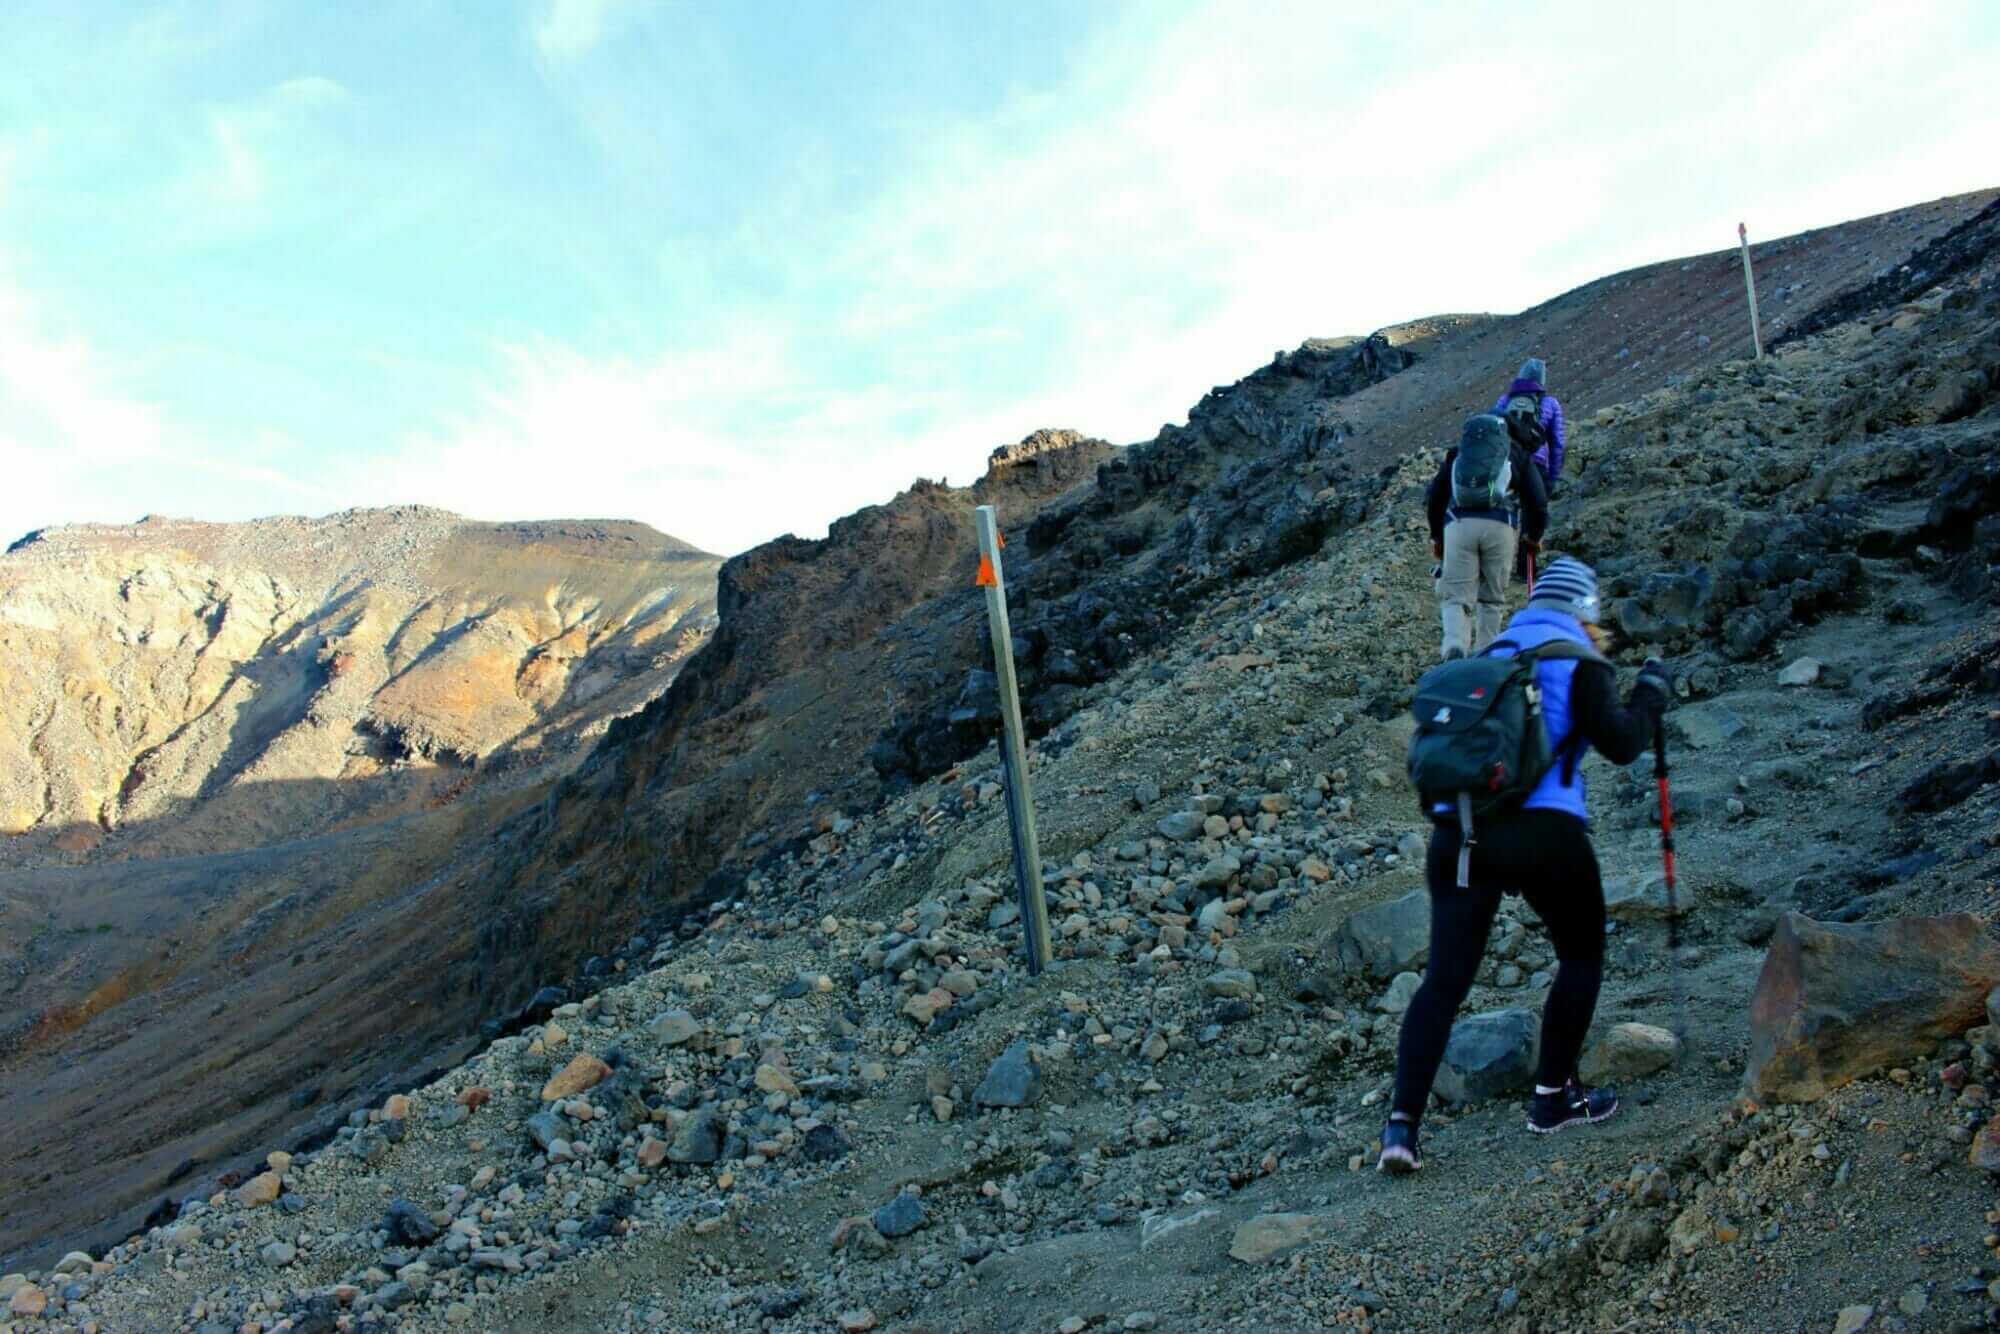
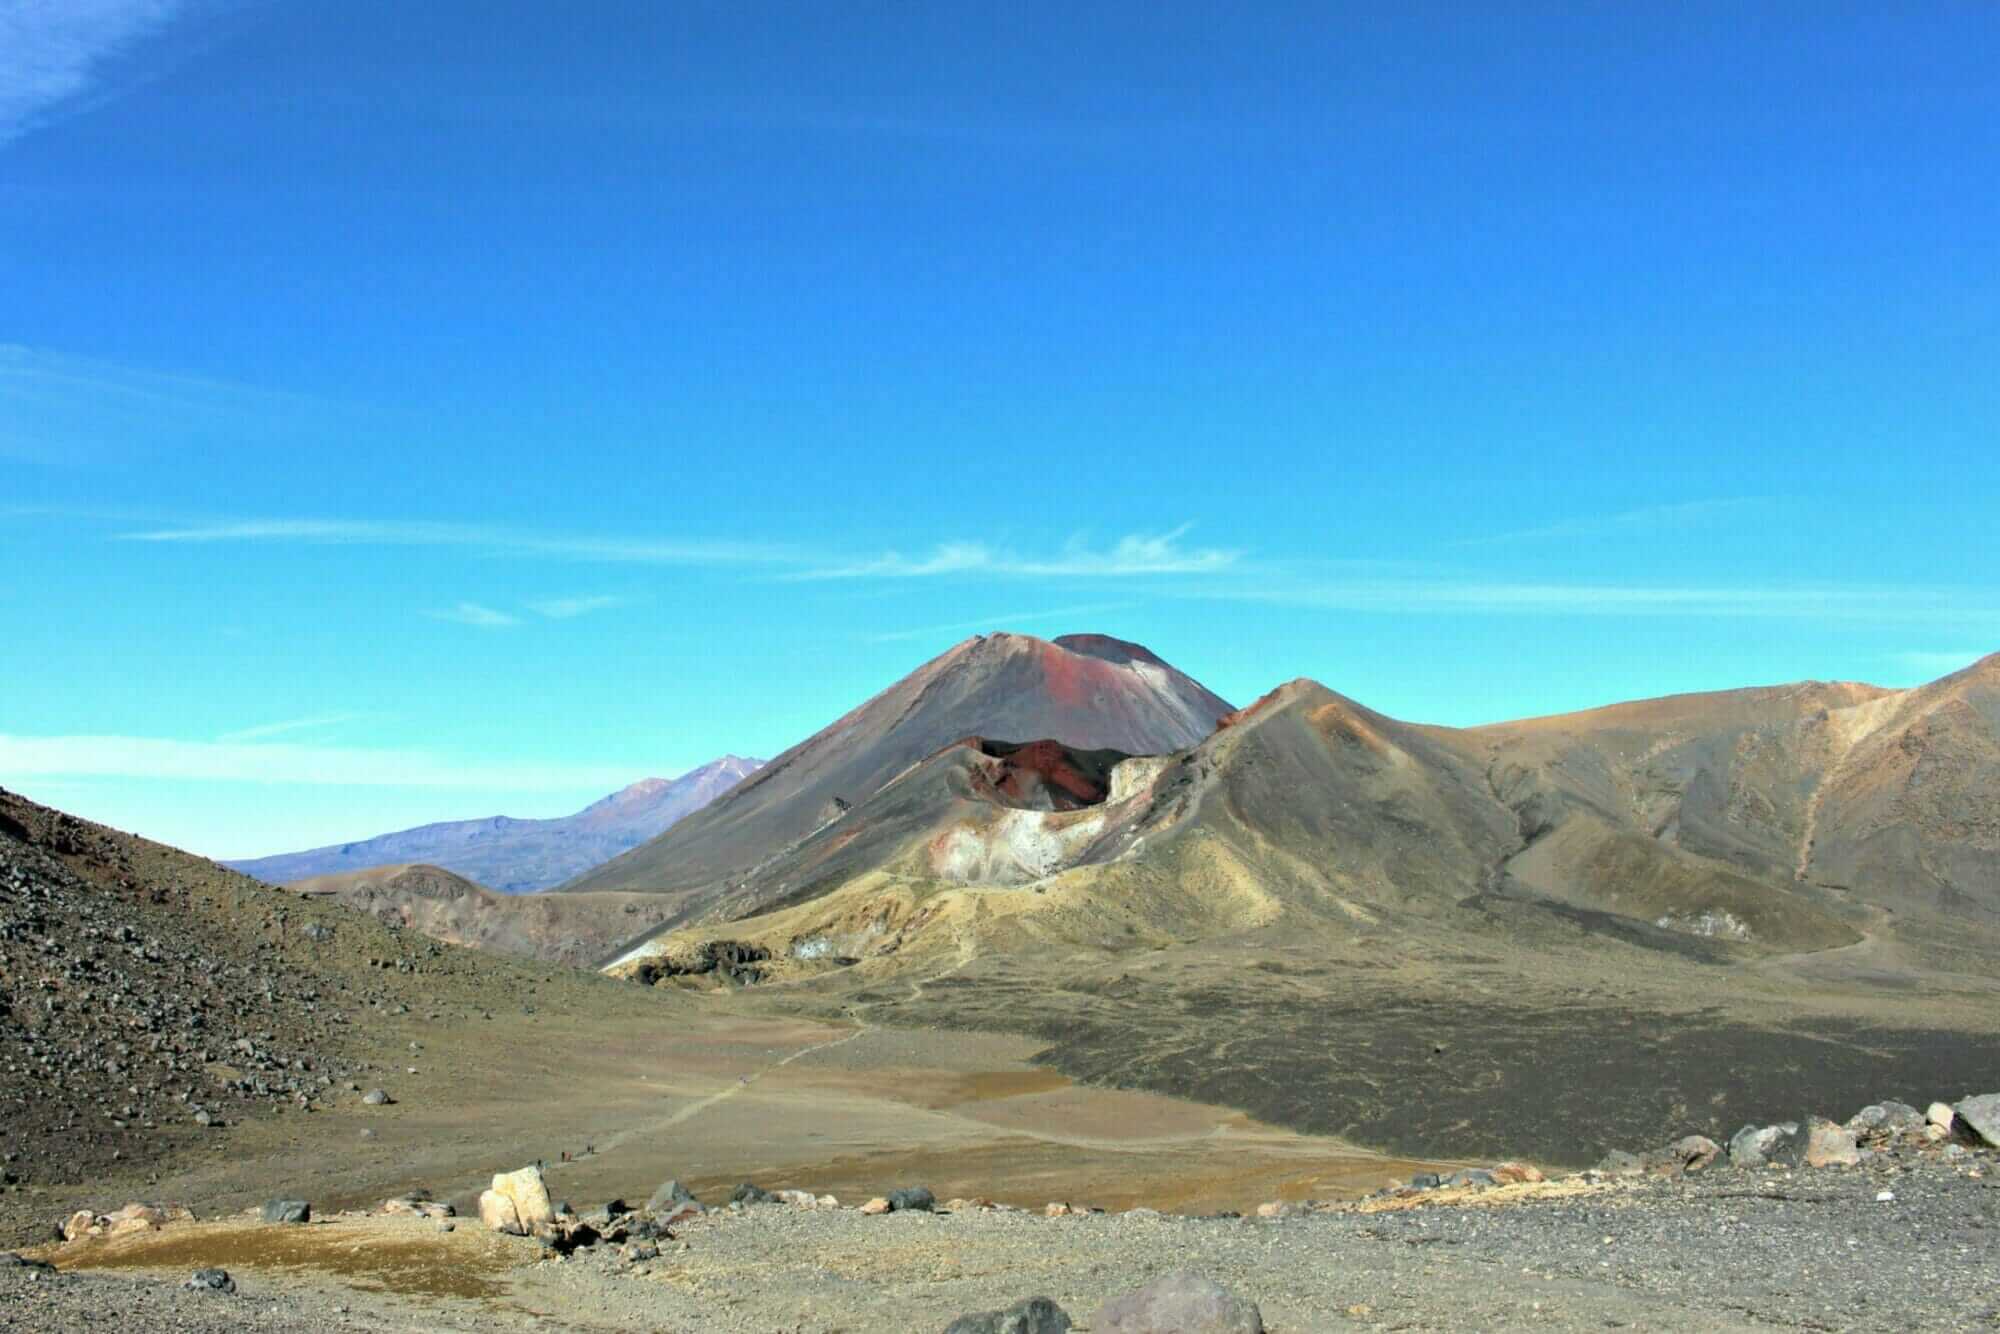
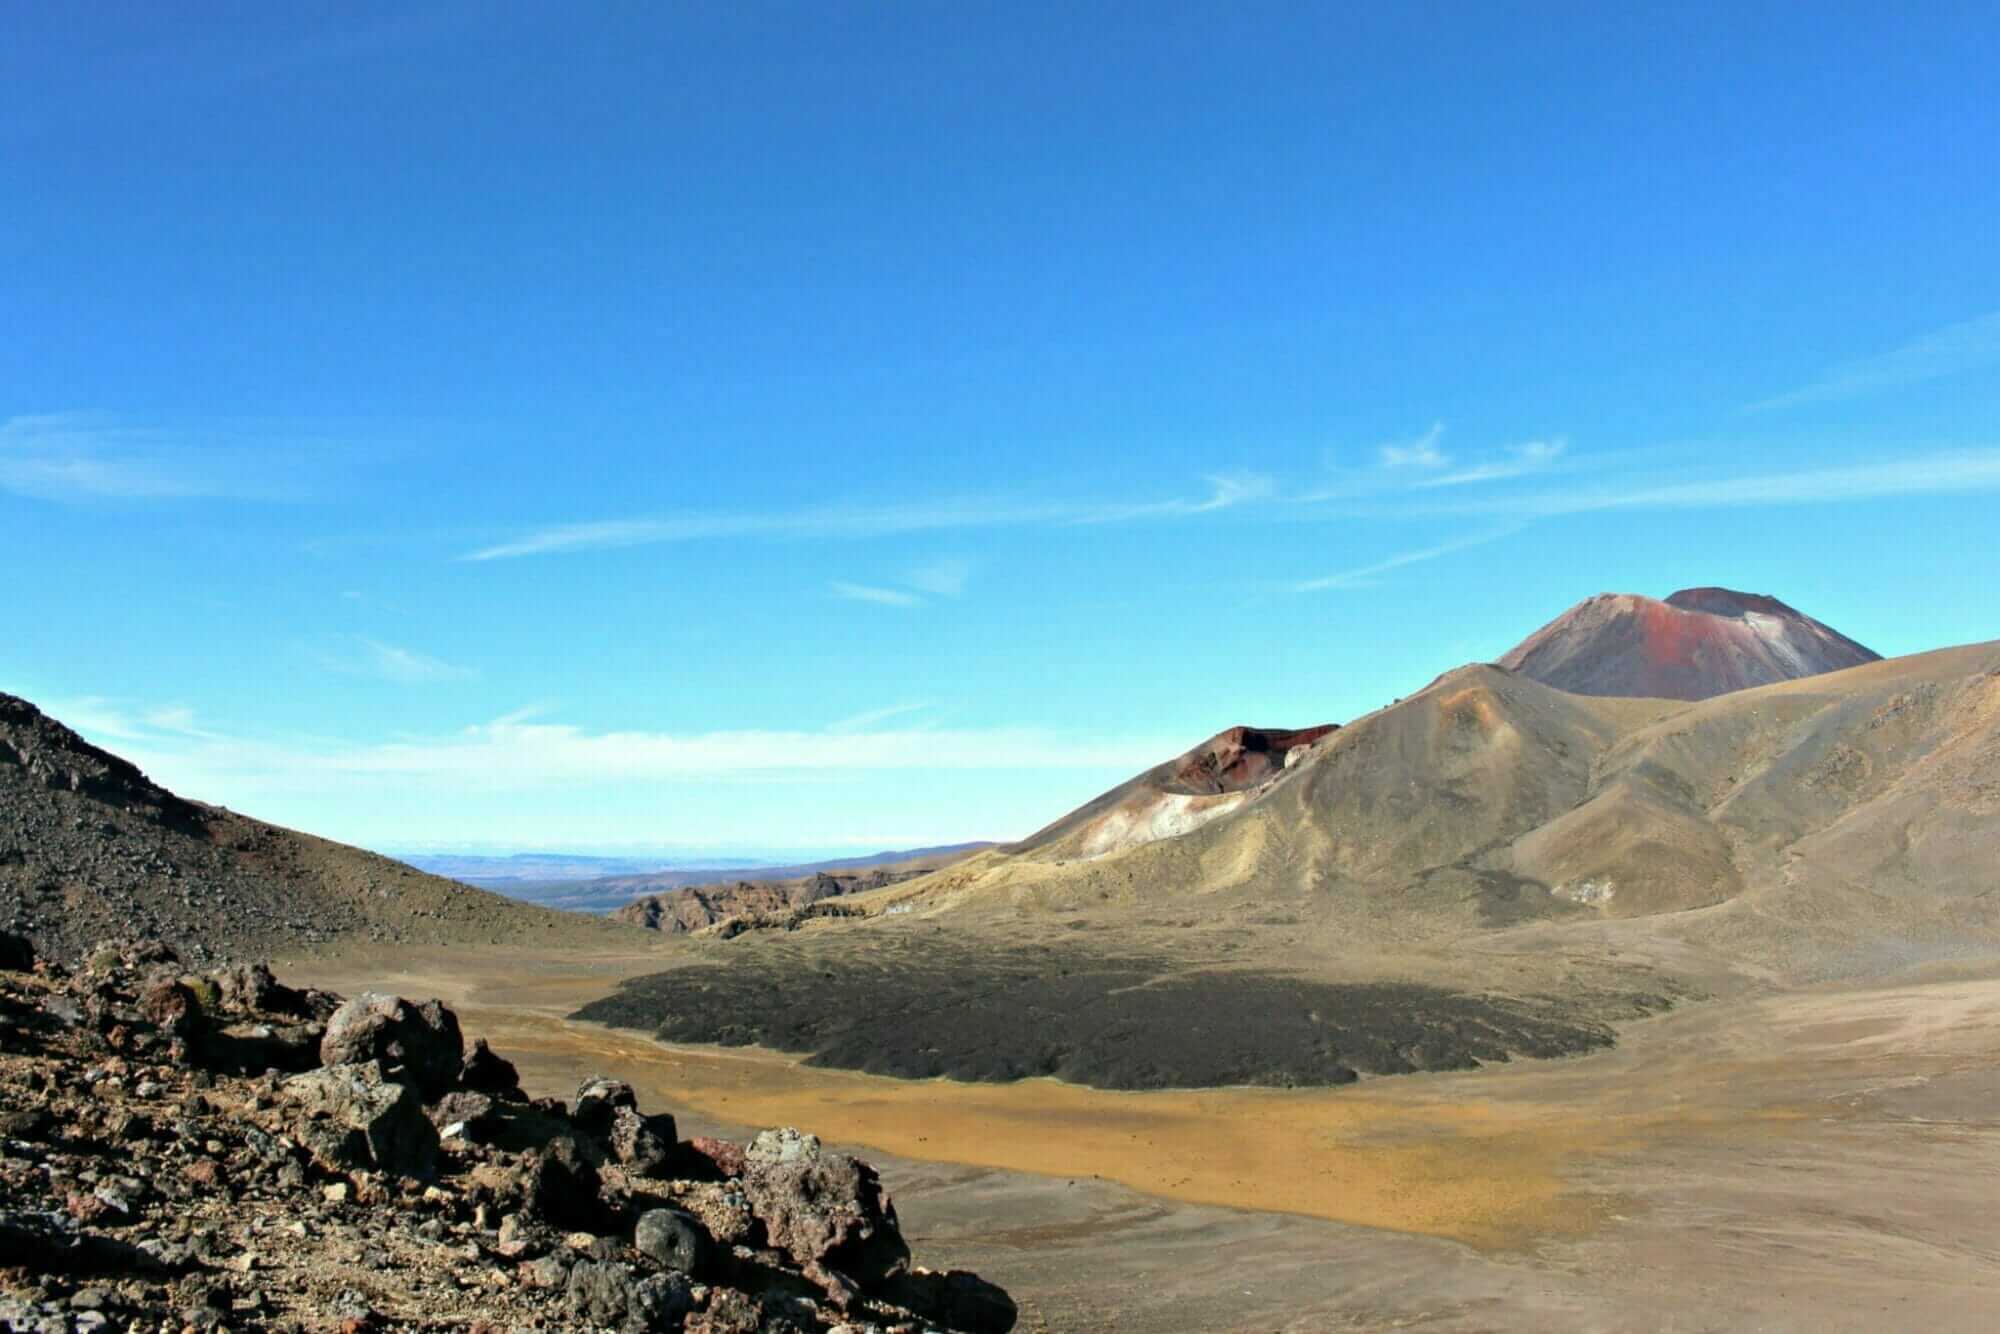
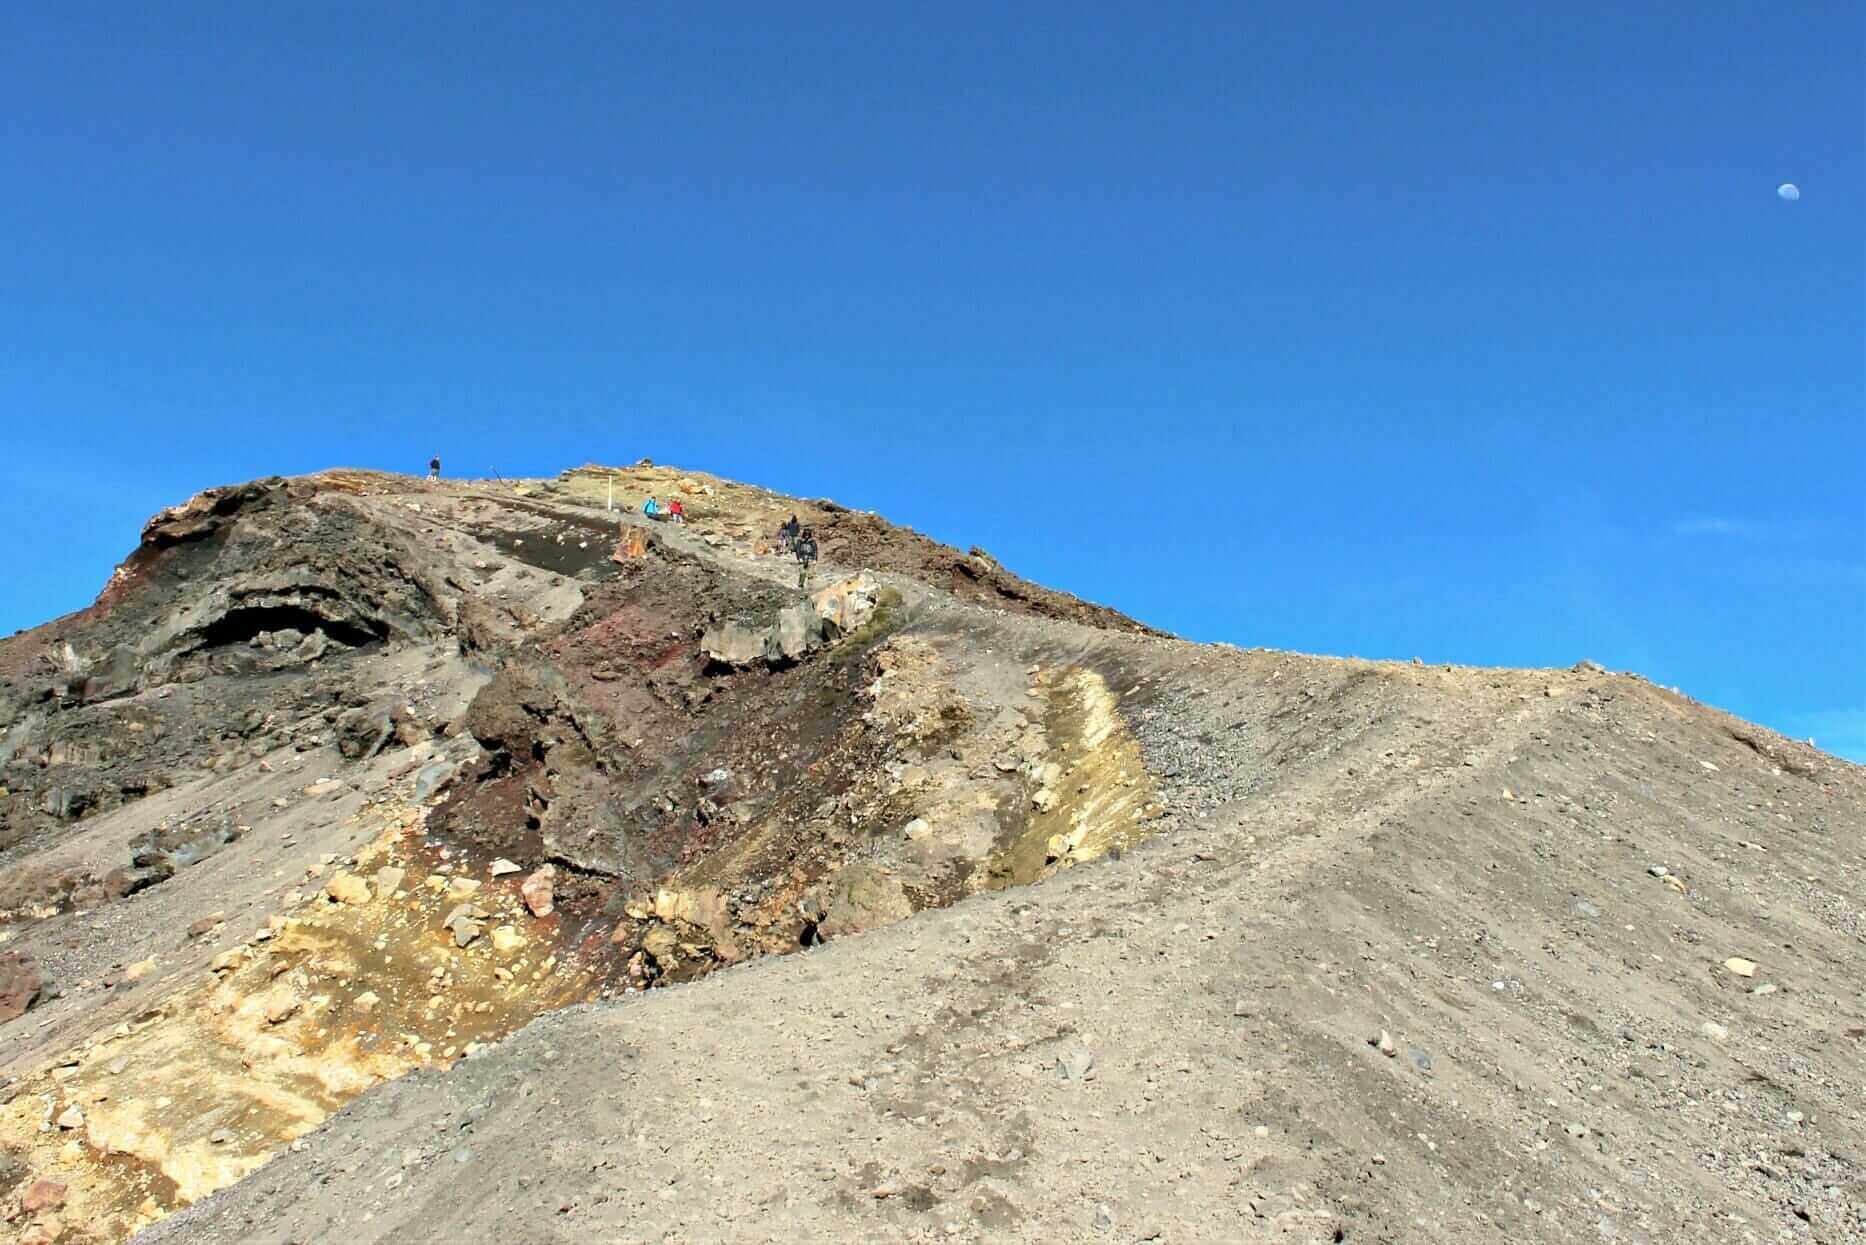
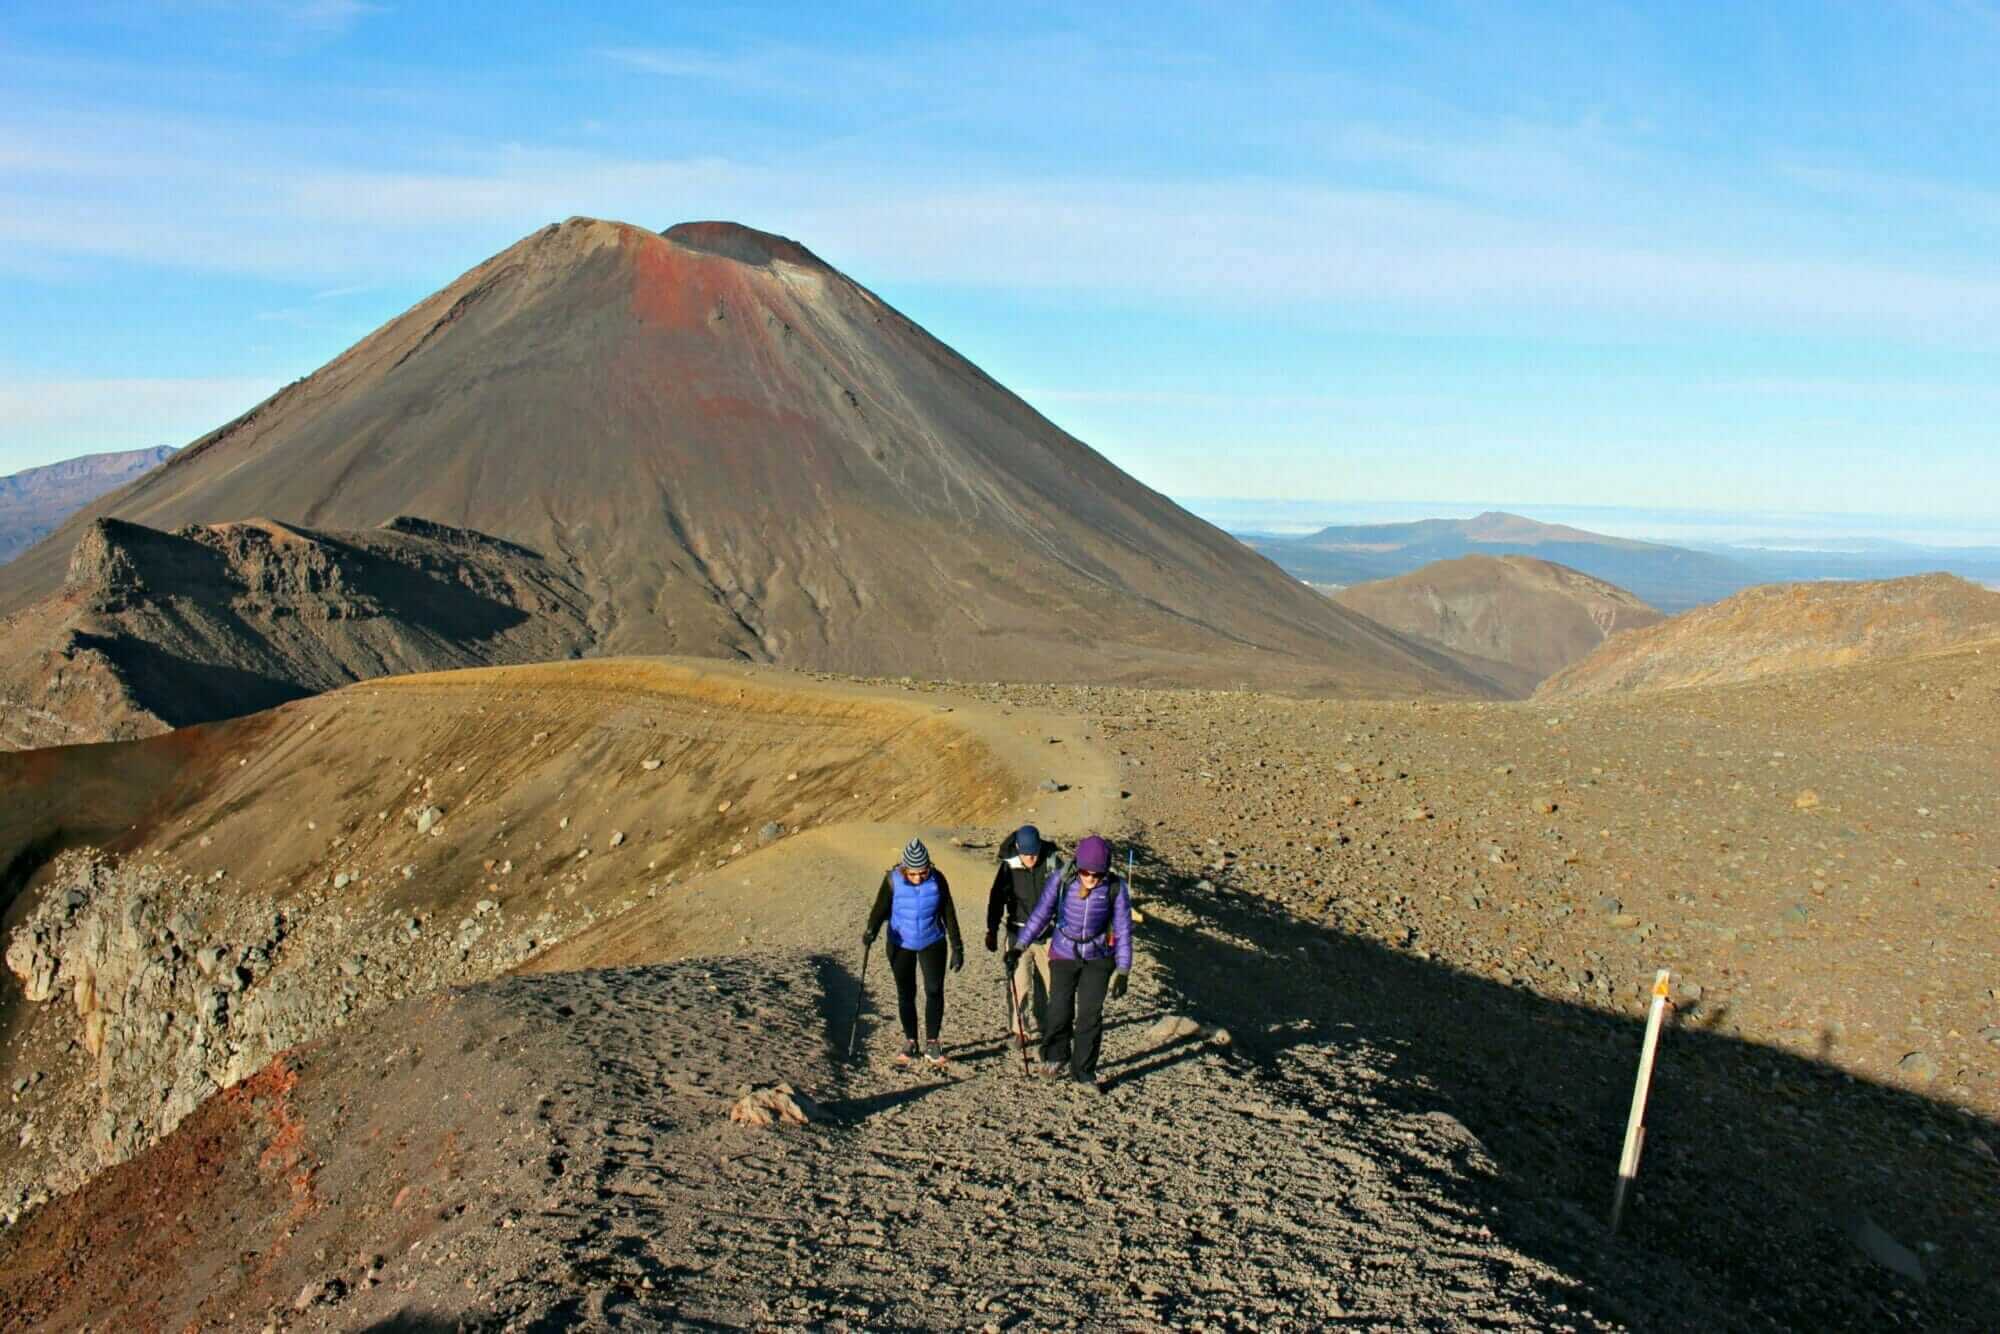
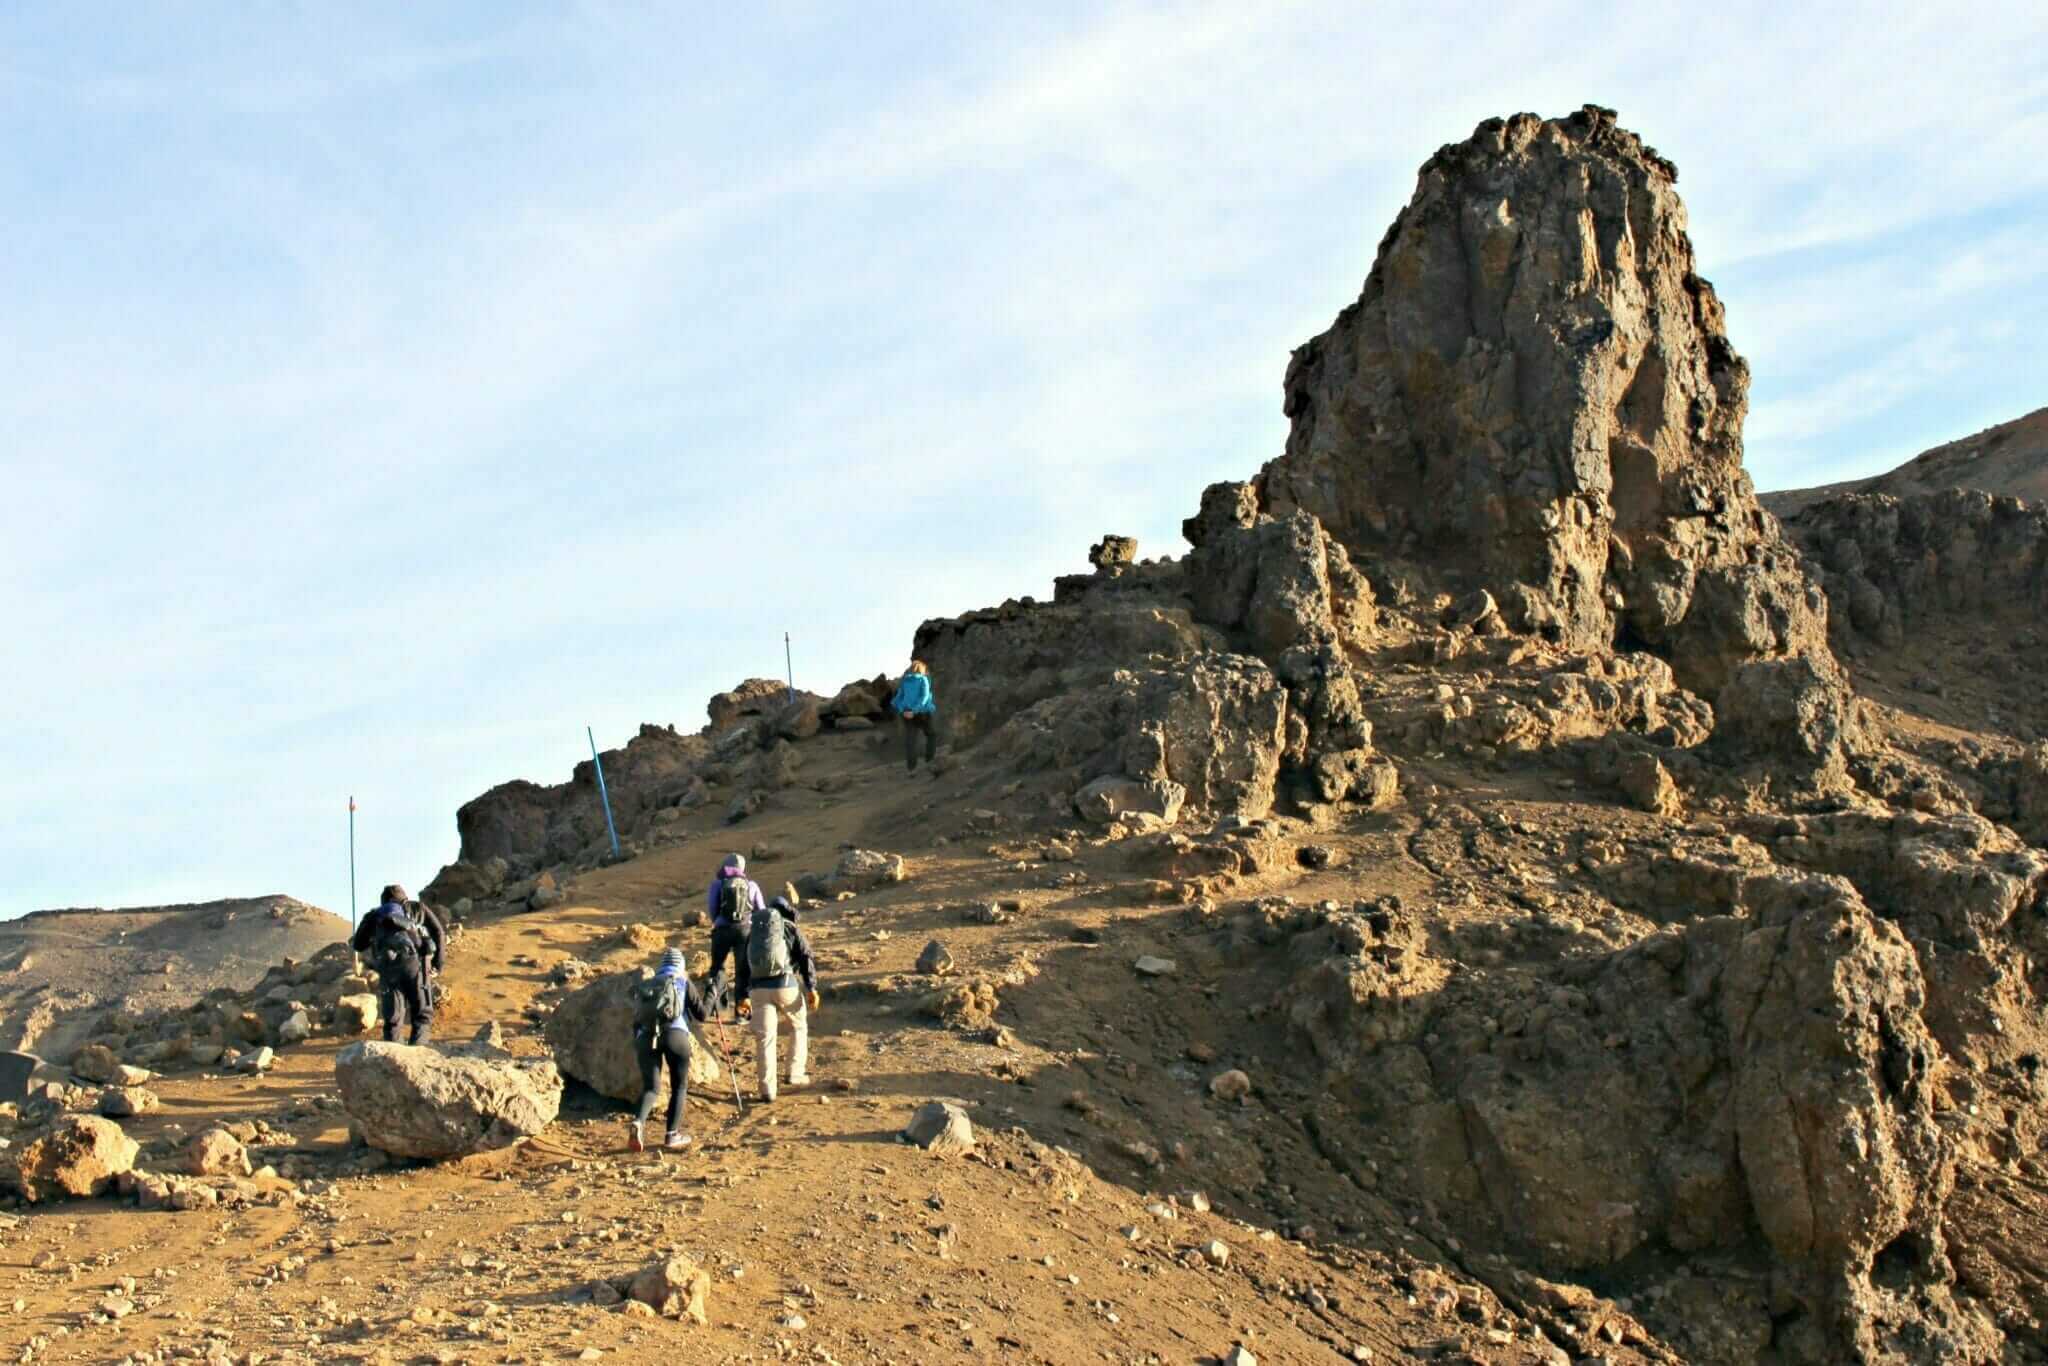
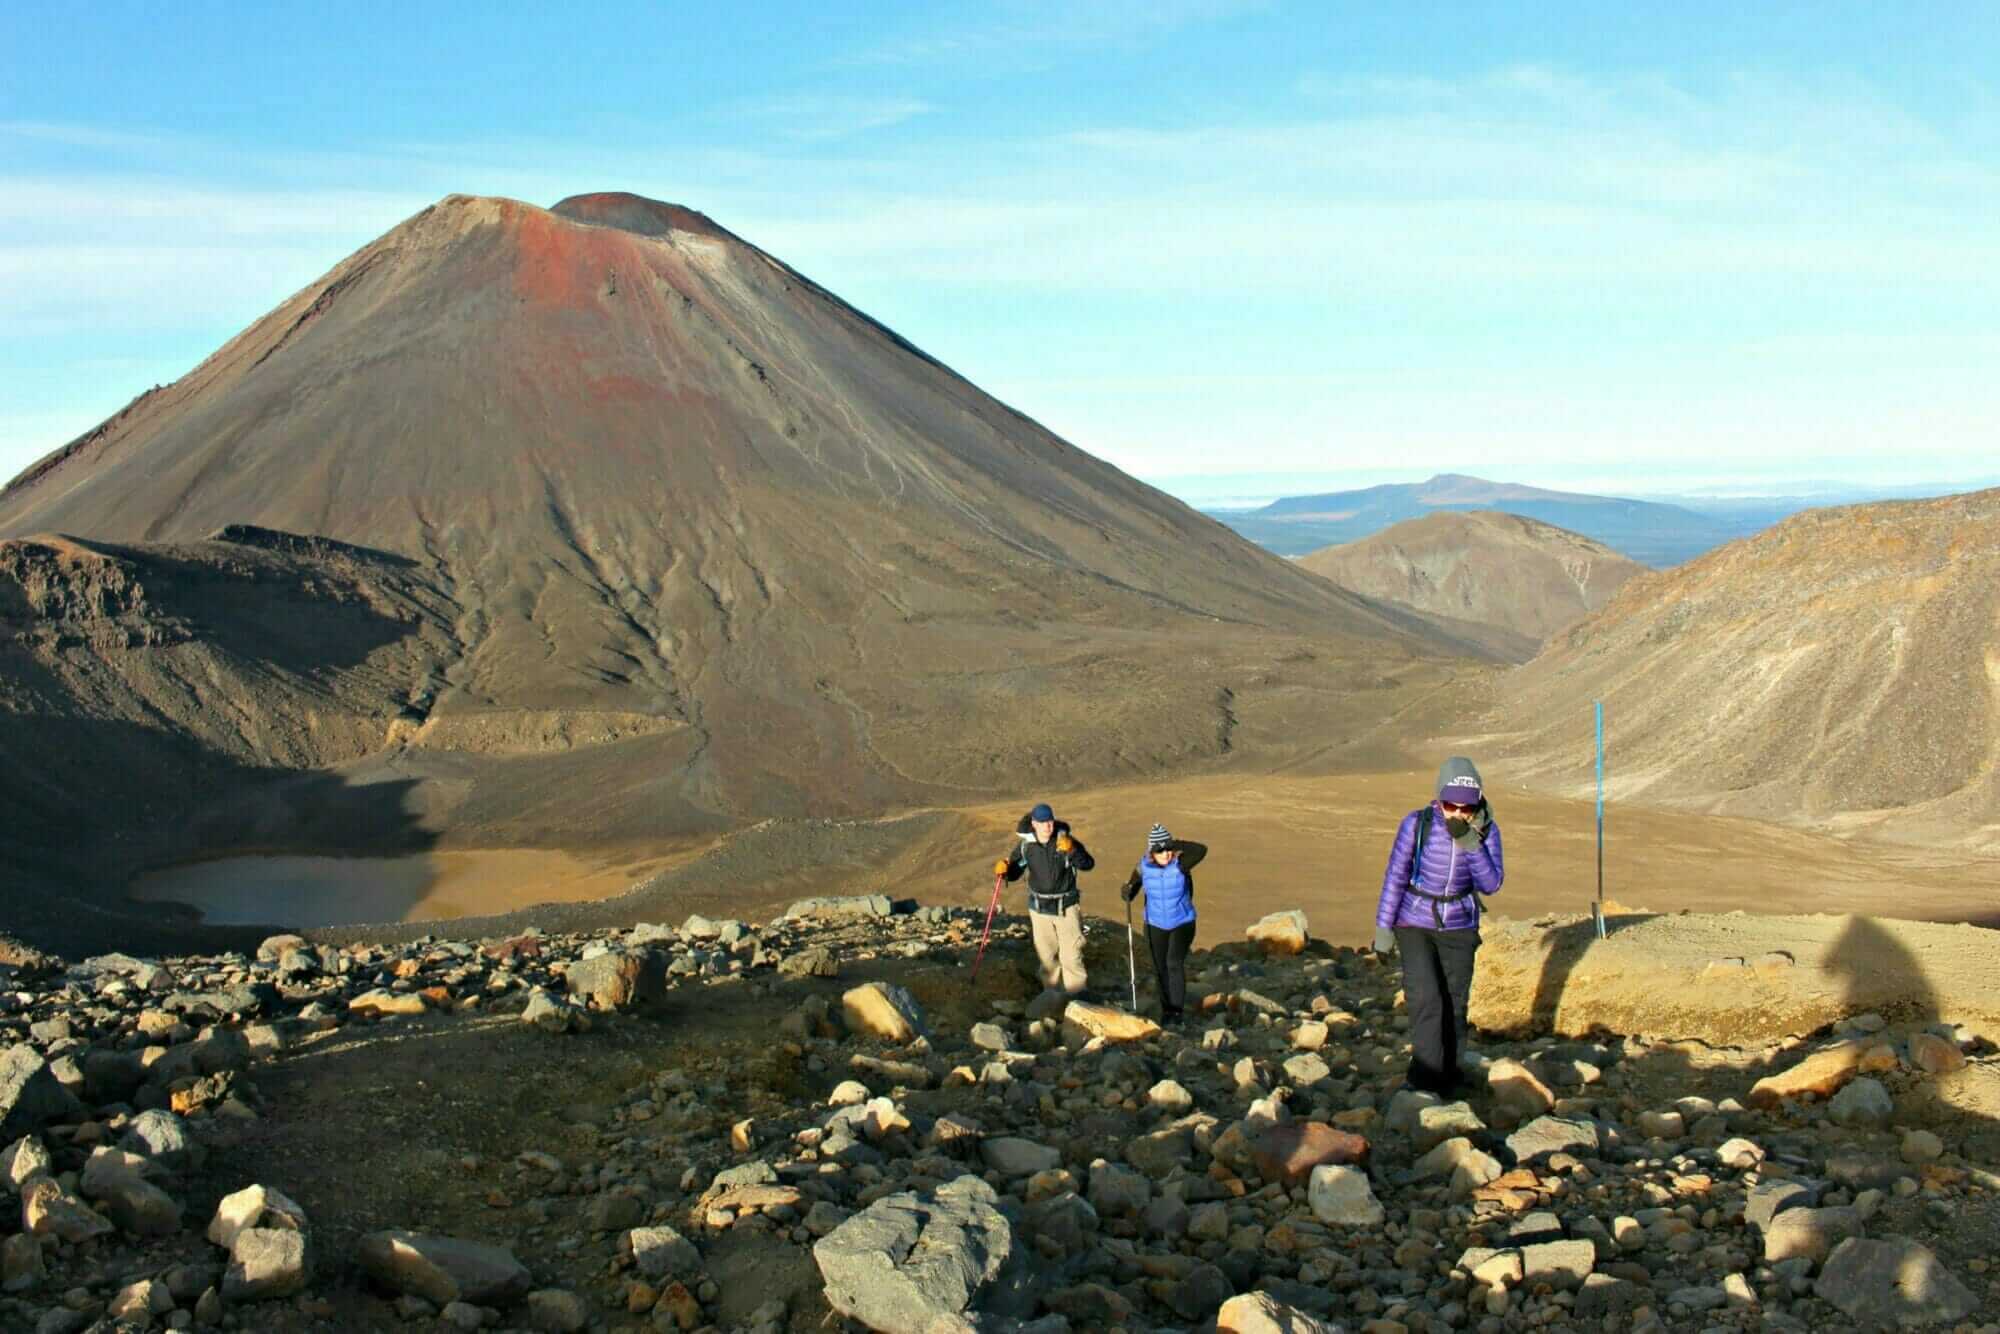
From Soda Springs the track became steep—very steep, gasping for breath, heart pounding steep—climbing from 1400 to 1600 metres above sea level. The view got better with every step so it was worth the strain. Known as the “Devil’s Staircase” this section led towards the red-tipped Mt Ngauruhoe looming above and the flat lands of the South Crater.
Best described as black, ashen and burnt, the landscape was volcano country. Here, the trail was covered in layers of ancient and modern lava flows and other volcanic deposits, so the surface was anything but smooth. Pay close attention to each step.
On this clear day, the view down the valley and out across the surrounding countryside was stunning and towards the west you can see the perfectly formed volcanic cone of Mount Taranaki before reaching the flat track section towards South Crater.
South Crater To Red Crater
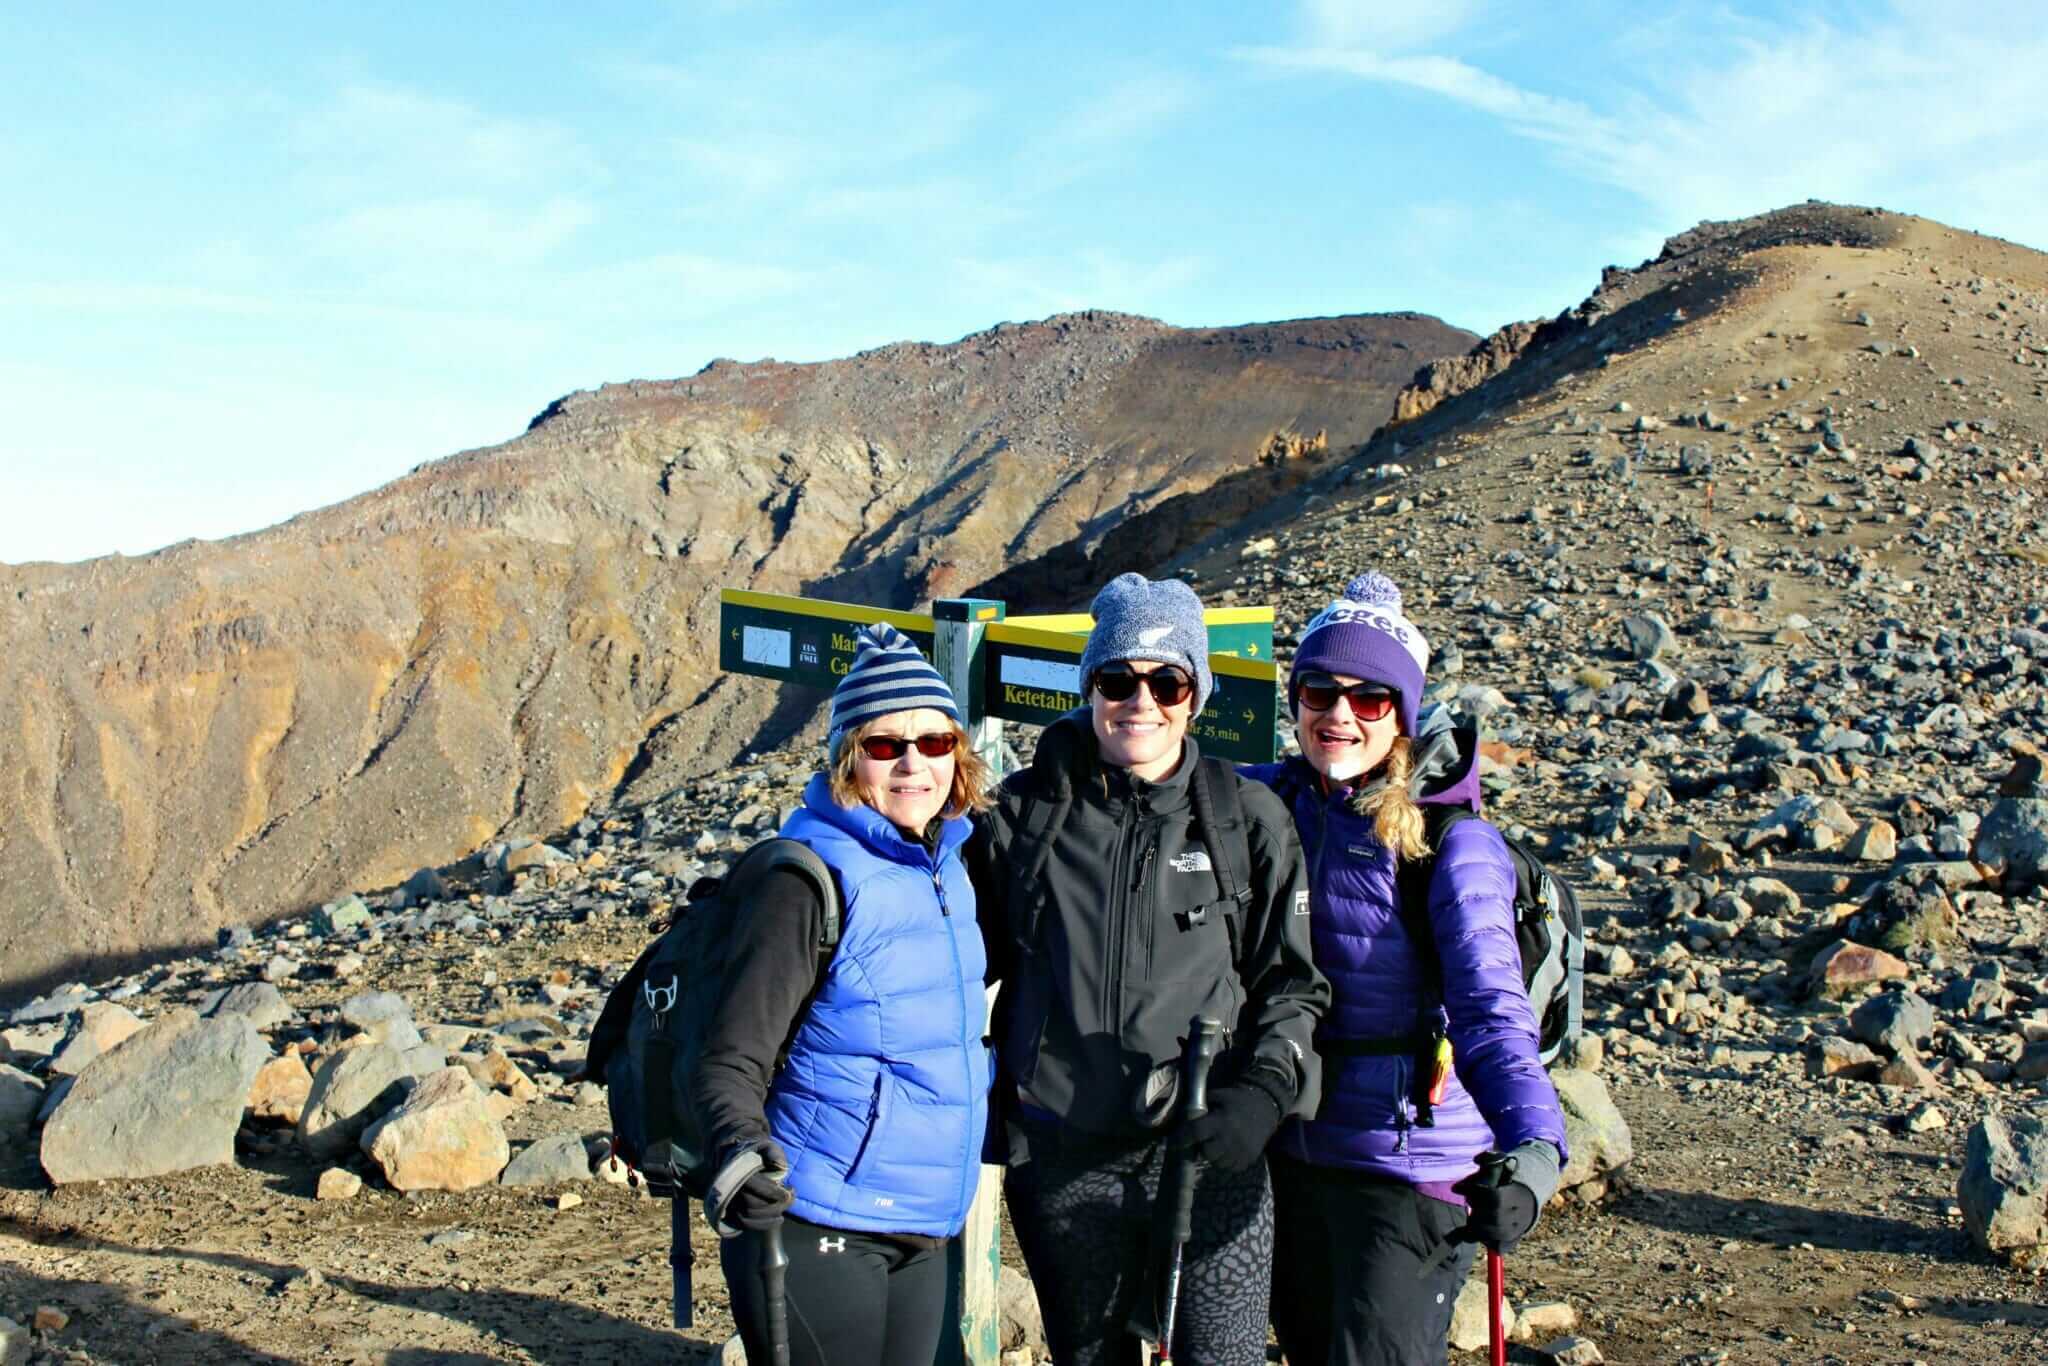
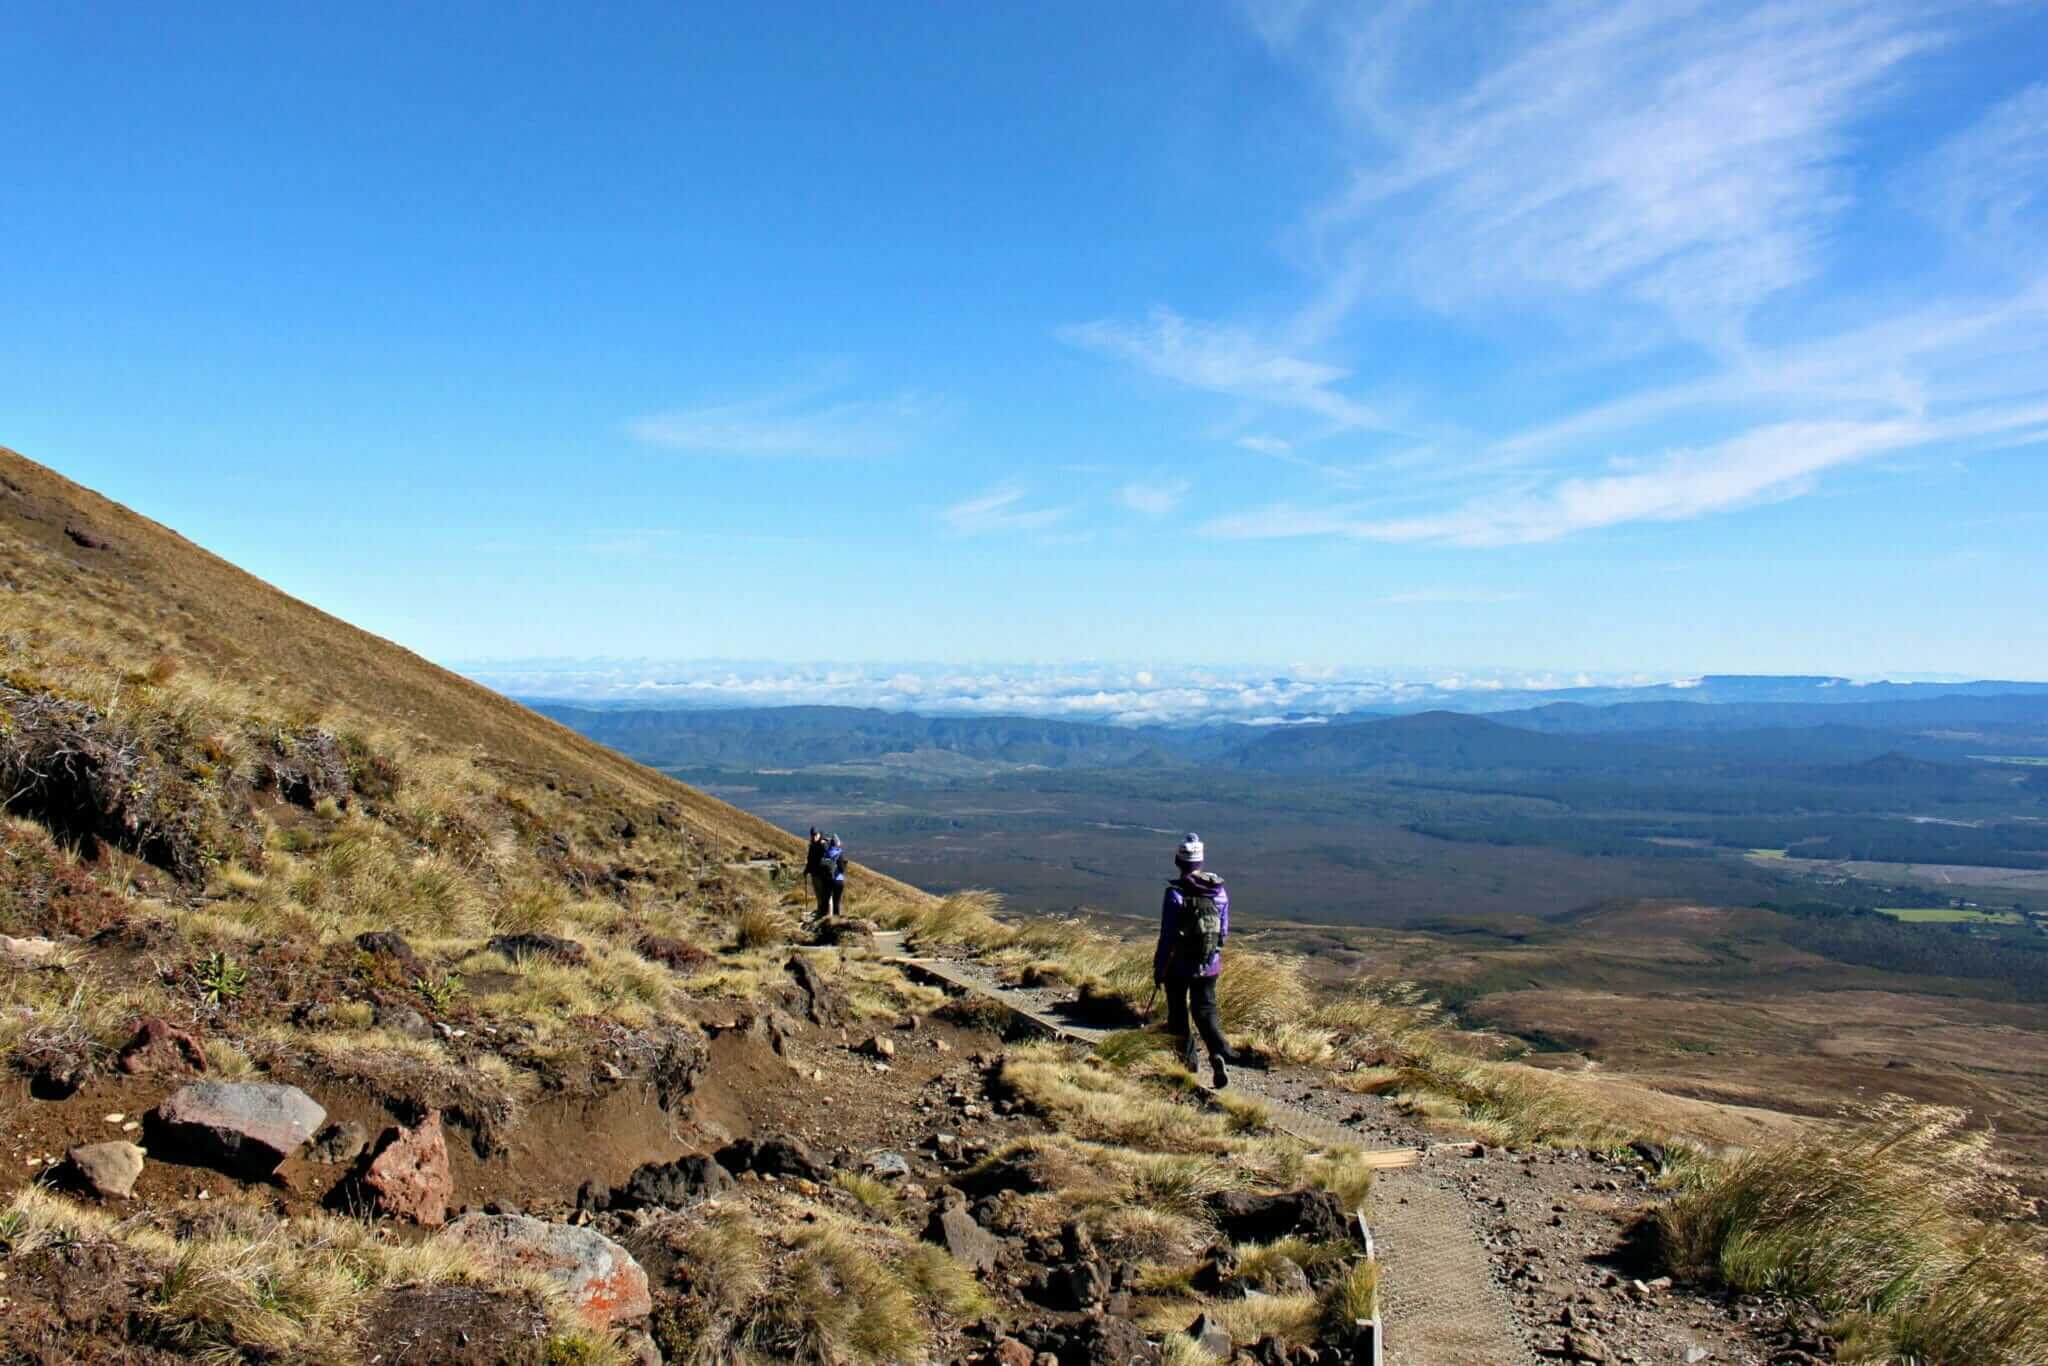
By the time we made it to the flat section of South Crater, our legs burned, but the air was getting cold. It was still early morning and the sun was low on the horizon. We passed South Crater where there was another short climb on an exposed ridge, following the track to Red Crater—the highest section of the Alpine Crossing (1886m).
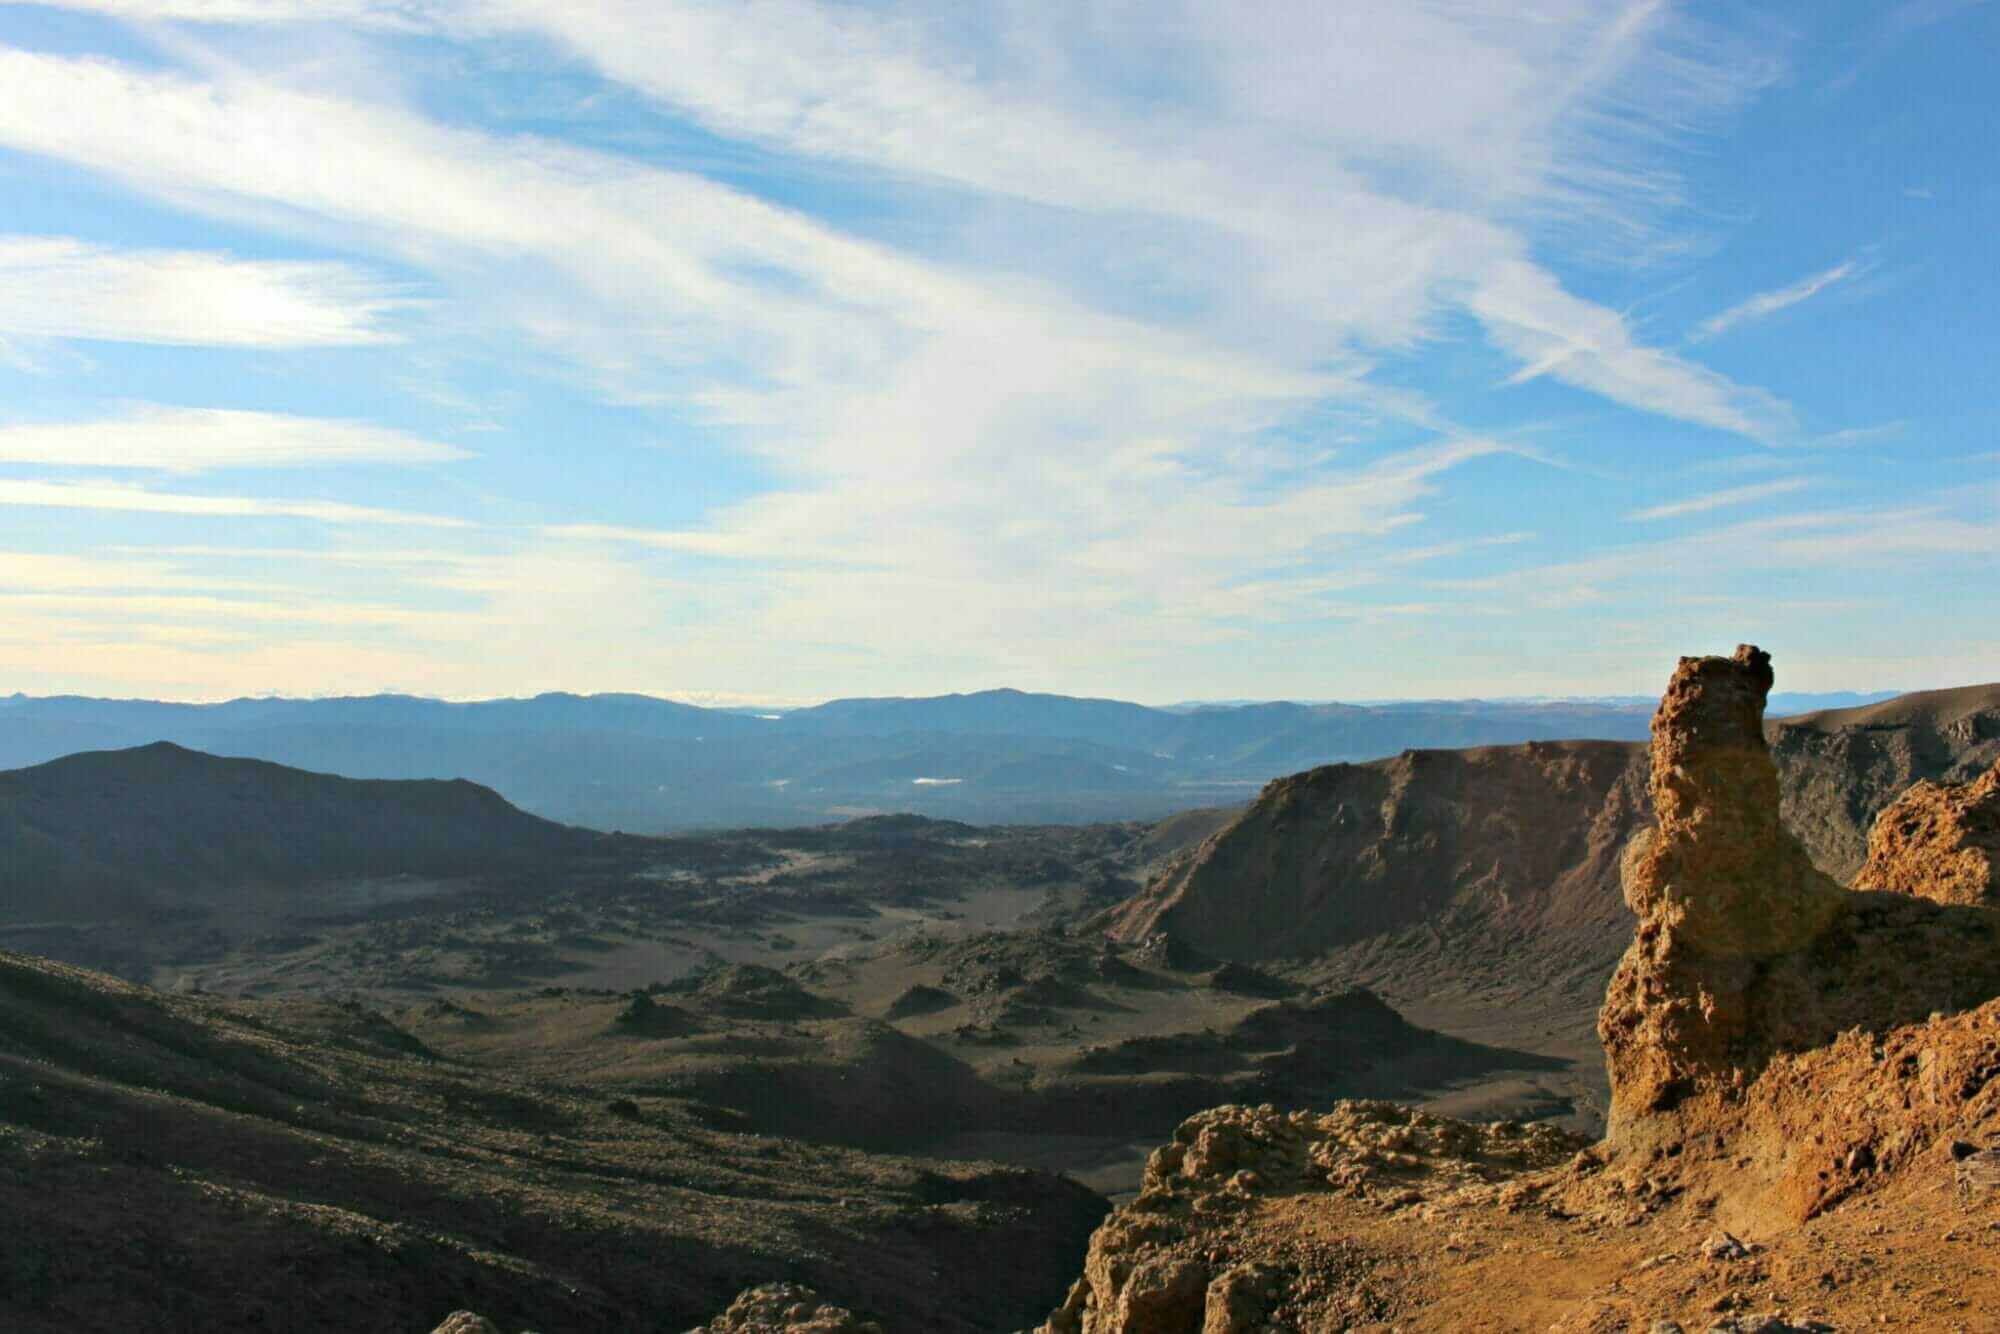
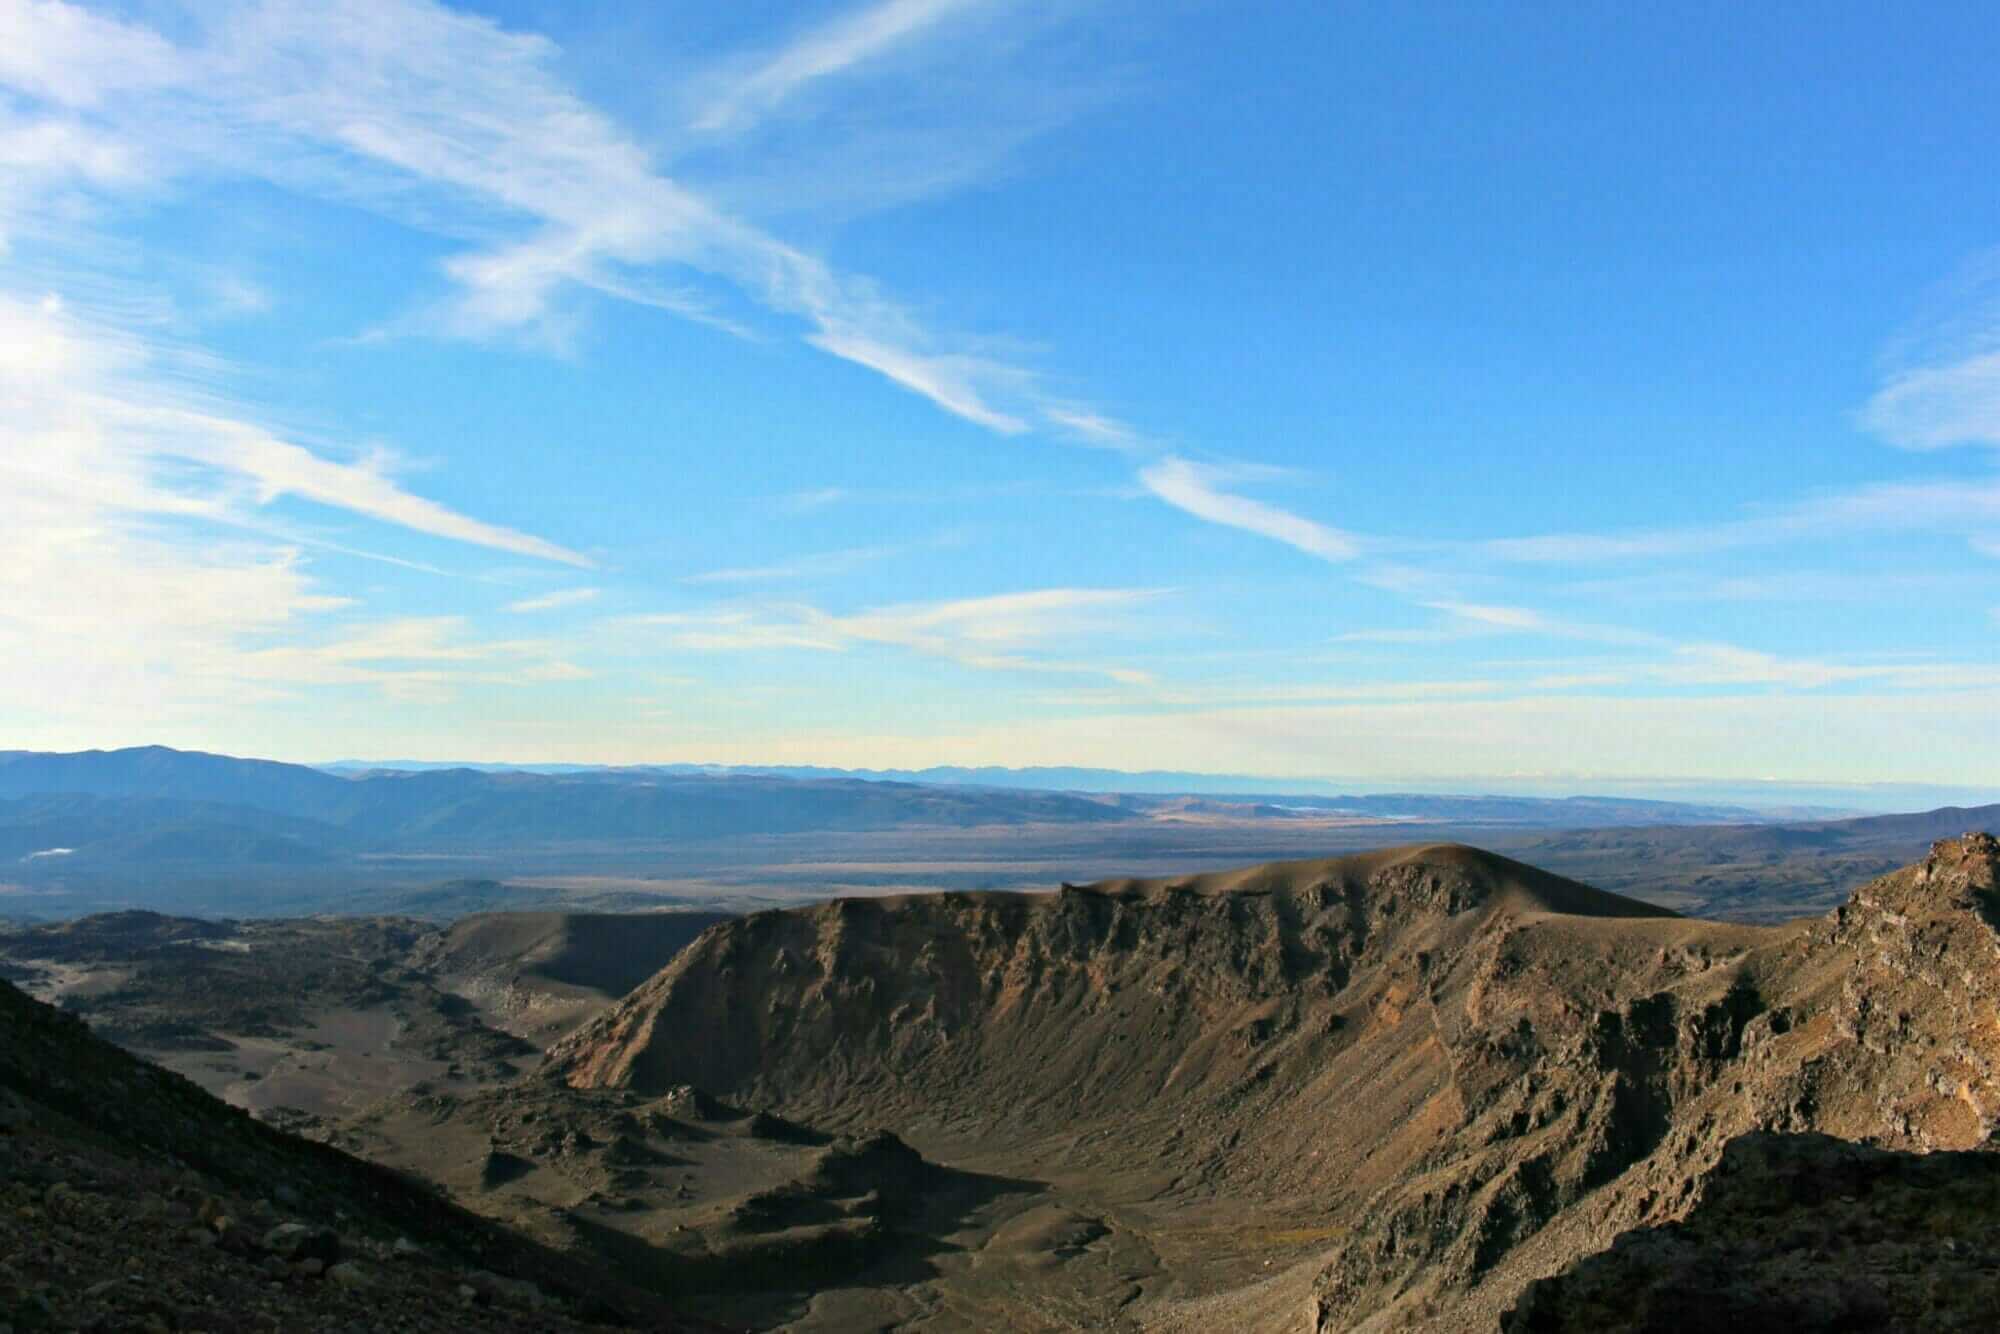
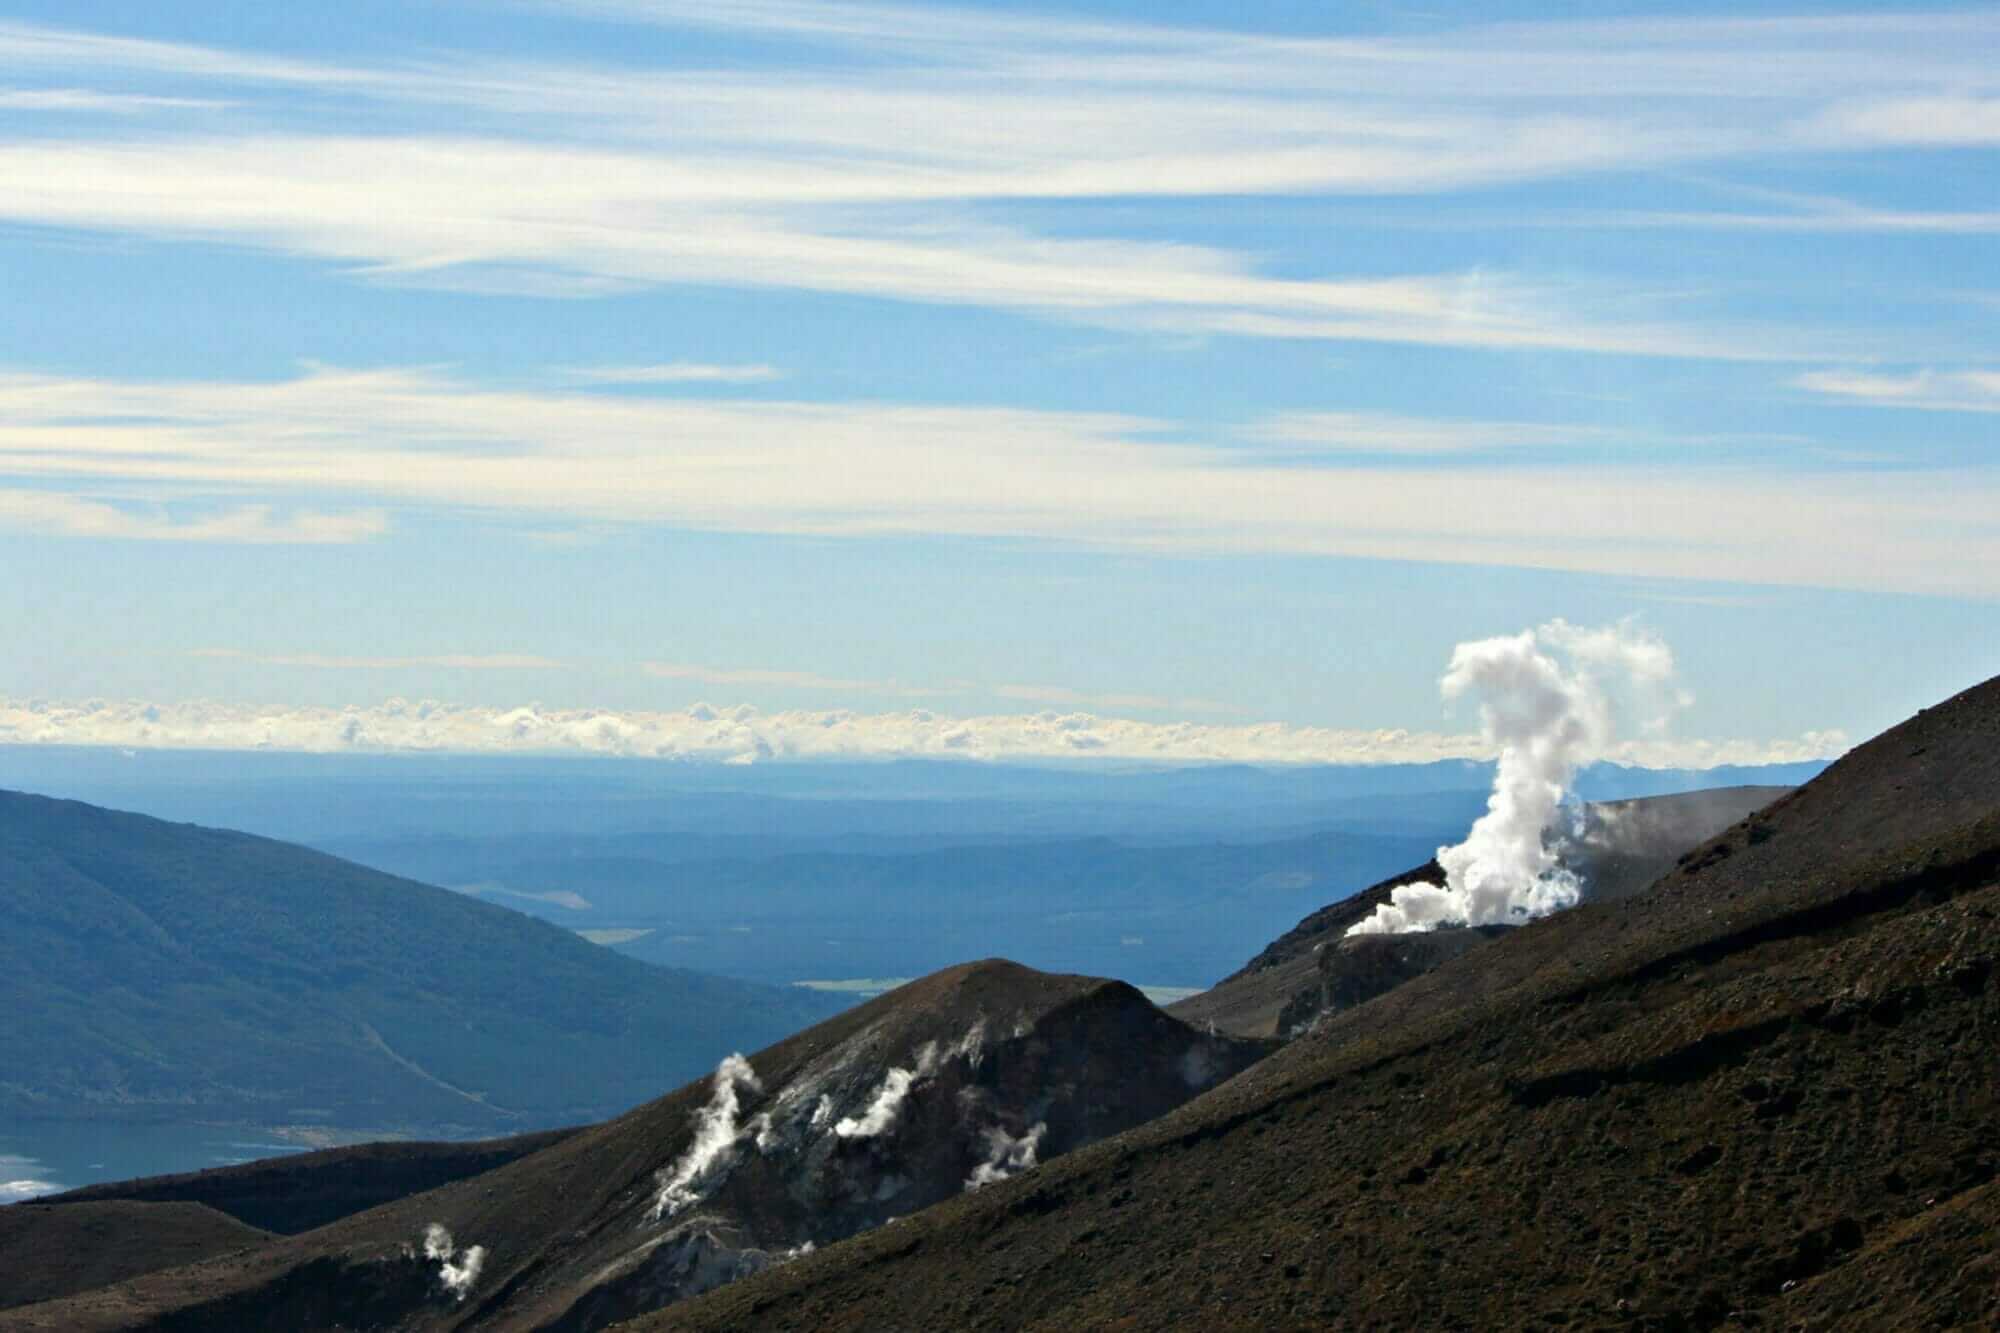
From Red Crater, the views were mind-blowing. First of all, we had no idea how high we were but with the views across the Oturere Valley, Rangipo Desert, Kaimanawa Ranges and down towards the Emerald Lakes, our mouths hung open in disbelief but soon dried out due to the blustery wind. The wind here was cold—bone-chilling cold—and so gusty we thought we’d be pushed over.
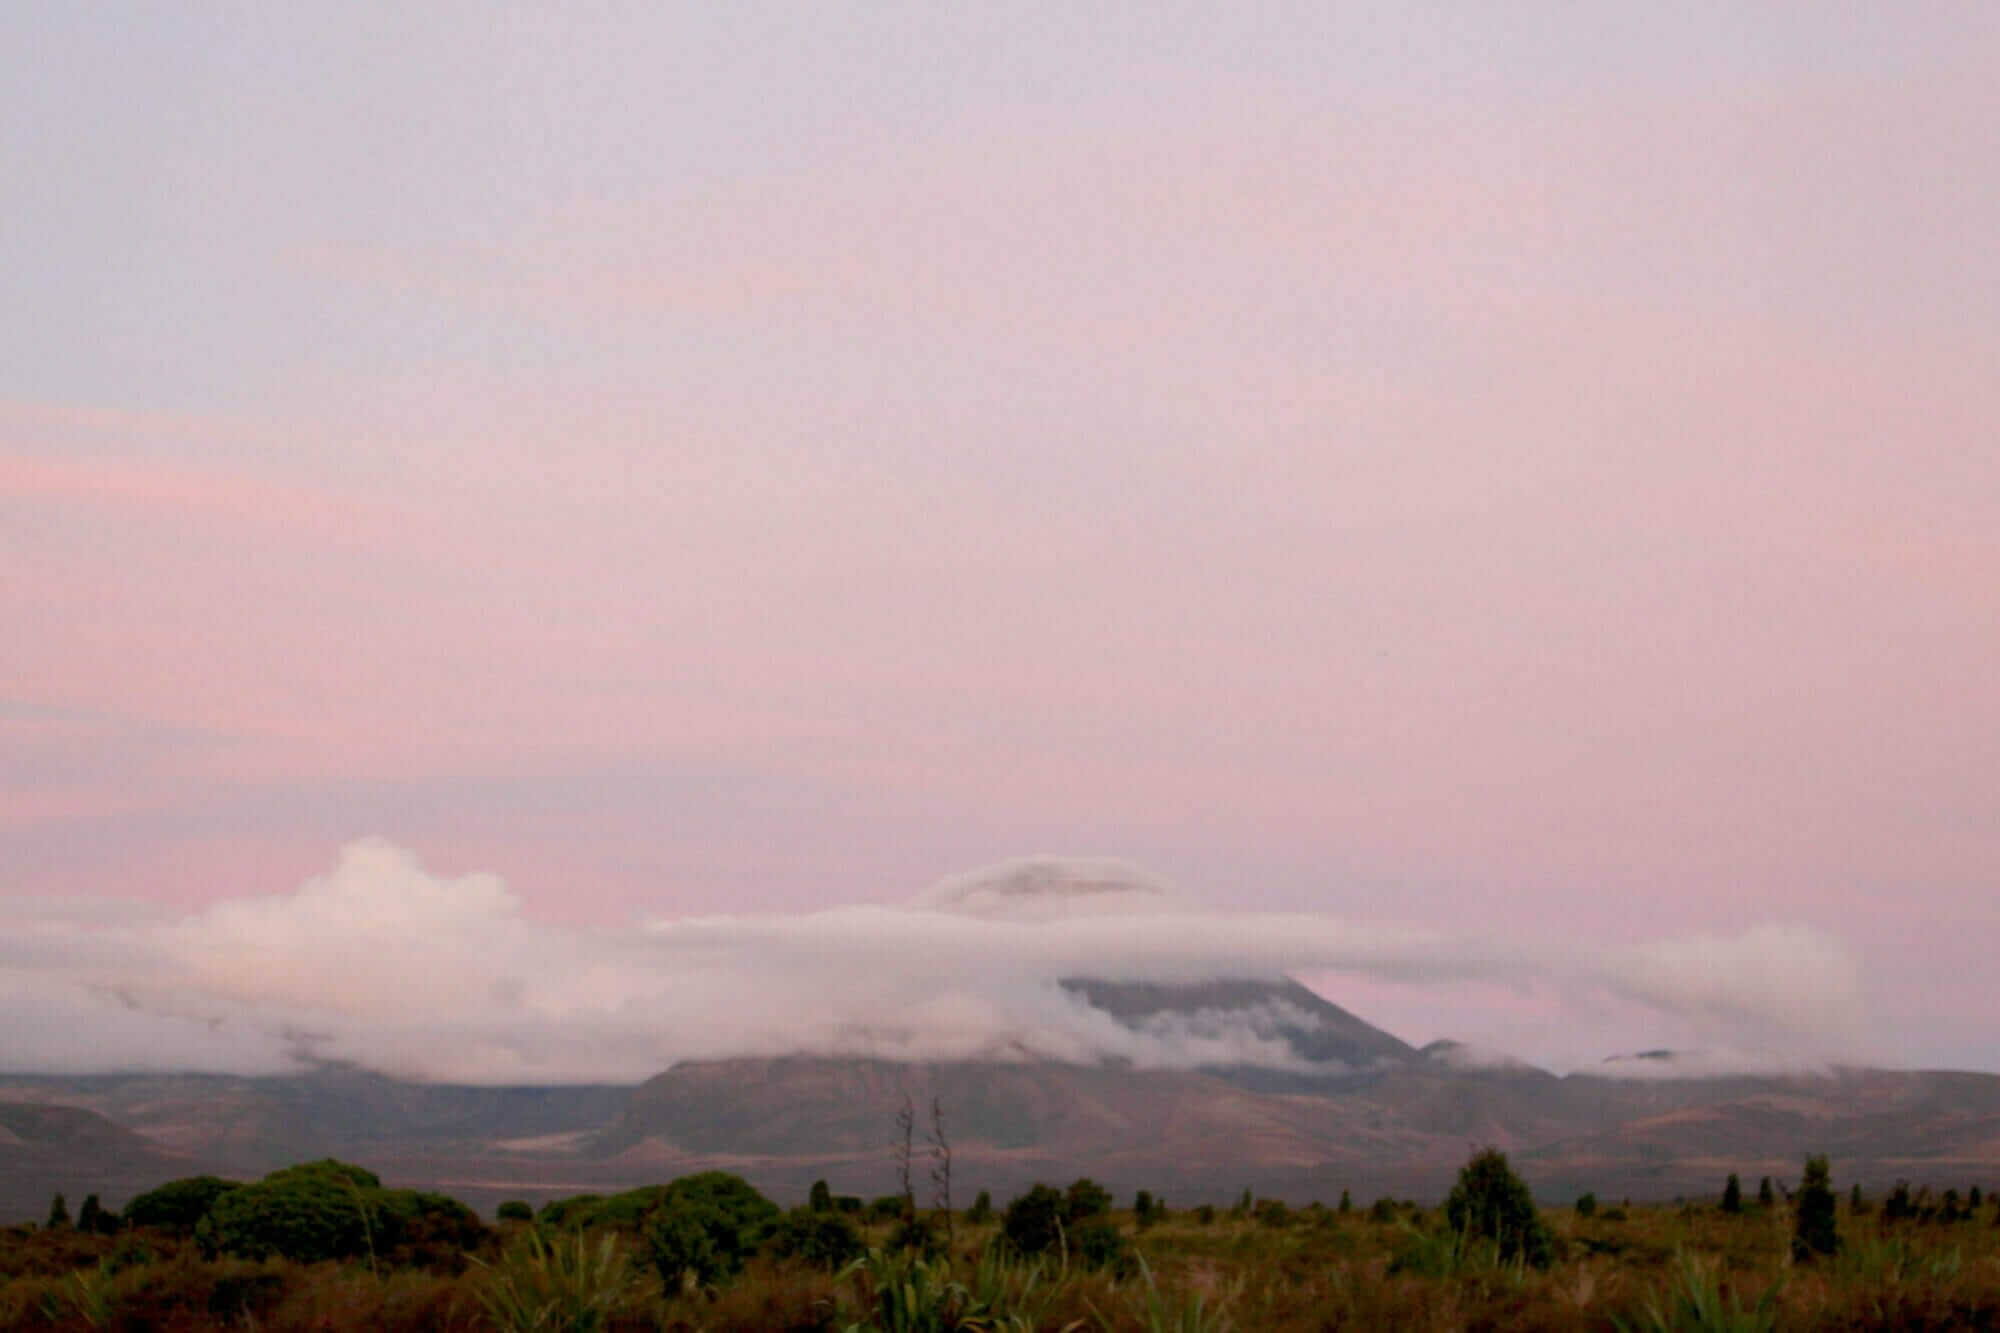
But standing on the top overlooking the black landscape, the lush valleys, the pastel-coloured lakes and the full moon still in the sky, despite the exhaustion and the wind burn on my face, the stamina required to get to this point was worth it. It was the final push and it felt like it.
From here, the experience turned into a symphonic crescendo—the slow build up the side of the mountain, the tension increasing with each step, to finally feel the intensity explode inside you when the summit is reached the world splays out below you in all its colour and glory. Standing on top of Red Crater felt like the Ode to Joy from Beethoven’s 9th Symphony. I finally understood why people risk everything to climb mountains.
Red Crater To Blue Lake
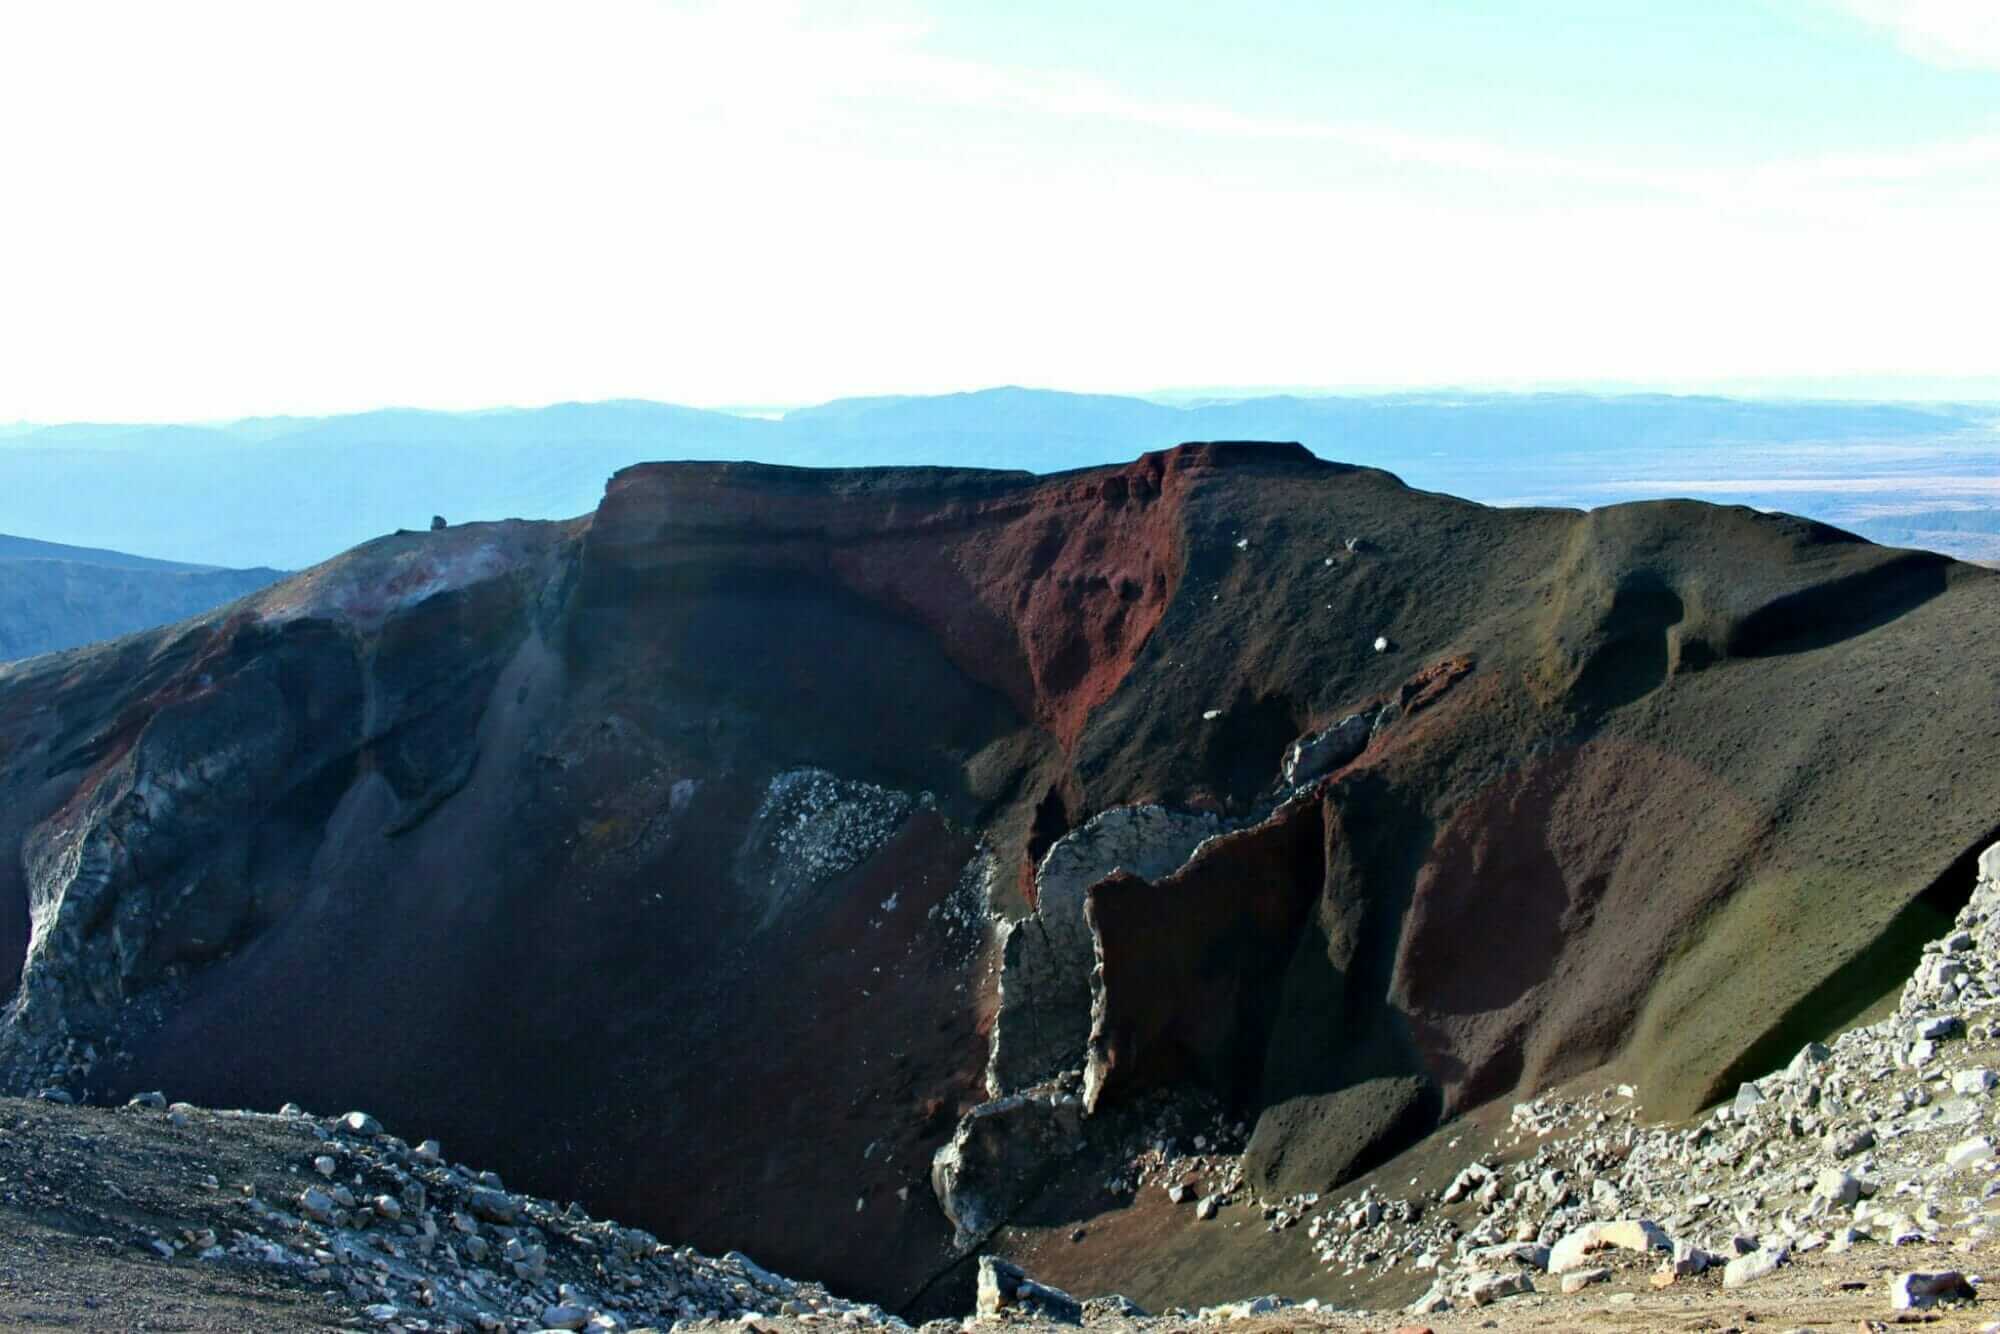
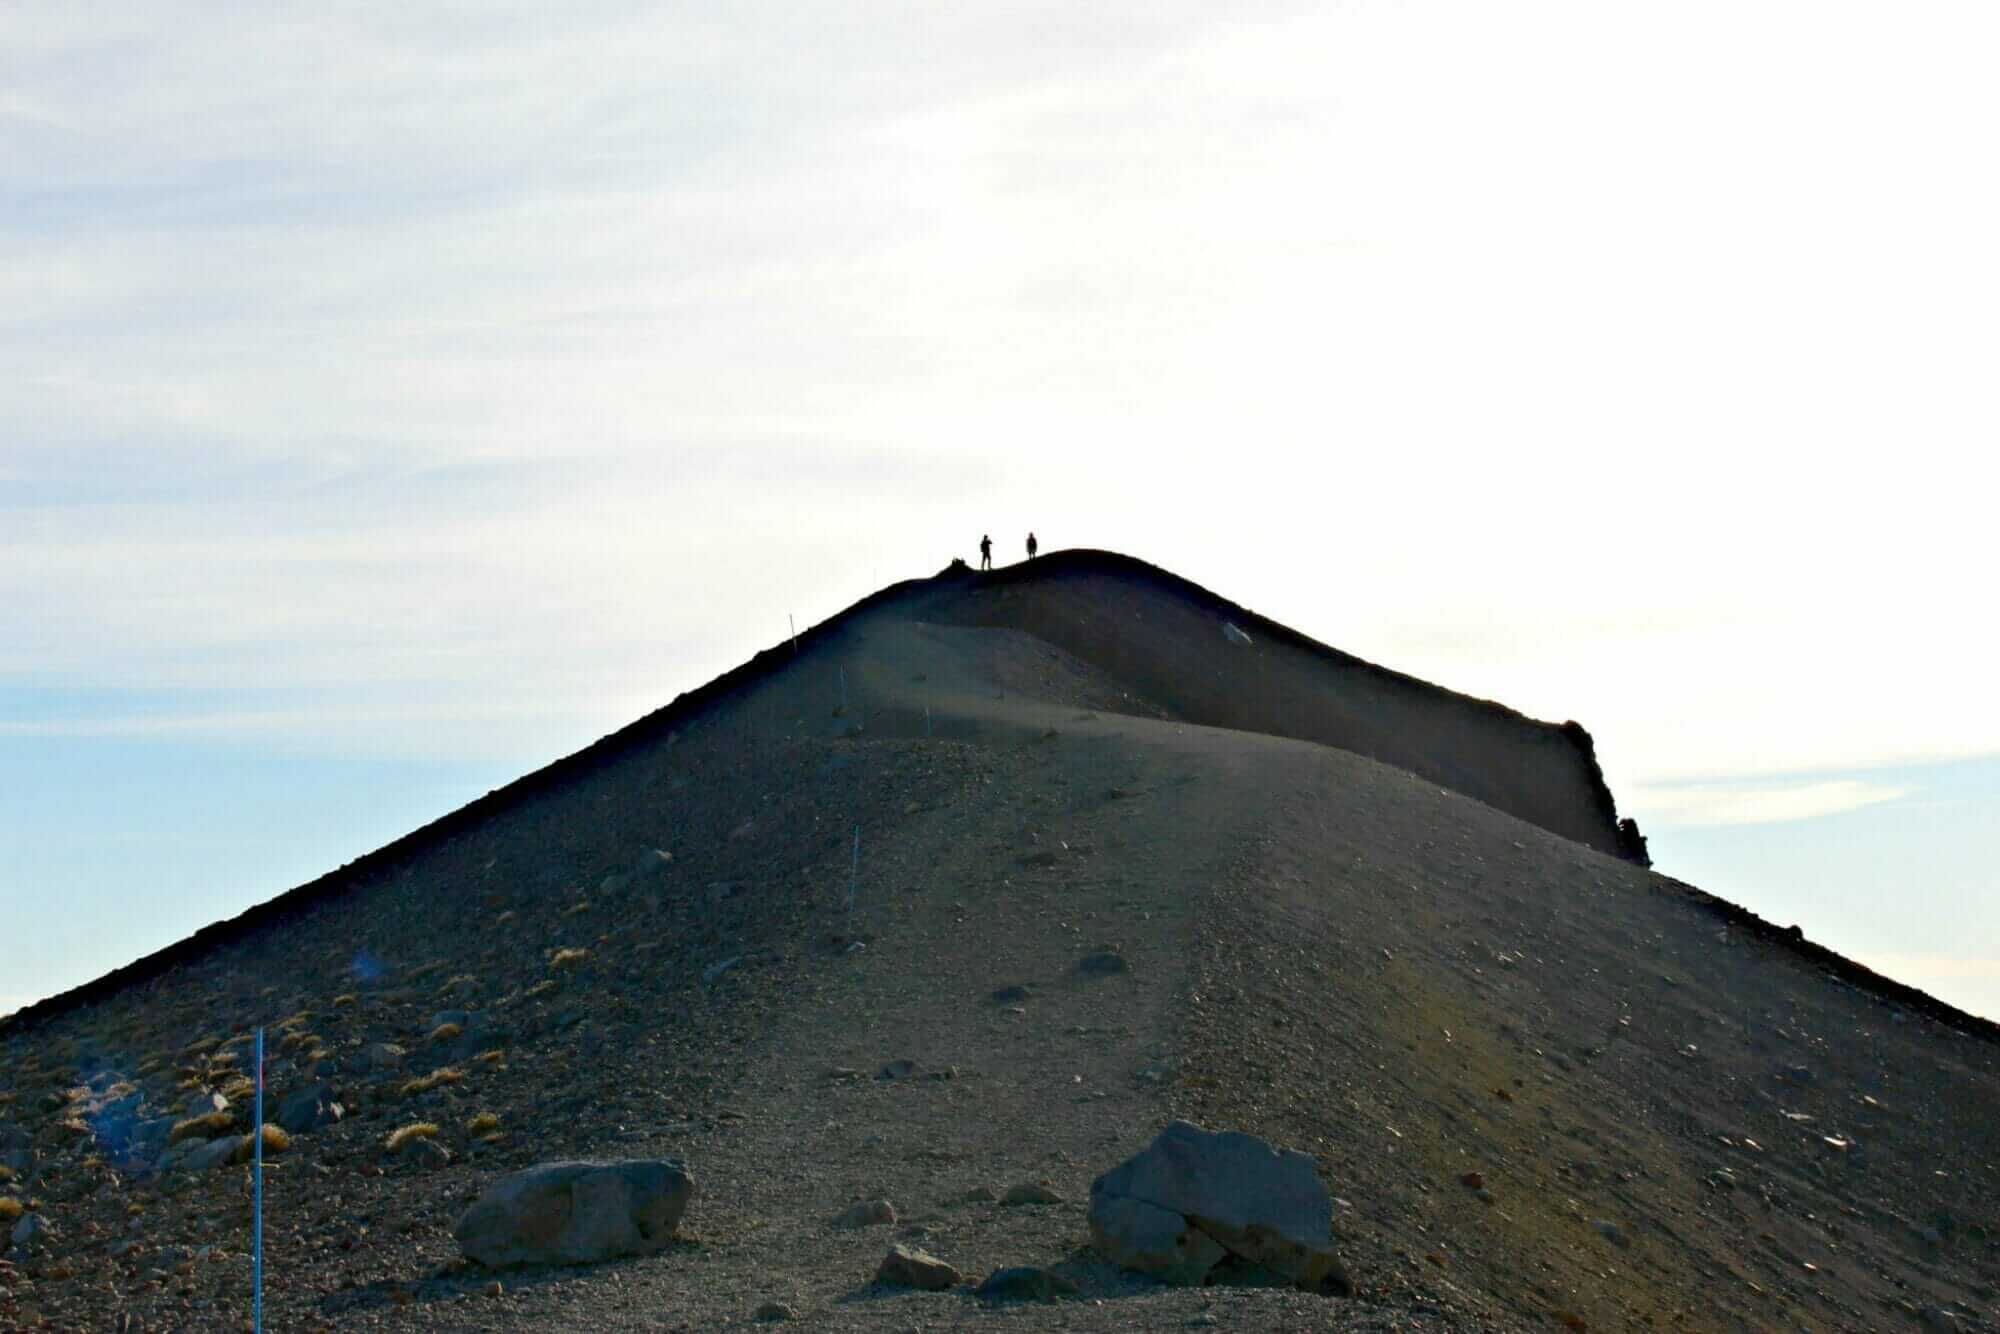
Climbing to the top of Mt Tongariro is no easy feat. The wind was gusty, the rocks were loose and it felt as though we were climbing straight into the sky and could lose our footing. Coming down off of Red Crater I was dizzy—dizzy with exhaustion, cold and amazed by the beauty all around me. Trying to take it in and not fall required a great deal of concentration. My gloved fingers were frozen from the wind and I had trouble gripping my beloved pole.
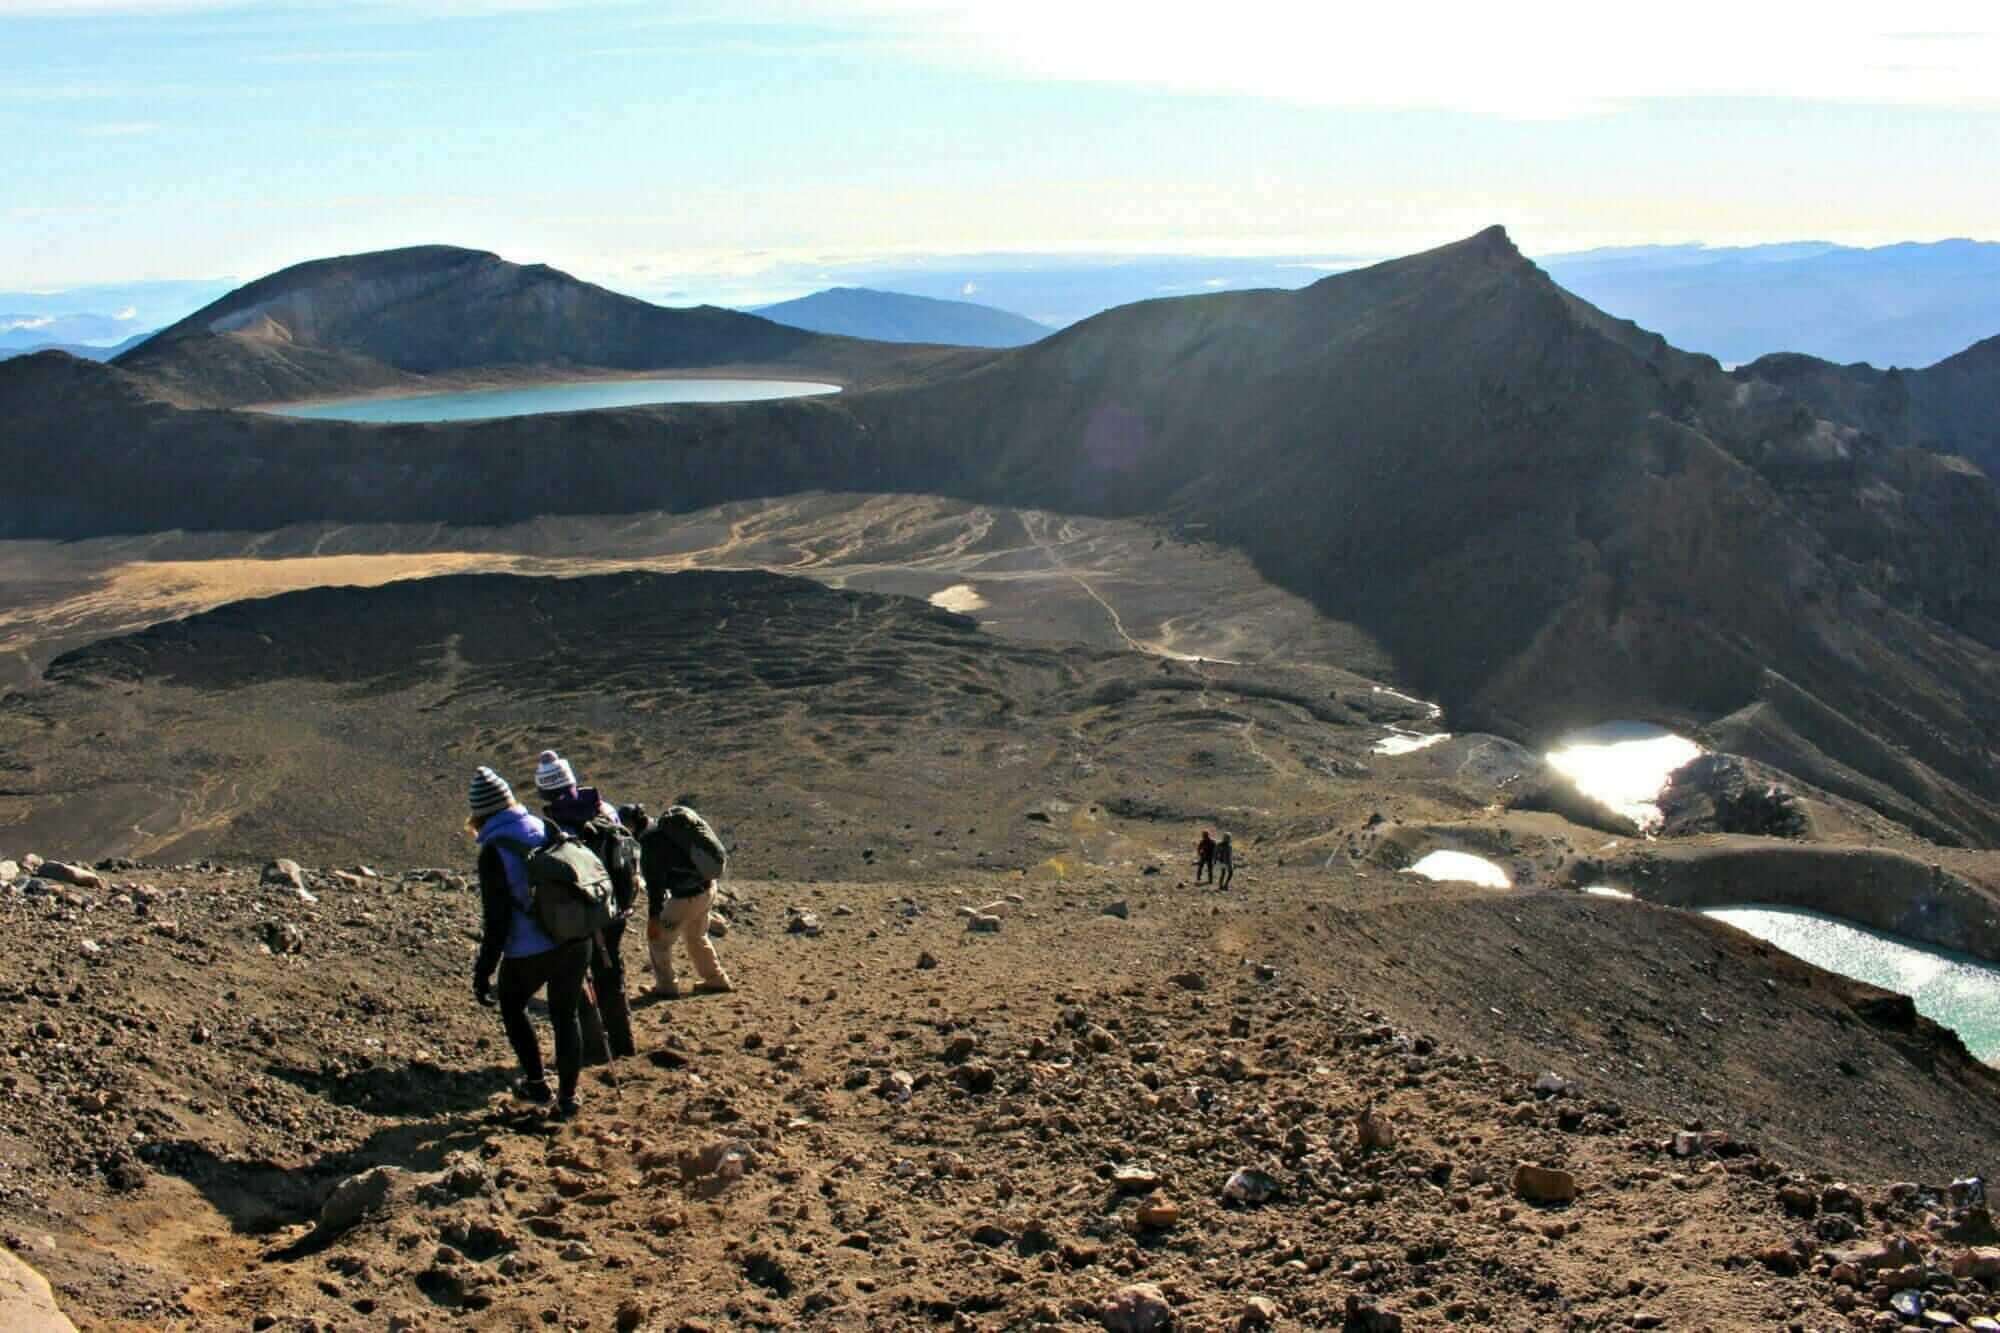
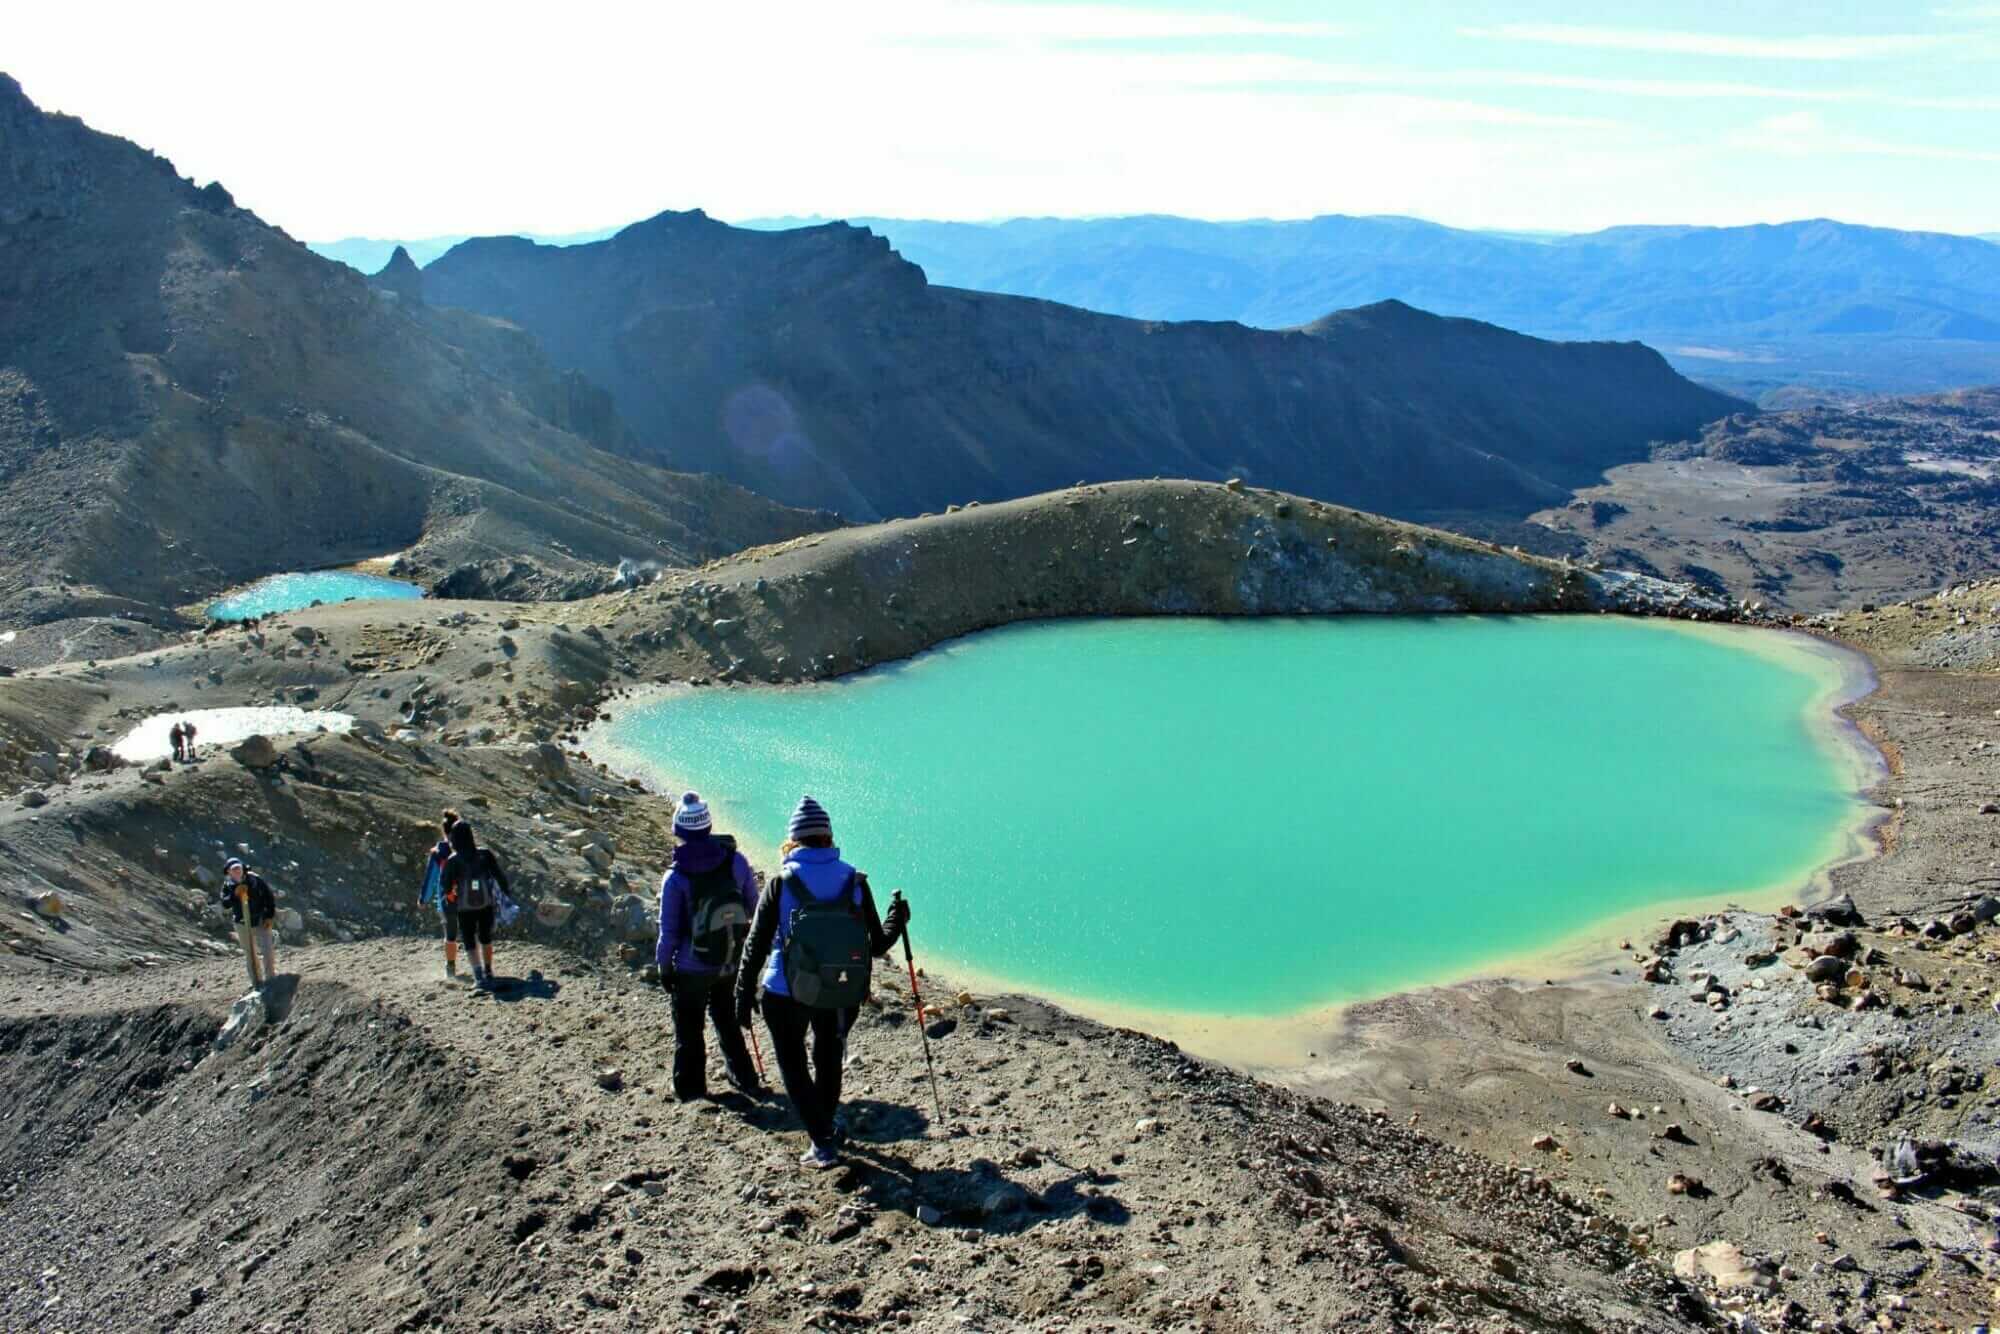
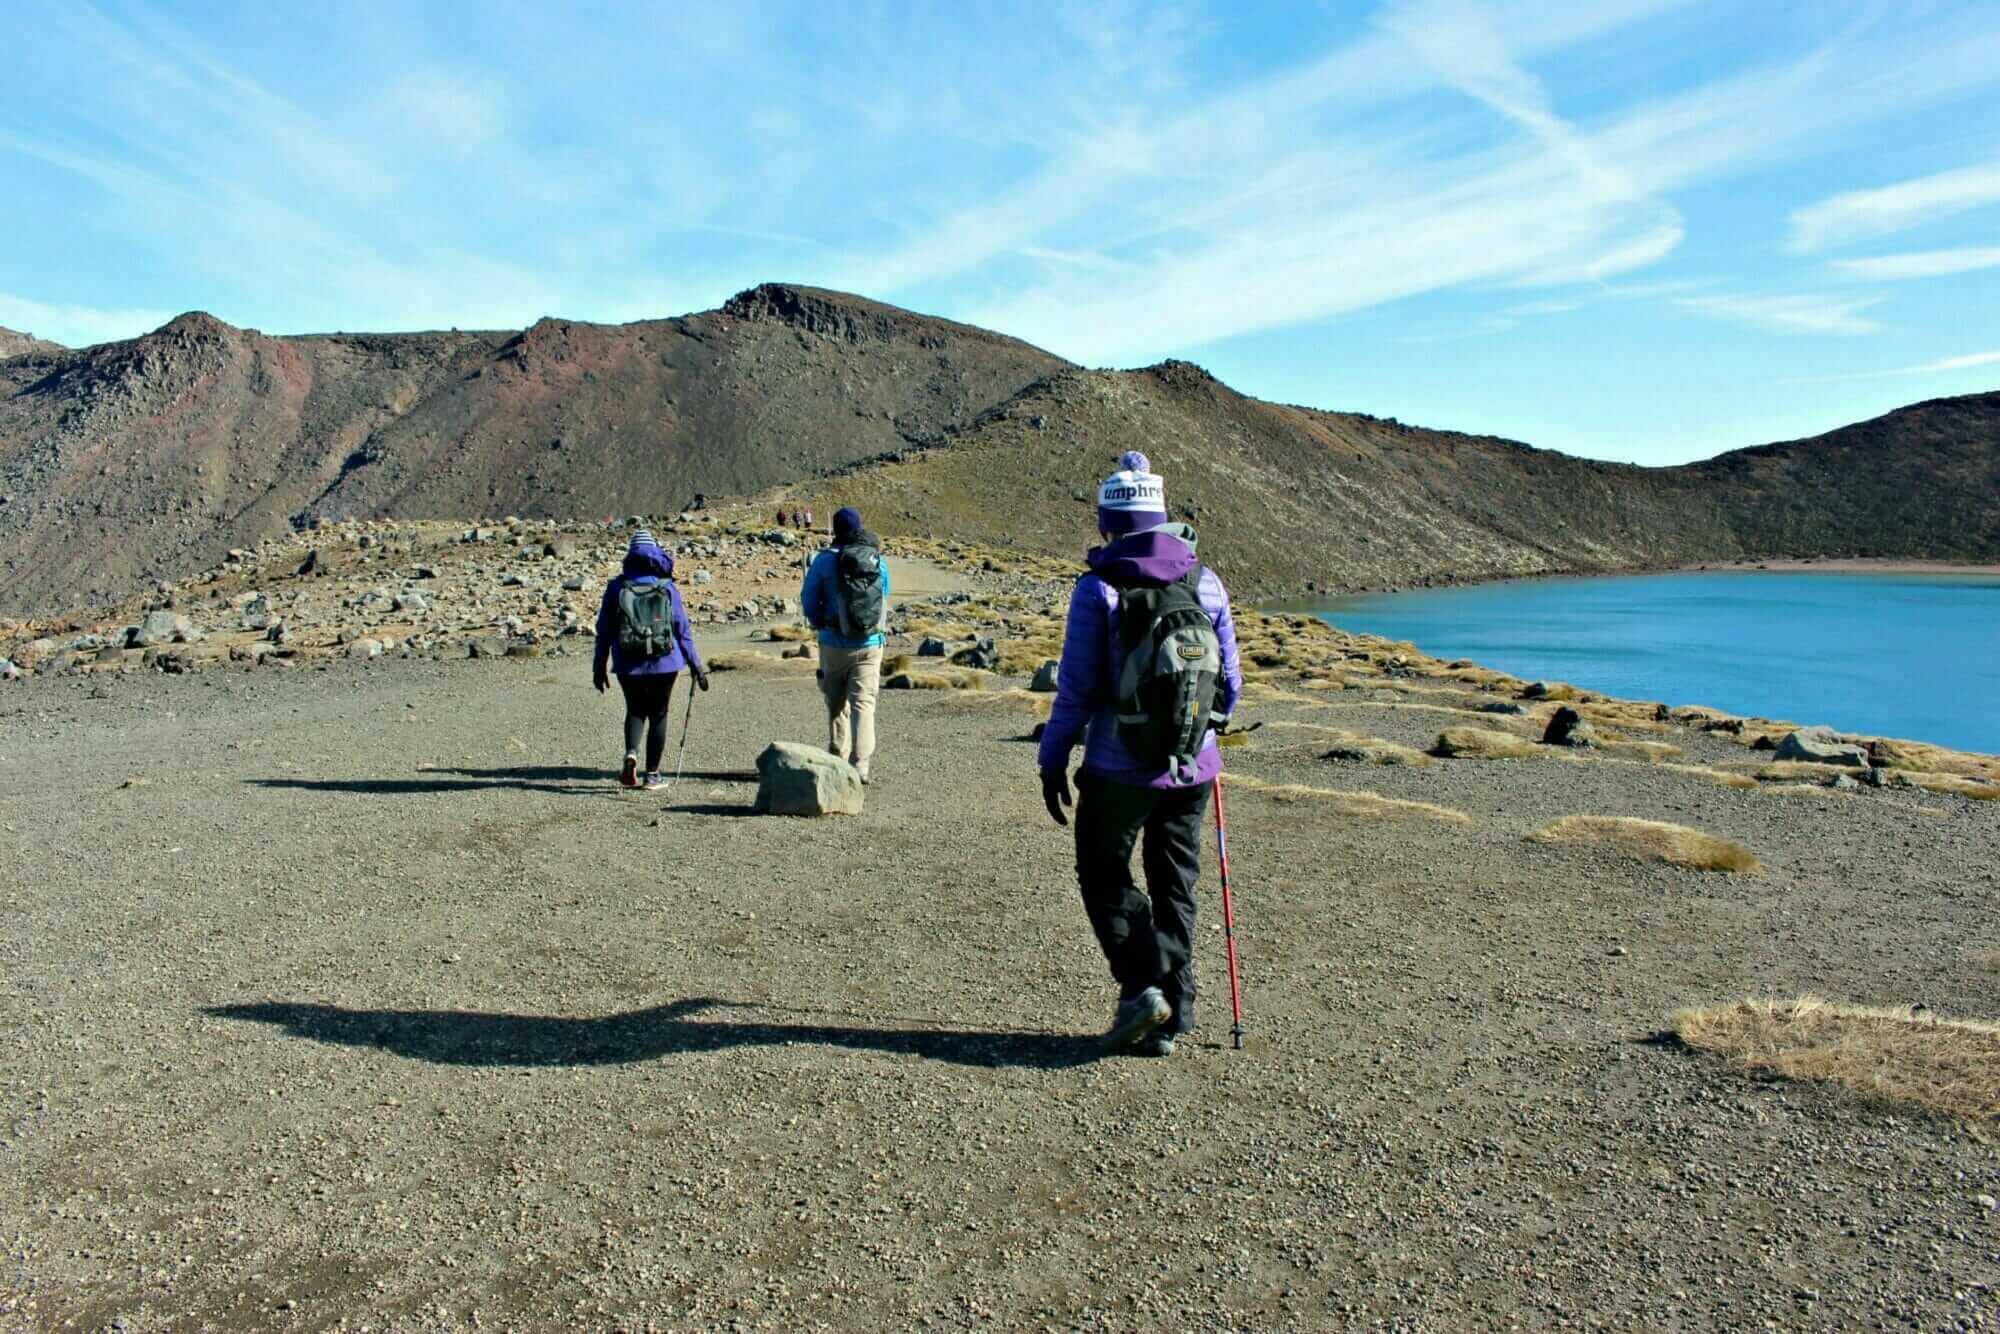
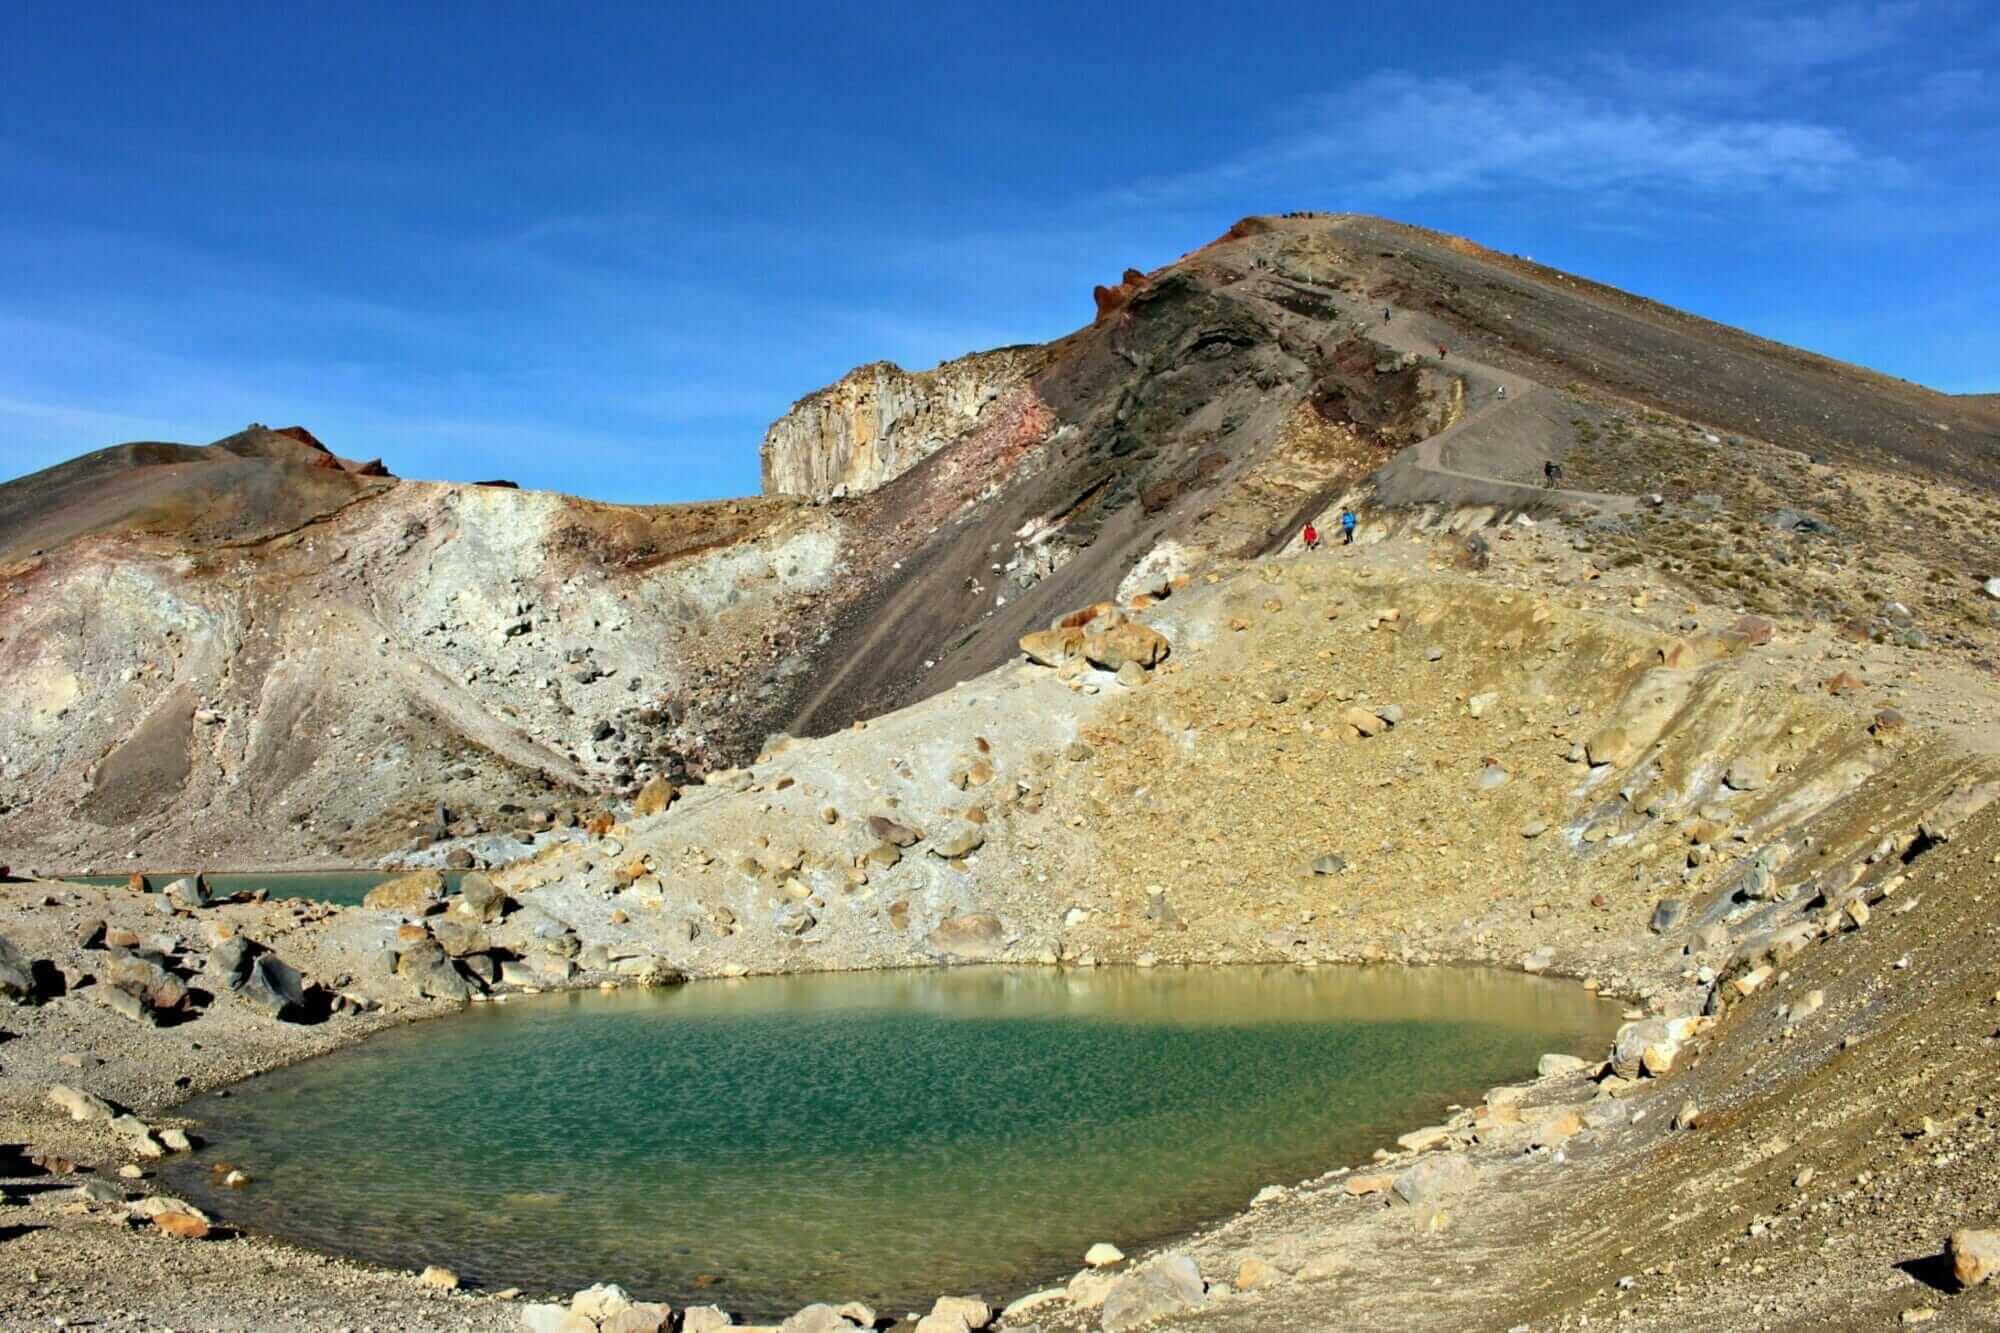
Once atop Red Crater, the view changes and sulfur-rich lakes come into sight with the largest one, Blue Lake, sitting peacefully inside a crater. The descent from Red Crater required extra care as the loose scoria underfoot causes you to slide rather than walk down this part of the peak.
To the left, an old lava flow from Red Crater spread out across the floor of Central Crater. To the right, the Emerald Lakes sparkled fluorescently in the morning sun. Minerals leached from the surrounding rock cause the colour of the Lakes. The air smells of rotten eggs courtesy of the steam vents above the lake.
Following the track down to the edge of Central Crater involved more sliding than walking. And once on flat ground here, we pulled over for a long drink and some lunch. We had hit the four-hour mark.
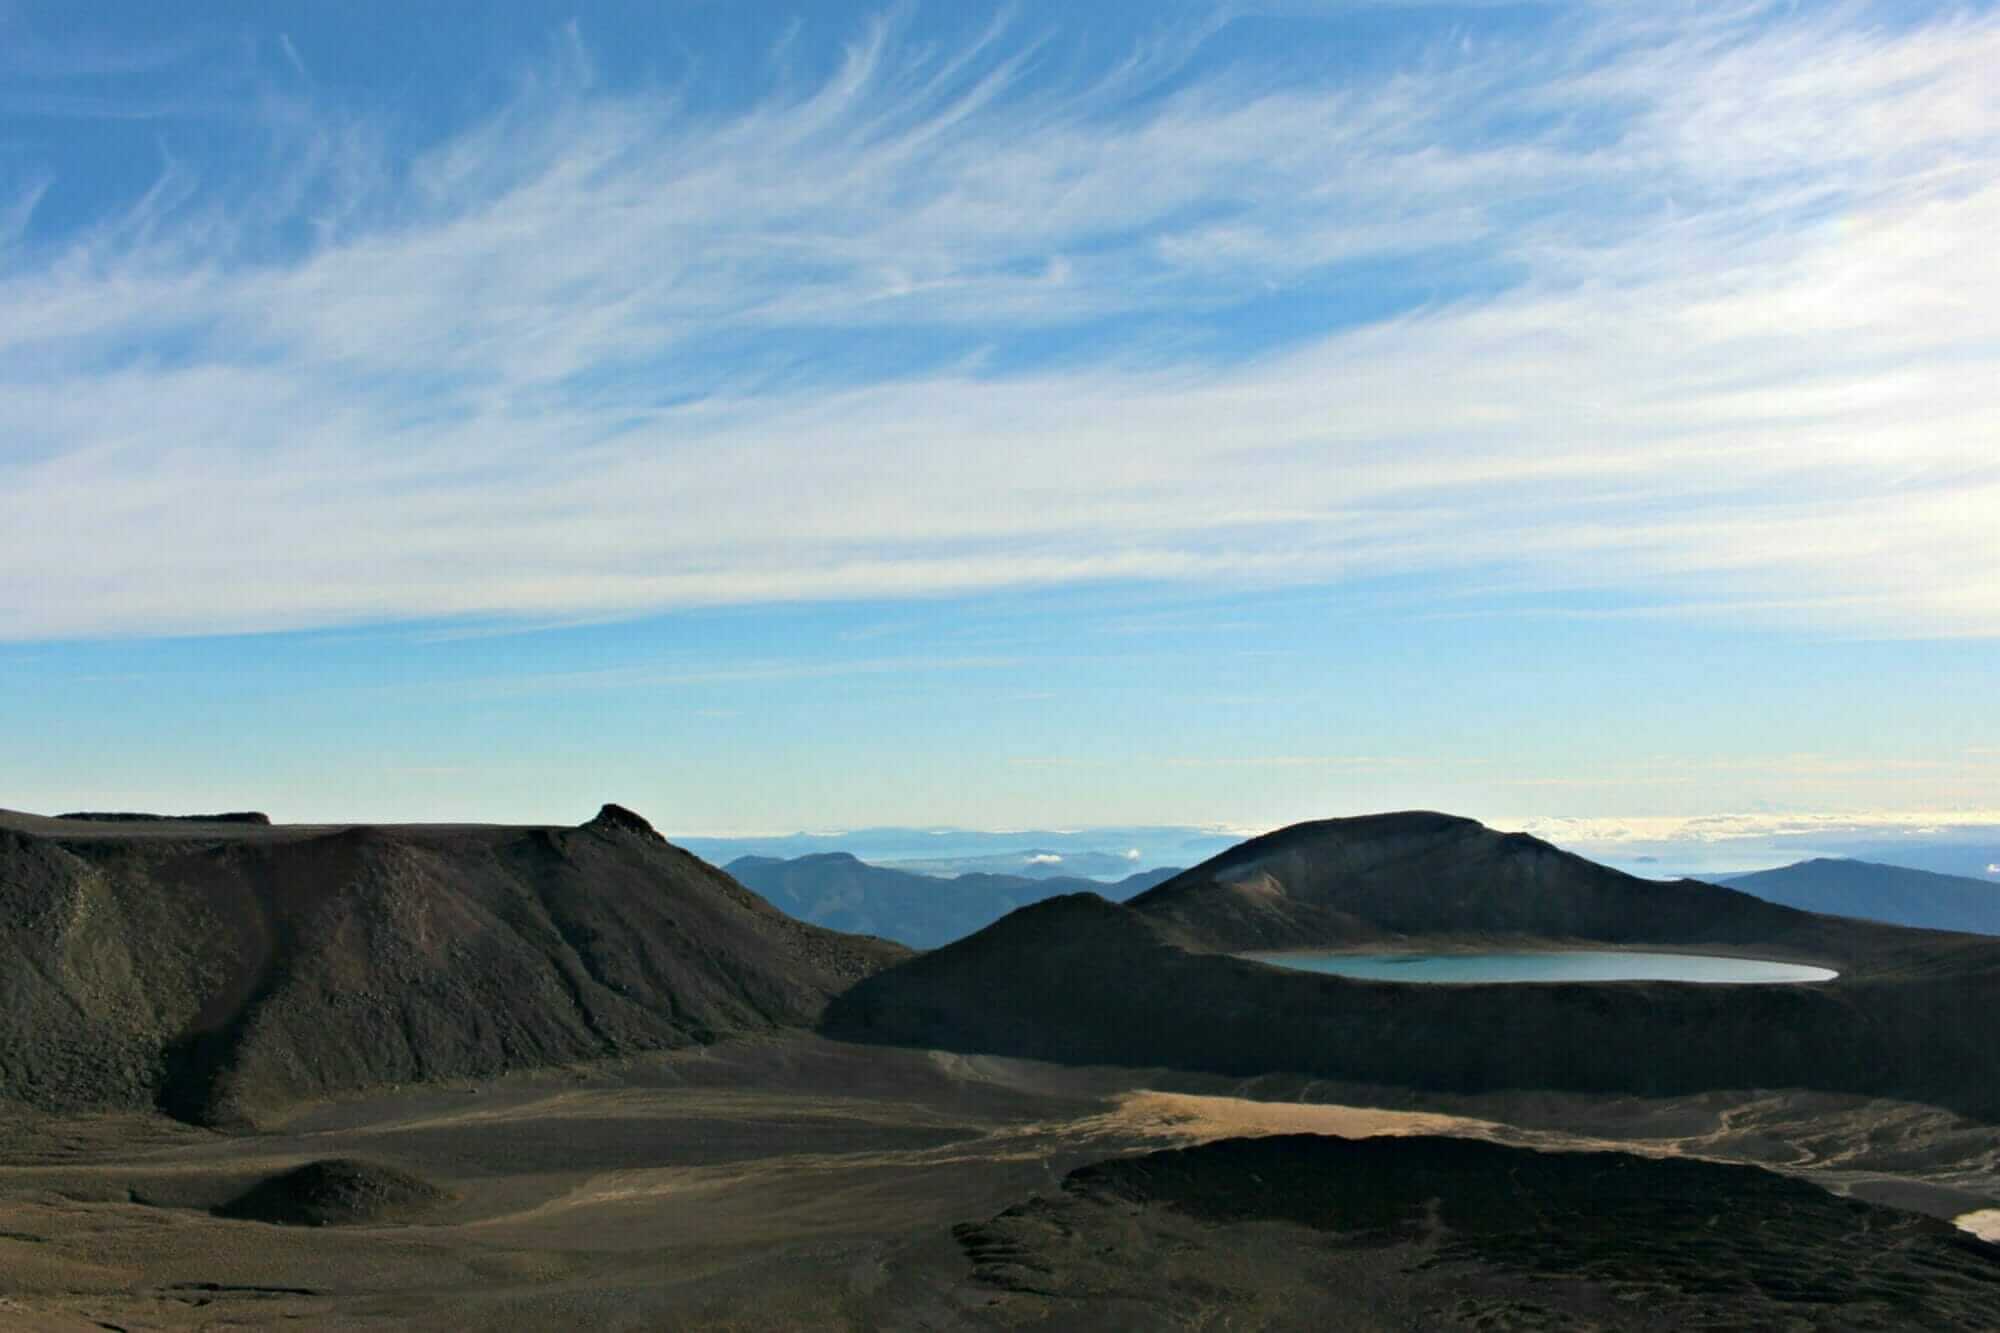
The climb up to Blue Lake (acidic water so don’t go for a swim) was easy and gentle, almost a lovely stroll compared to that of Red Crater. The lake is Tapu (sacred) and it is disrespectful to touch, enter, eat or drink around its shores.
Blue Lake To Ketetahi Shelter
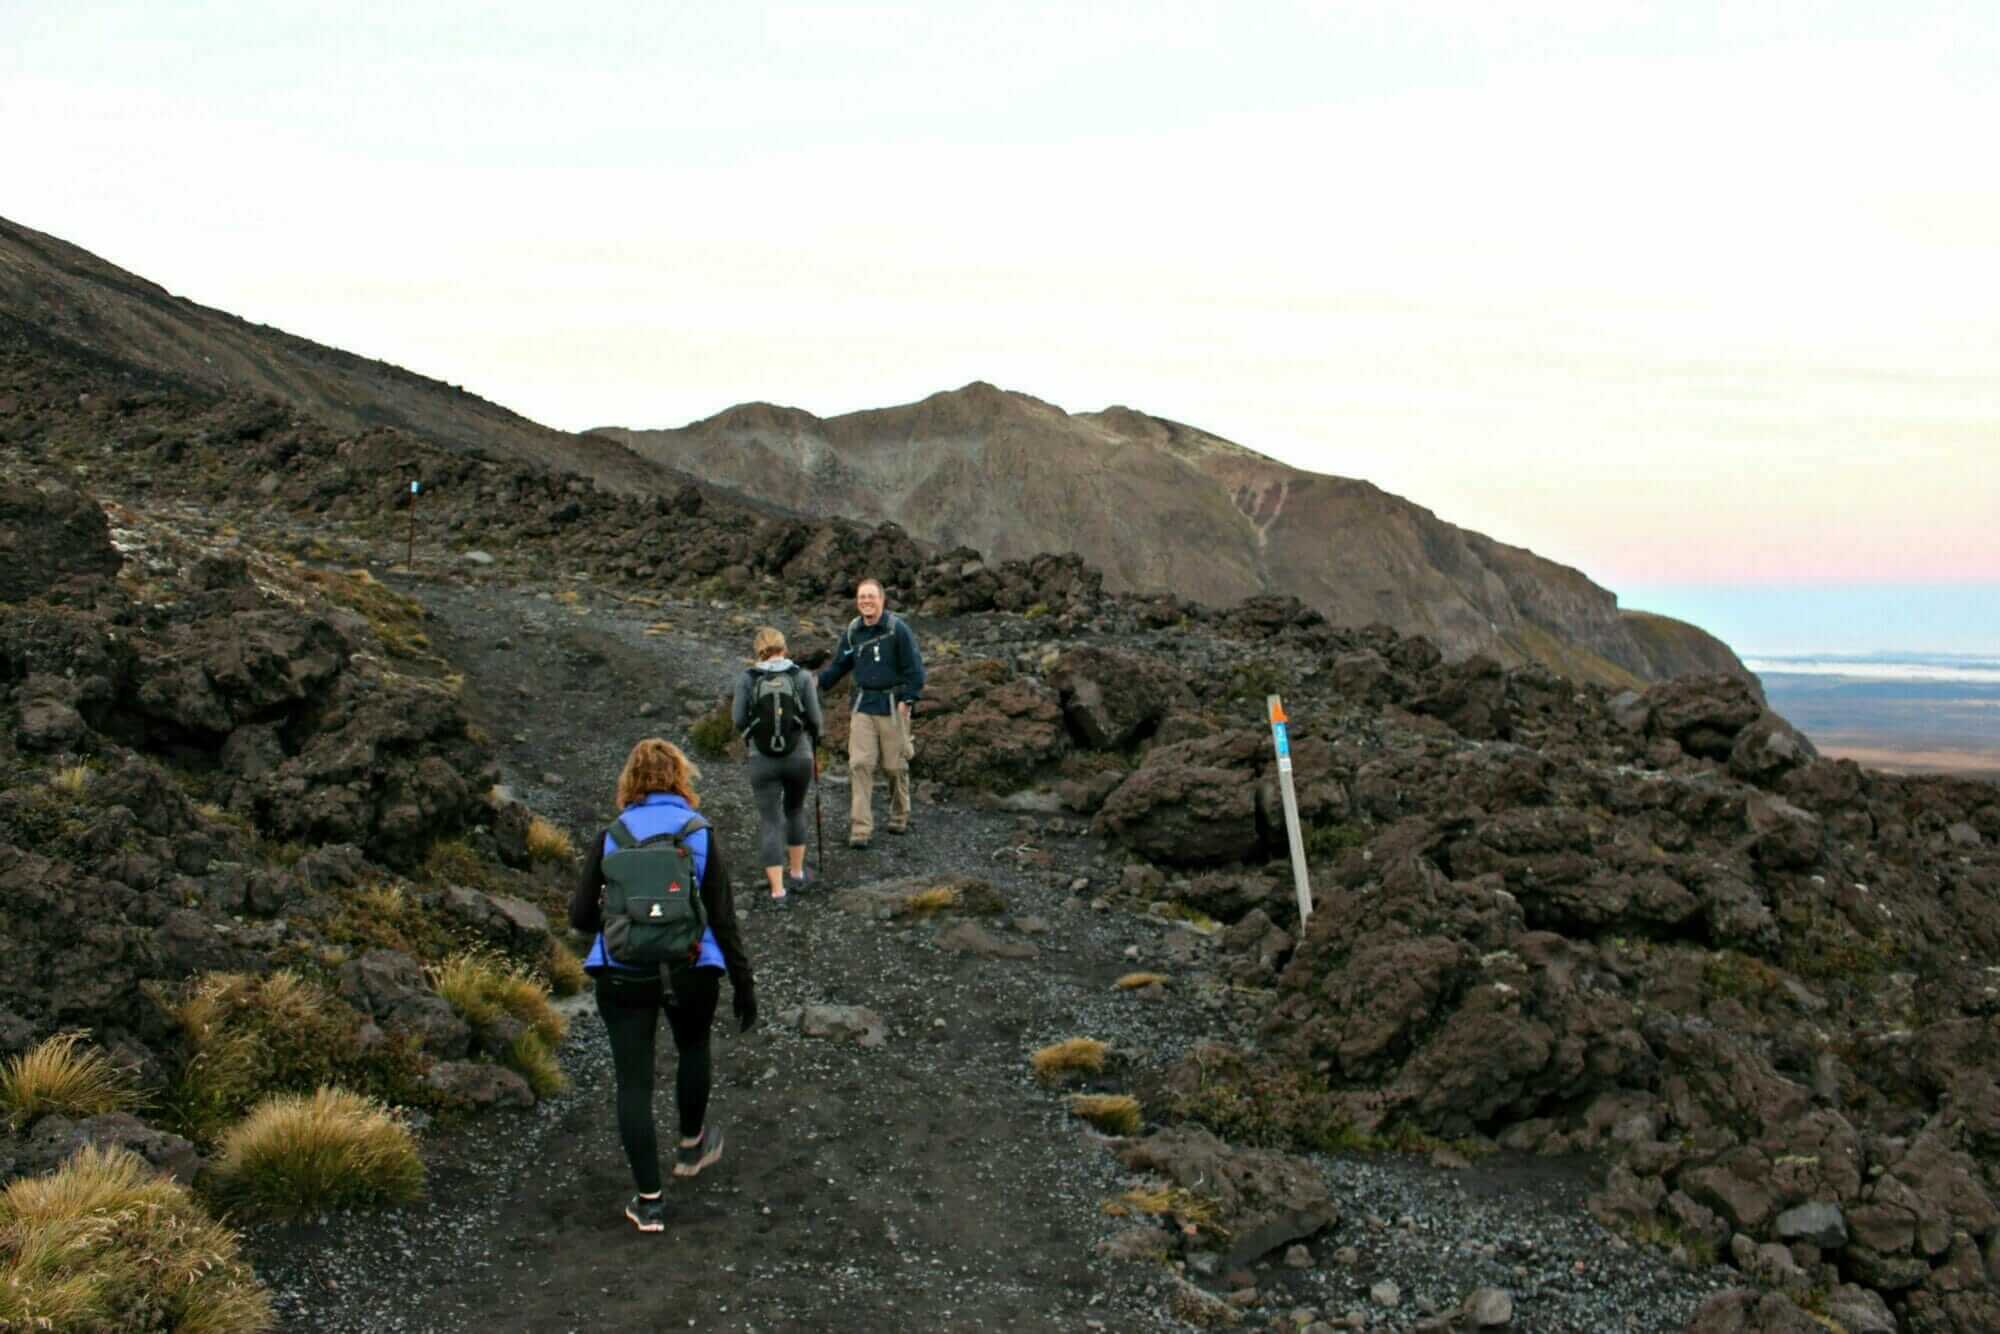
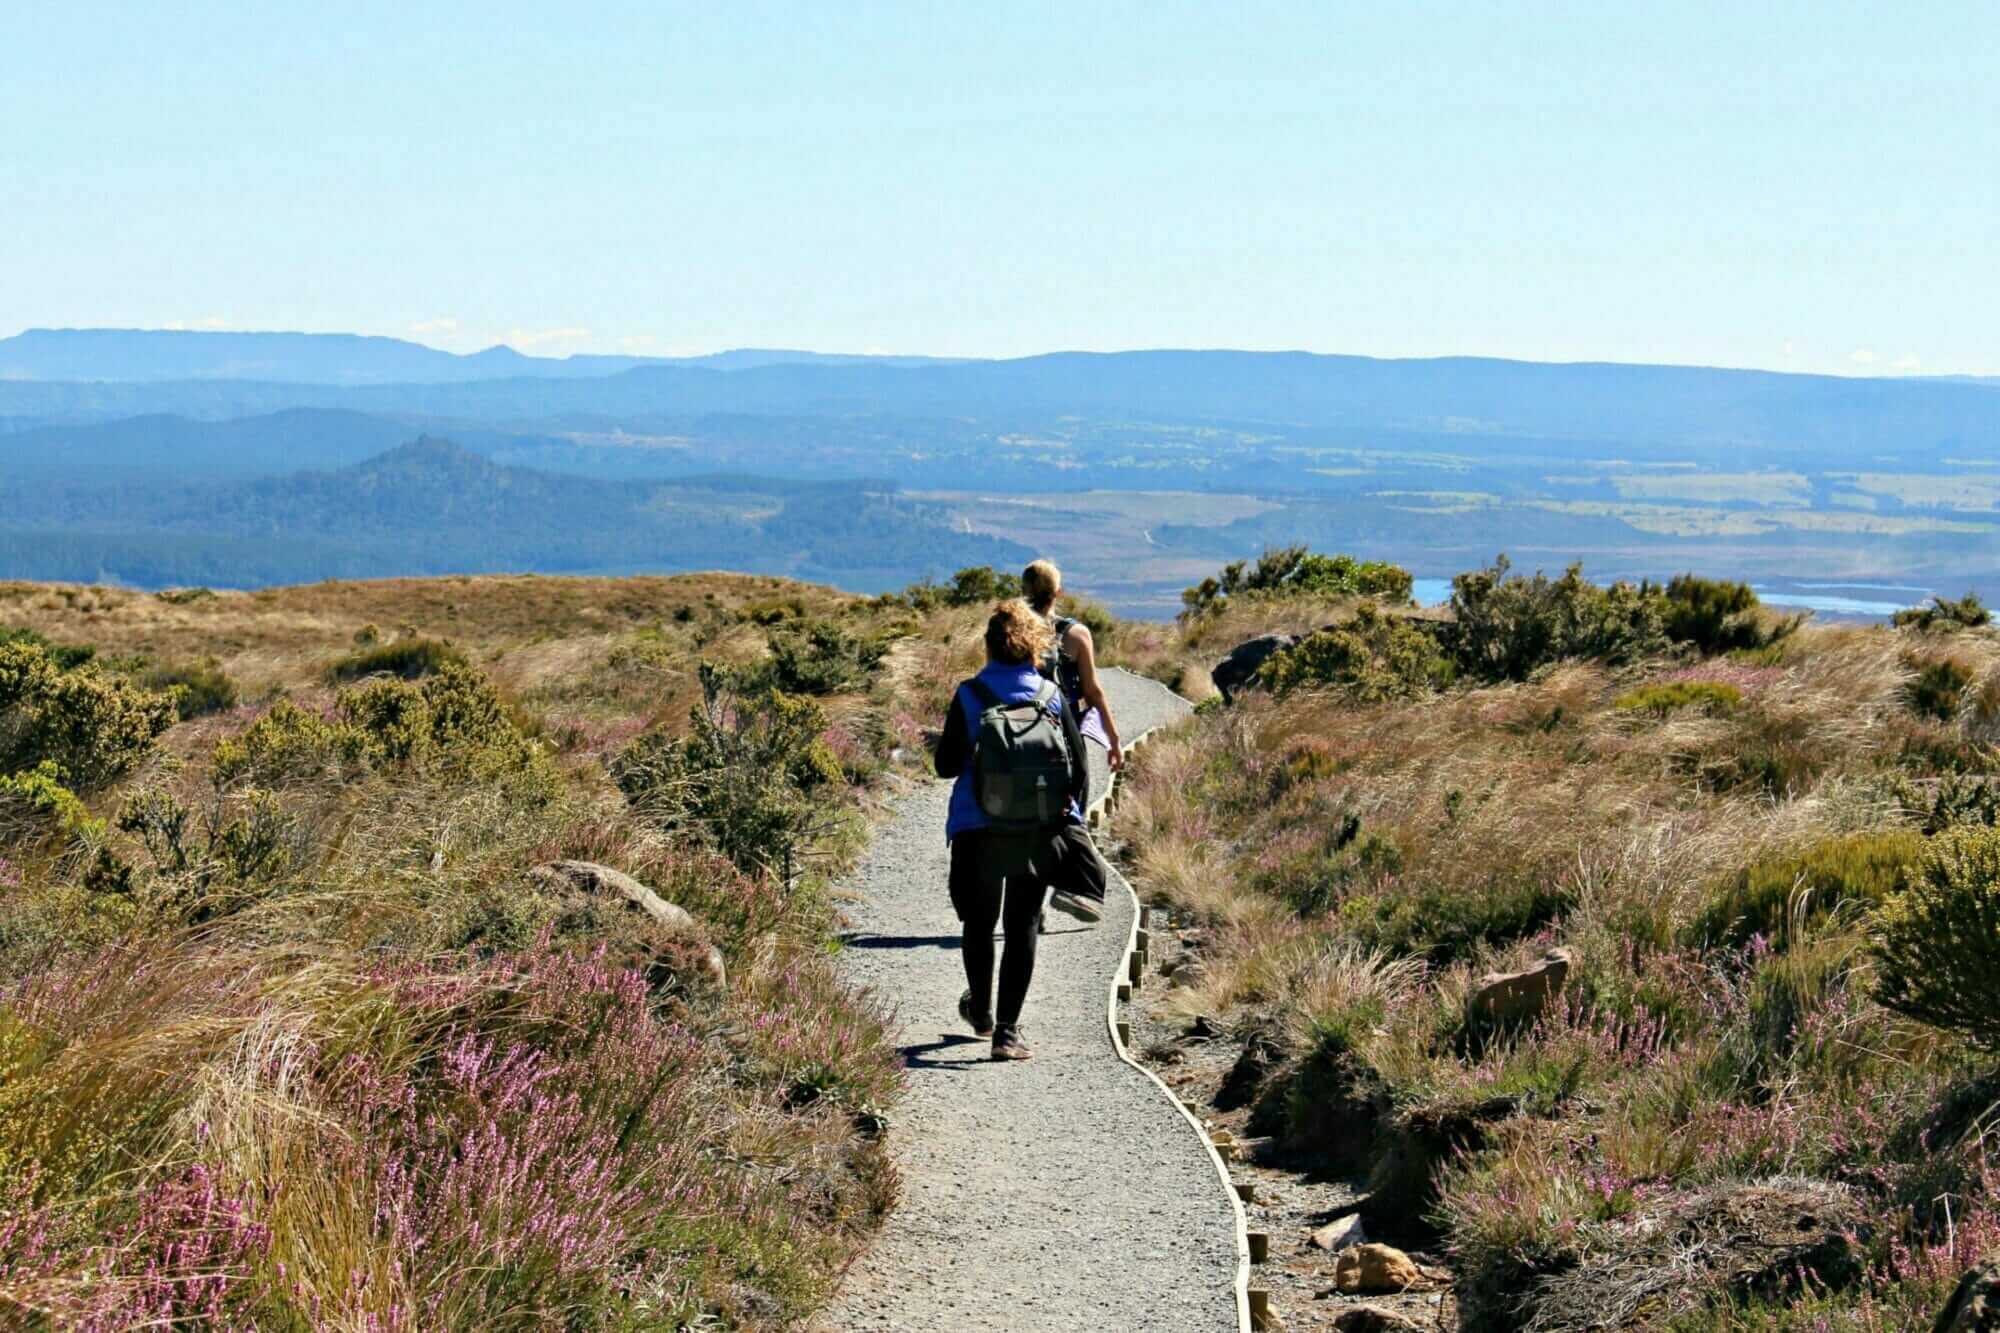
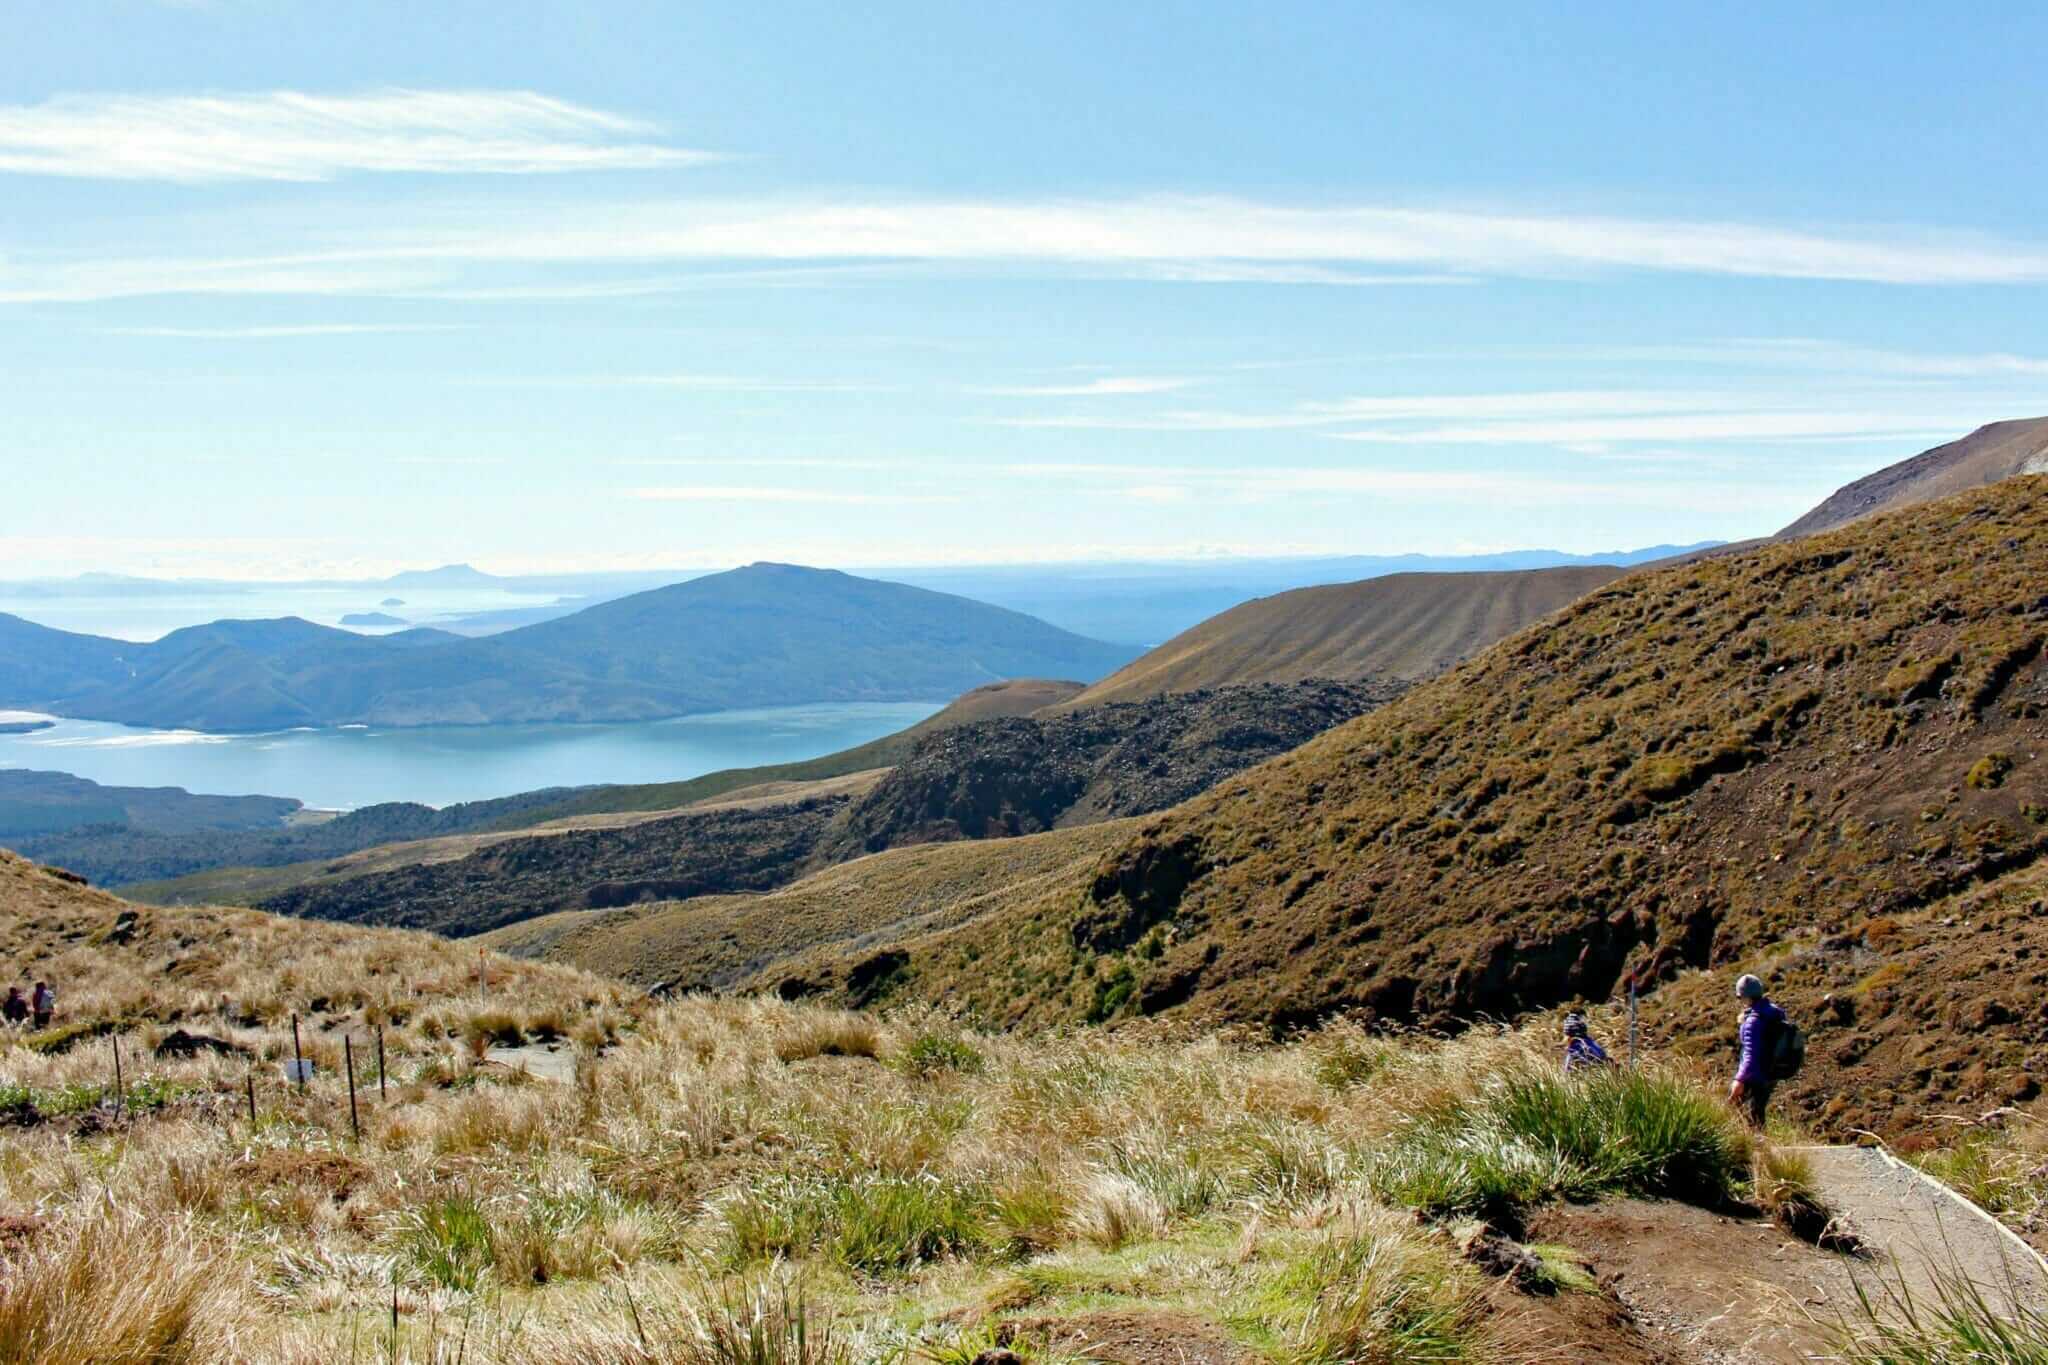
From Blue Lake, it was an easy climb to the edge of North Crater. Once filled with molten lava, this crater cooled and solidified to create a level surface more than 1000m wide. From here, vents steamed with views out over Mount Pihanga and Lake Rotoaira across to Lake Taupo. The track switched back and forth through the valley, over bridges and across ledges and zigzags down to the Ketetehai Shelter. The landscape slowly transformed from barren black and red rocks to grass and small trees springing to life.
Ketetahi Shelter To Ketetahi Car Park
From the Ketetahi Shelter, the track continued down through tall shrubs and into the sun-filled foothills. We stripped off all our sweaty layers beginning as the air became hot and humid. Our legs, weak from the climb, had turned to jelly and by this point, I remember laughing my way down the side of the mountain.
Once on flat land, the trees loomed overhead and the stream that flows down from Ketetahi Springs snaked over and under the track. Following the poled route down through the open tussock land, the track dropped steeply down again to the Mangatetipua Stream. A short side track led down to a waterfall a few minutes before reaching the Ketetahi Car Park. And here is where the Alpine Crossing concludes.
In terms of bang for your buck, it’s priceless. It costs $0 to trek the trail and the experience is a full mind, body, and spirit explosion. The scenery, the view, the epic body workout and the accomplishment you feel after a long day’s hike with great friends are better than anything you can buy. If you’re on the North Island—or anywhere in New Zealand—don’t miss this!
The Must-Haves For Your Trek
Tongariro National Park can be subject to unpredictable weather, and conditions can change quickly. All walkers must carry the essentials for their journey across.
Take:
< Food and plenty of fluid, especially in the summer months. If you are planning on completing any of the summit tracks, ensure you have additional water supplies.
< Waterproof and wind-proof raincoat and trousers
< Strong, sturdy boots (you will be trekking over uneven volcanic terrain)
< Warm clothing layers: woollen or polypropylene thermals and fleece
< Hat and gloves
< Sunscreen and sunglasses
< First Aid Kit
< Map
< Cellphone
< Due to the rugged and alpine environment, the weather in the car park at the beginning of the track can differ greatly from conditions 1000 metres higher further up the track.
Be prepared to change your plans and turn back especially when visibility is poor or strong winds prevail.
To find out more, visit the official website here.